Item Images
WATCH THE VIDEO
In SAP Business One you can add item images and show them in the Sana web store. Sana Commerce Cloud also allows to add videos to the products. You can add videos only in Sana Admin but not in ERP. Product videos are shown along with product images in the media carousel on the product pages.
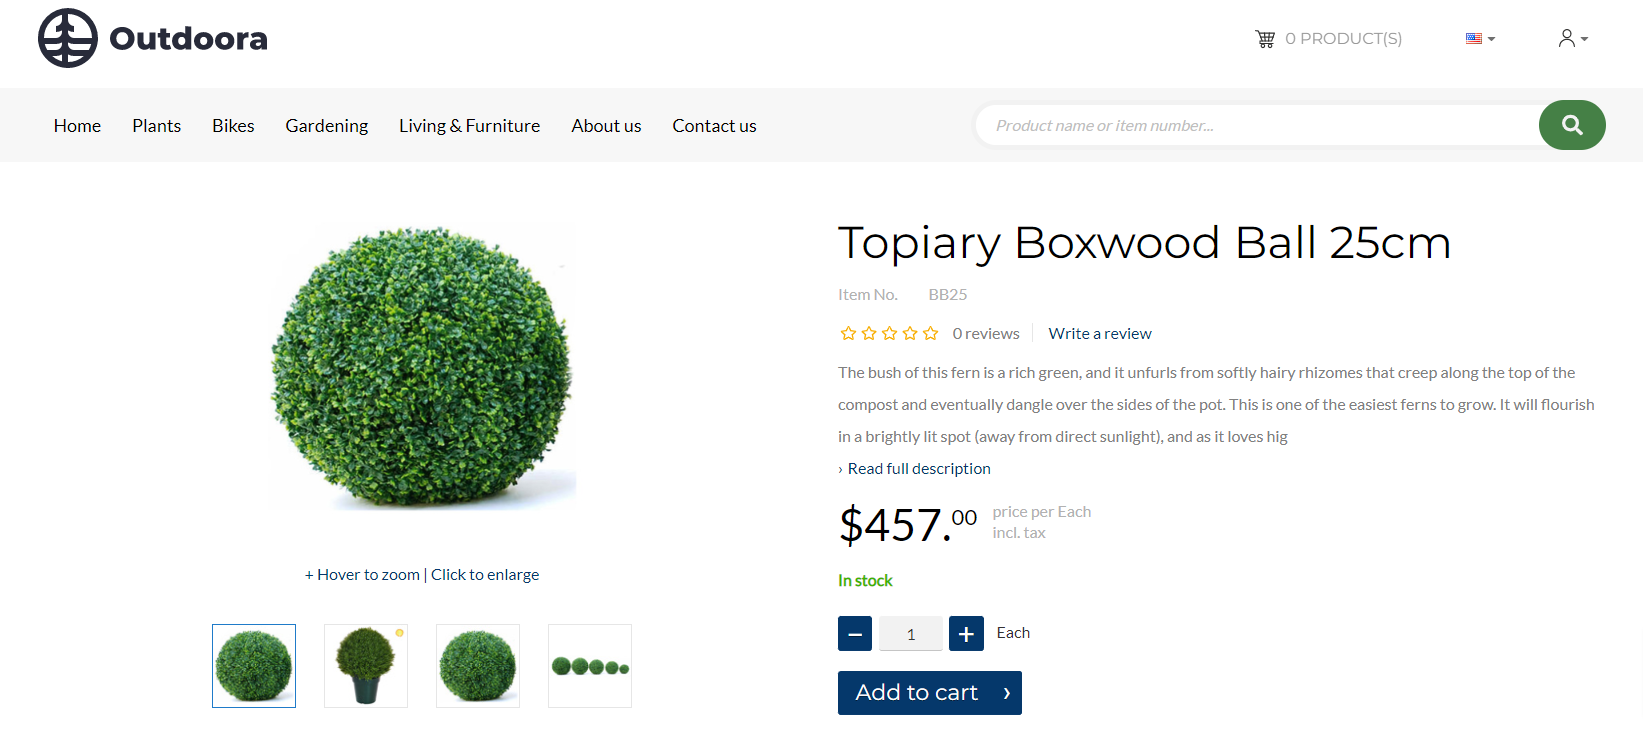
The product images and product videos are shown on the product details page using the Media gallery content element.
You can equally use the procedure which Sana Commerce Cloud provides out-of-the-box and SAP Business One to add item images.
Add Product Images to the Items
Step 1: At first, you need to create a folder where all product images will be stored.
-
DI Server (deprecated): You must create a folder for product images which can be accessed by the Sana Web service for SAP Business One. The user who runs the application pool of the Sana Web service must have Read and execute permissions on this folder.
-
Service Layer: You must create a folder for product images which can be accessed by the Service Layer of SAP Business One. As a product images folder is generally a shared folder on Windows and the Service Layer runs on Linux, the Service Layer cannot directly access the product images folder. Therefore, you need to create the product image folders on both servers and mount the Linux folder to the Windows folder. For more information, see Setting up an Attachment Folder in the Working with SAP Business One Service Layer official manual.
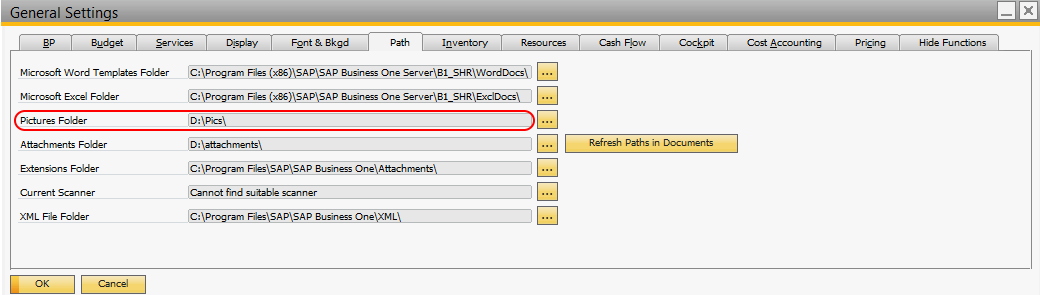
Step 2: In SAP Business One click: Administration > System Initialization > General Settings > Path.
In the Pictures Folder field, select the folder on the SAP Business One server where all product images will be uploaded and click Refresh Paths in Documents.
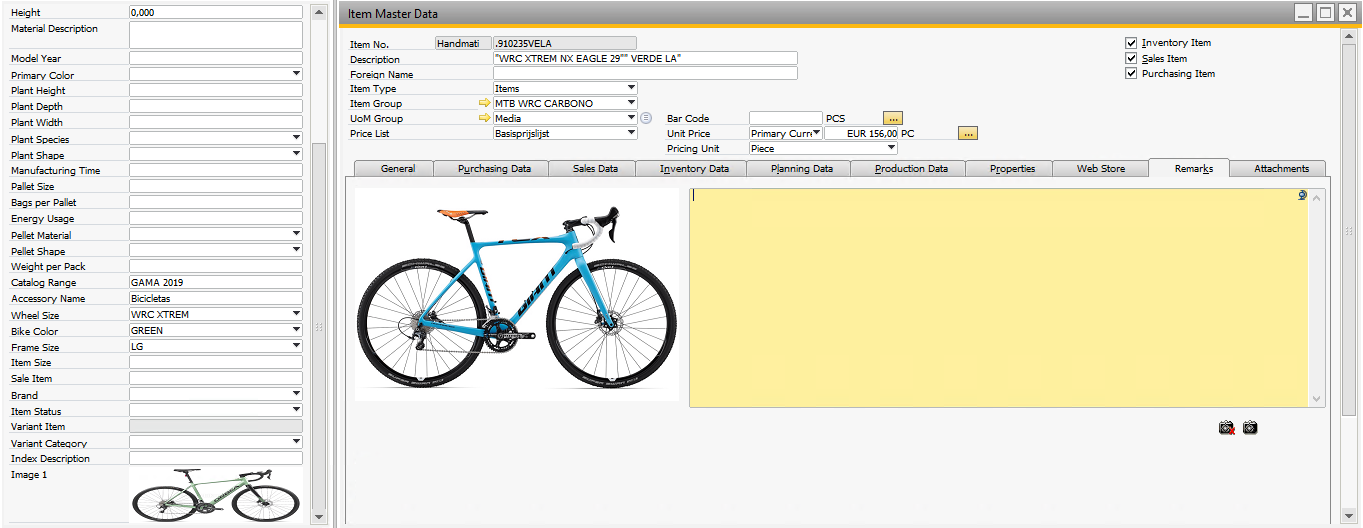
Step 3: Click: Inventory > Item Master Data. Open the necessary item.
By default, you can add only one image to an item in SAP Business One. However, if you need to add more product images, you can create User-Defined Fields in Item Master Data.
If you need to add only one product image, you can do this on the Remarks tab. But if you need to add several product images, you need to create a user-defined field for each product image in the item master data. The image added on the Remarks tab will be used as the main image for a product, meaning that it will be shown when a customer opens the product details page in the Sana web store.
When the image is added on the Remarks tab, do not add it again to the user-defined field. If the same image is added on the Remarks tab and in the user-defined field, then two identical images will be shown for a product in the Sana web store.
Add User-Defined Fields for Product Images to the Item Master Data
Step 1: At the top menu of SAP Business One, click: Tools > Customization Tools > User-Defined Field - Management > Master Data > Items > Items.
Step 2: Click Add to add a user-defined field to the item master data.
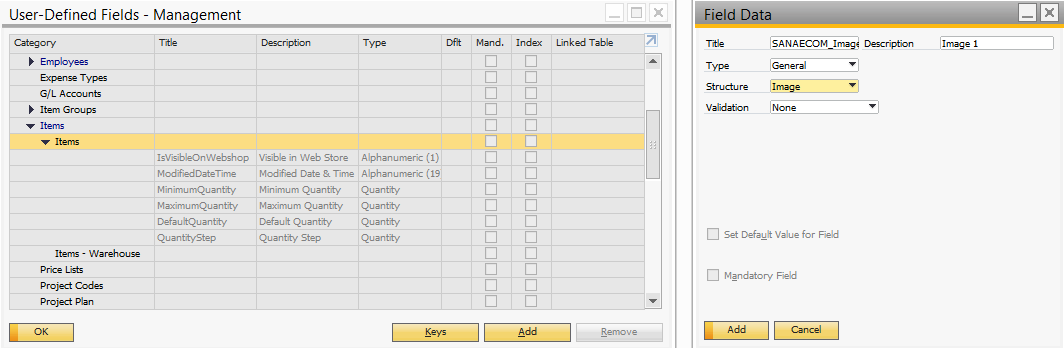
Step 3: To add a user-defined field for a product image, fill in the fields as described in the table below.
| Field | Description |
|---|---|
| Title | Enter the title in the following format: SANAECOM_Image_[order number].
Examples: |
| Description | Enter the user-friendly name of the field. It will be shown in the user-defined fields of the item master data.
Examples: |
| Type | Select General. |
| Structure | Select Image. |
| Validation | Select None. |
This way, you can add as many user-defined fields for product images as you need. You need to add the user-defined fields to the item master data only once, and you will be able to use them for all items.
When all user-defined fields are added, you need to restart SAP Business One DI Server.
- To add a product image to the user-defined field in the item master data, double click on it.
- To change a product image in the user-defined field, use a keyboard shortcut Ctrl + double click.
- To remove a product image in the user-defined field, use a keyboard shortcut Alt + double click.
Enable Product Images
If you want to show product images from SAP Business One in your Sana web store, you must enable them in your web store settings.
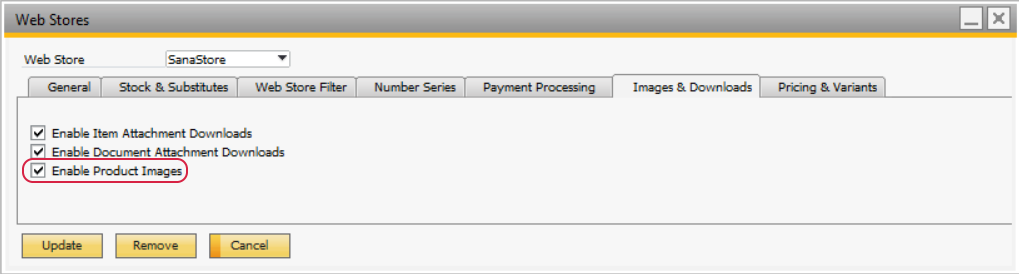
Step 1: In SAP Business One click: Web Store > Web Stores.
Step 2: On the Images & Downloads tab, enable product images for your web store. When you select the Enable Product Images checkbox, all pictures added to the items in SAP Business One will be shown on the product pages in the Sana web store.
How Item Images in SAP Business One are Linked to Products in Sana?
Step 1: When product images are added to the items in SAP Business One, run the Product Import task in Sana Admin. Open Sana Admin and click: System > Scheduled tasks. The Product import task retrieves product information from the database to build or update the product index.
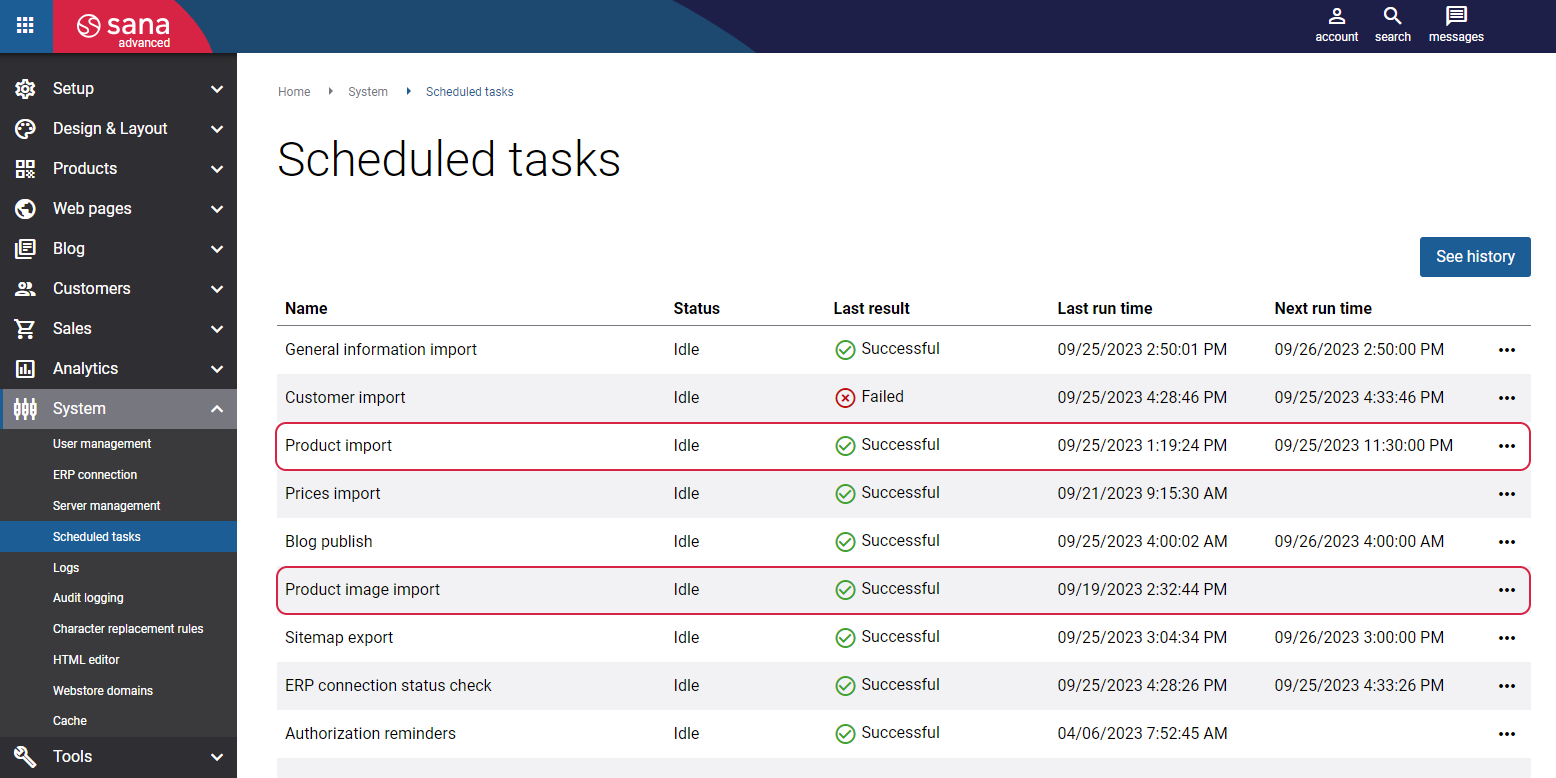
Step 2: When the Product import task is completed, start the Product image import task. Before running the task, make sure that it is configured. Click Edit on the Product image import task and enable the setting Import product images from ERP. In the Separator field, enter the symbol that will be used to separate product image information in the product image filename, like item number and order number.
The Product image import task will retrieve all product images from SAP Business One, rename them according to the image file name format supported by the Sana web store, and save all images to the ProductImages directory of the Sana Commerce solution on the Web server.
Then, the Product image import task will automatically resize all product images from the ProductImages folder and put them according to the size to the Small, Medium and Large folders. This is done because product images of three different sizes are used in the Sana web store.
When the Product image import task is completed, product images from SAP Business One will be shown in the Sana web store.