Create Menu Items
WATCH THE VIDEO
Creation of the menu items is completely the same, regardless of its type. Only Main menu and My Account menu have extra settings.
To create the webstore navigation, in Sana Admin click: Setup > Navigation.
On the Navigation page, you can configure the default Main, Sitemap, Footer and My Account menus and create custom menus. The default menus cannot be removed, you can only edit them.
Create Items for the Default Menus
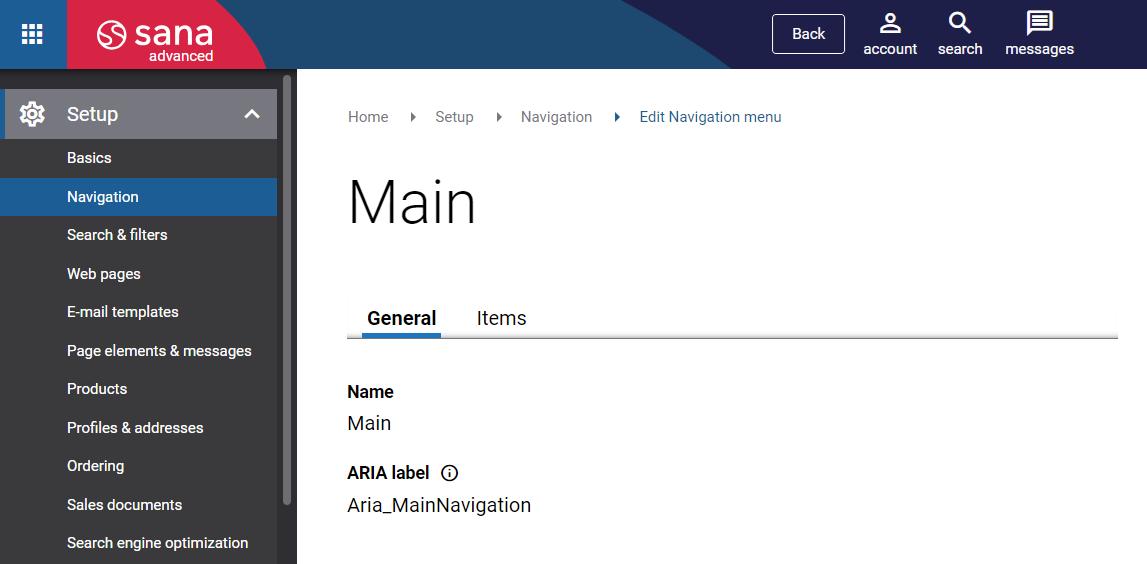
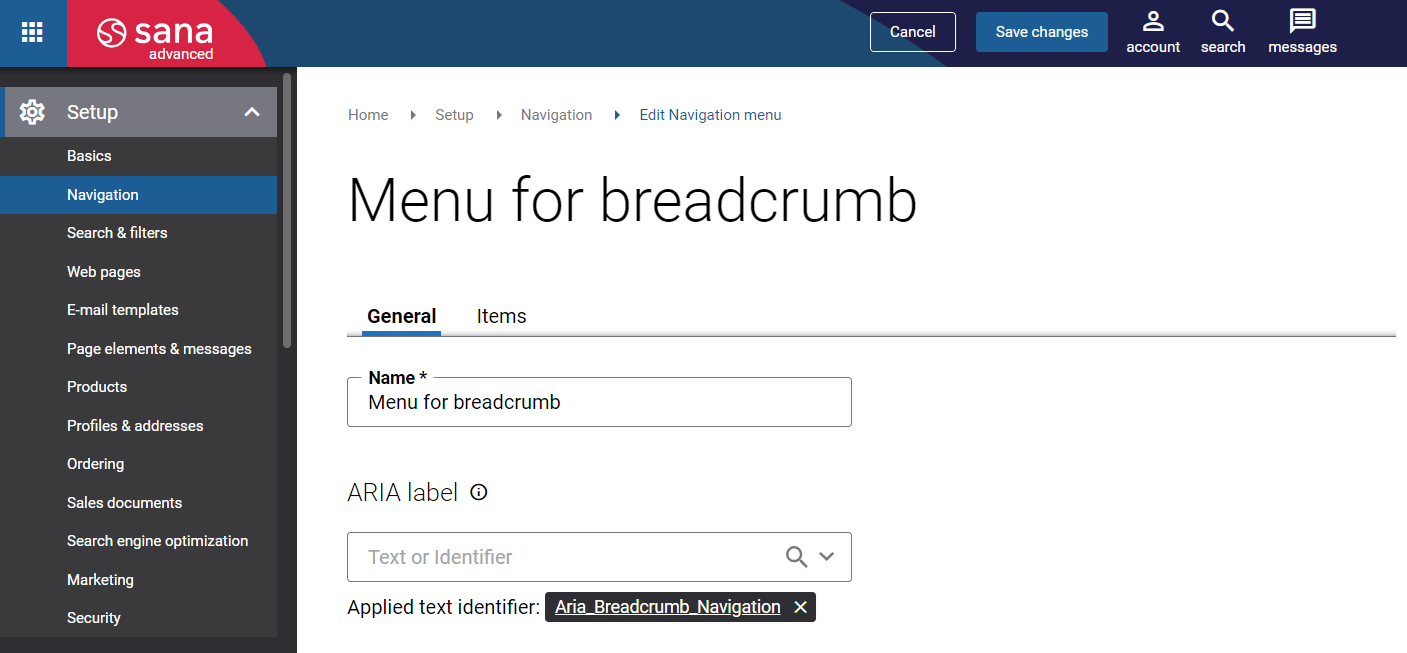
Step 1: Click Edit on the necessary default menu.
Step 2: On the General tab, you can see the menu name and ARIA label. The ARIA label is used by the screen readers. The ARIA label is the Sana text which you can edit on the Page elements & messages page and create translations for it.
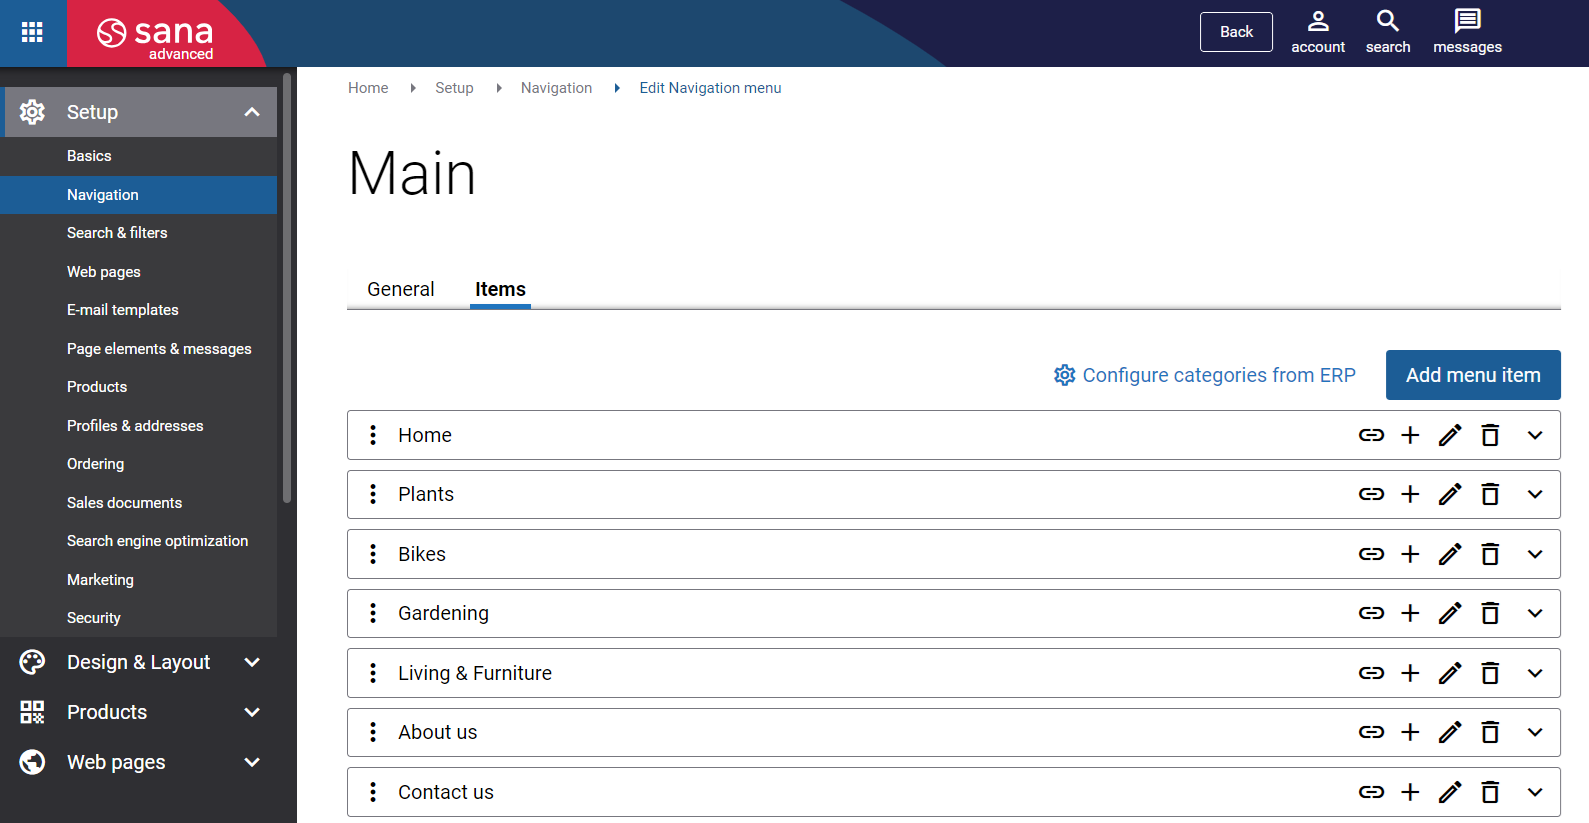
Step 3: On the Items tab, you can create menu items. To create a new menu item, click Add menu item.
The tables below provide the description of the settings on the Basics and Advanced tabs.
Basics
| Field | Description |
|---|---|
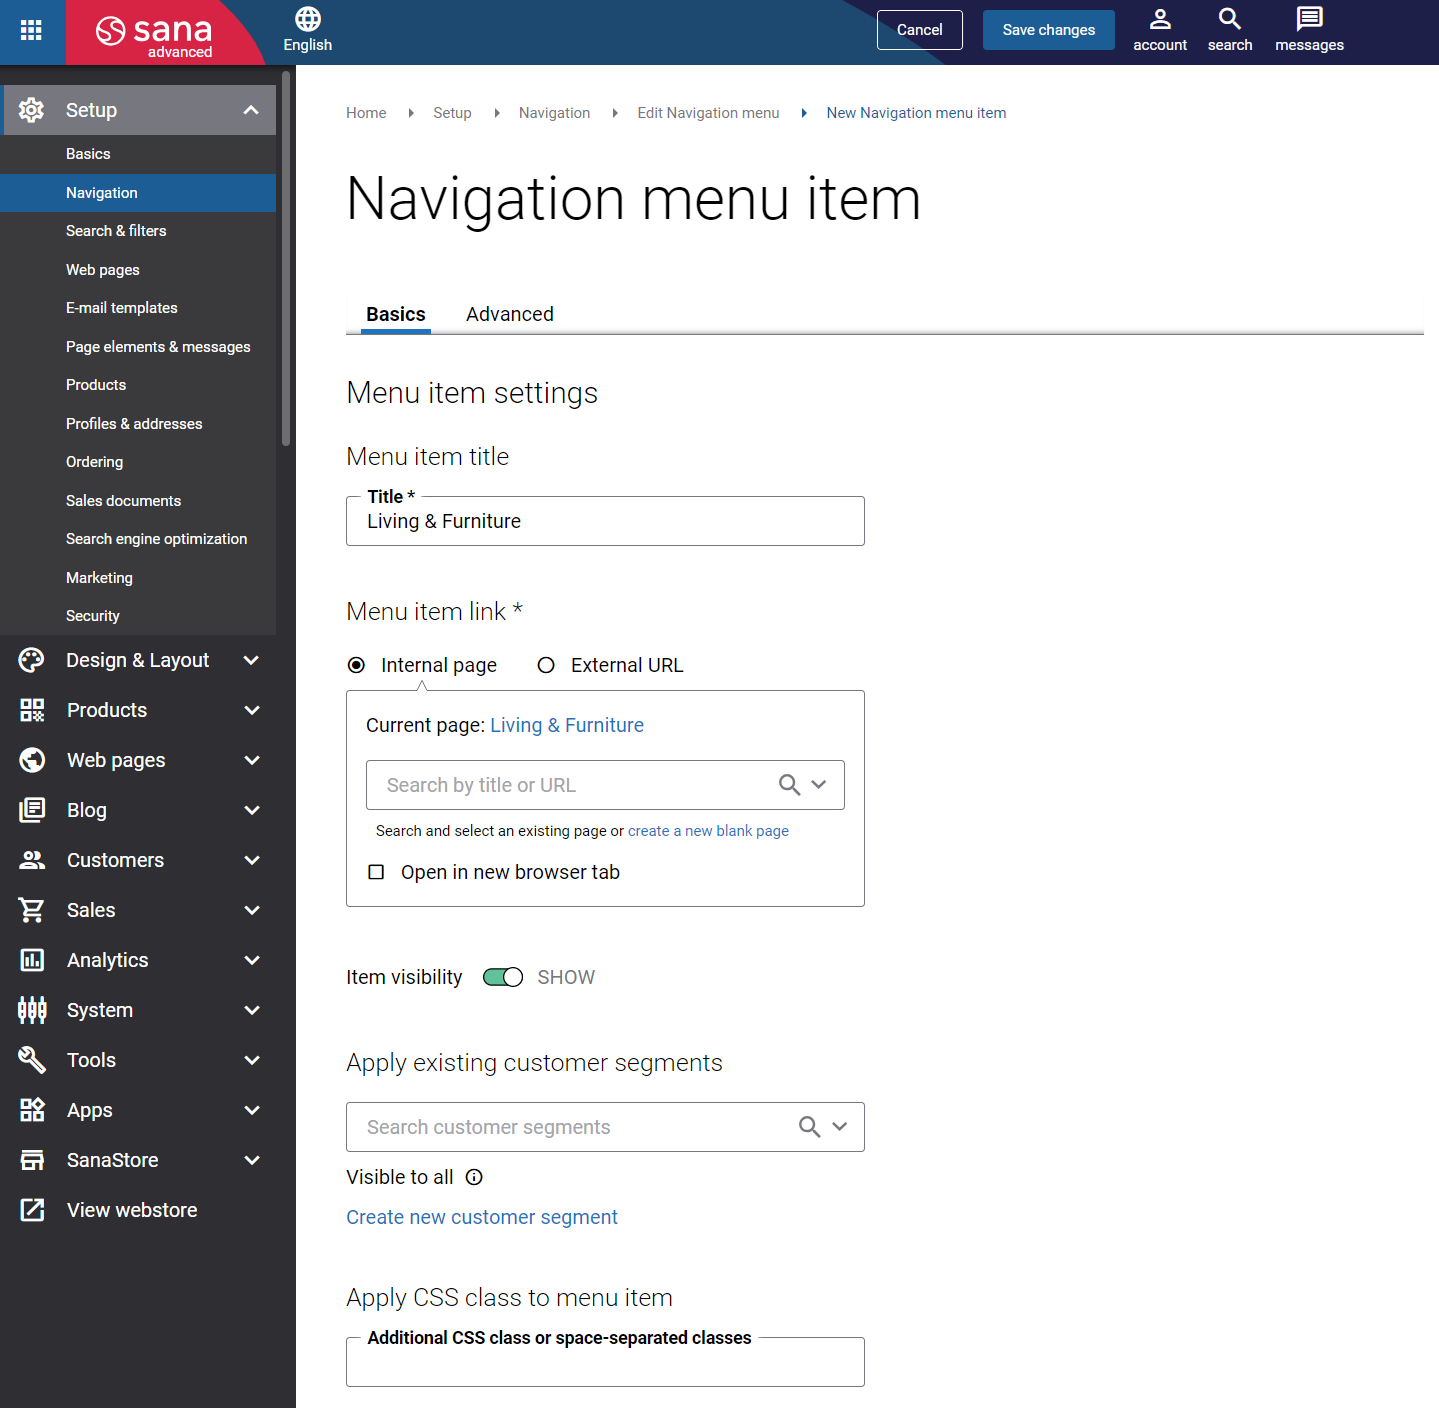
| Menu item title | Enter the menu item title. It is shown in the webstore navigation as a menu item. |
| Menu item link | Link the internal page or external URL. To link the internal page, you can search for it by title or URL.
You can also create a blank page that will be automatically linked to the menu item and fill it with content later. If you link an external URL to the menu item, you can also allow or forbid search engine crawlers to follow it using the option Allow followed by robots. Select the checkbox Open in new browser tab to open the linked internal page or external URL in a new tab or leave it empty to open the page in the same tab. |
| Item visibility | Set visibility of a menu item.
Enable Item visibility to make the menu item visible in the webstore or disable to hide it. Invisible menu items are of a gray color with the icon |
| Apply existing customer segments | Using customer segments, you can create personalized content. By assigning a customer segment to the menu item, you can show any menu item to the target audience. This means that only those customers who are in the customer segment will be able to see the menu item.
If you assign a customer segment to a navigation item, then you will see the icon |
| Apply CSS class to menu item | You can add an additional CSS class or space-separated classes to the menu item. By adding custom CSS classes to the menu items, you can change the style of any individual item. For example, you can change the color of the menu item or use different dimensions for the menu item images.
To change the style of a certain menu item, you can add a custom CSS class and then add the necessary style using HTML injections in Sana Admin. |
 .
. . This way a user can see an overview of all navigation items on a page to which customer segments are assigned and don't need to check the settings of each navigation item.
Advanced
| Field | Description |
|---|---|
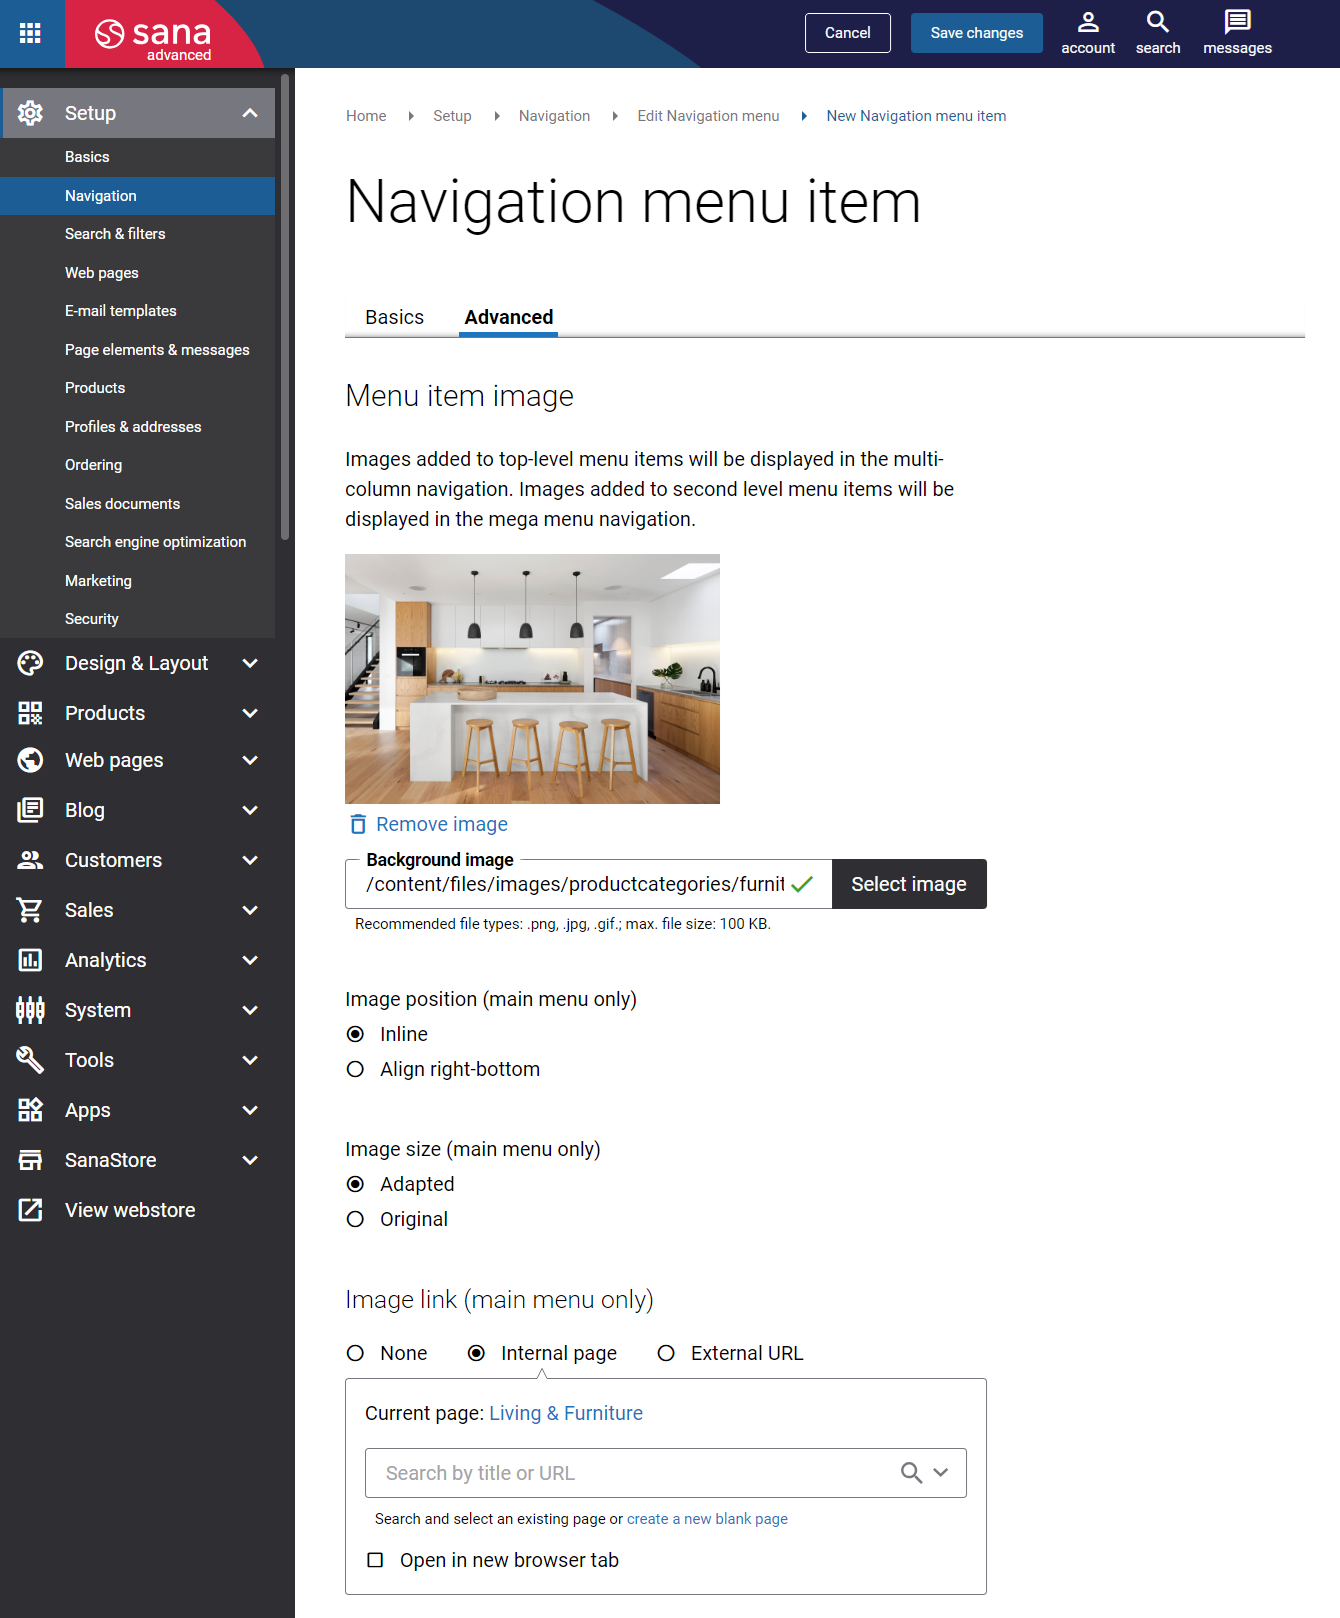
| Image | Add an image to a menu item.
|
| Image position (main menu only) | Select the menu item image position. The available options are:
|
| Image size (main menu only) | Select how the menu item image should be shown in the Sana webstore. The available options are:
|
| Image link (main menu only) | Using this setting, you can add an image link. You can link the internal webstore page or external website to the image. It will be used as navigation item in the main menu.
Clicking on the image will open the linked page. To add a link to the internal webstore page, you can search for it by title or URL. You can also create a blank page that will be automatically linked to the image. You can manage this page later. If you link an external URL to the image, you can also allow or forbid search engine crawlers to follow it using the option Allow followed by robots. If you add an external URL, specify the full URL of the page. |
You can change the order in which you want menu items to be shown in the menu by dragging and dropping them. You can also change the levels of menu items, either make it as a parent item or as a child menu item to the one of the higher level. Main navigation can be of multiple levels. If you need to add a subitem, click Add subitem  .
.
From the menu items list, you can edit or delete any menu item. You can also change the linked page, view it in the webstore or edit the internal linked page (except system pages) directly from the menu items list. On the menu item, click the Link  , Edit
  and Delete
  buttons.
Create Custom Menus and Menu Items
To create a custom menu, on the Navigation page, click Add menu.
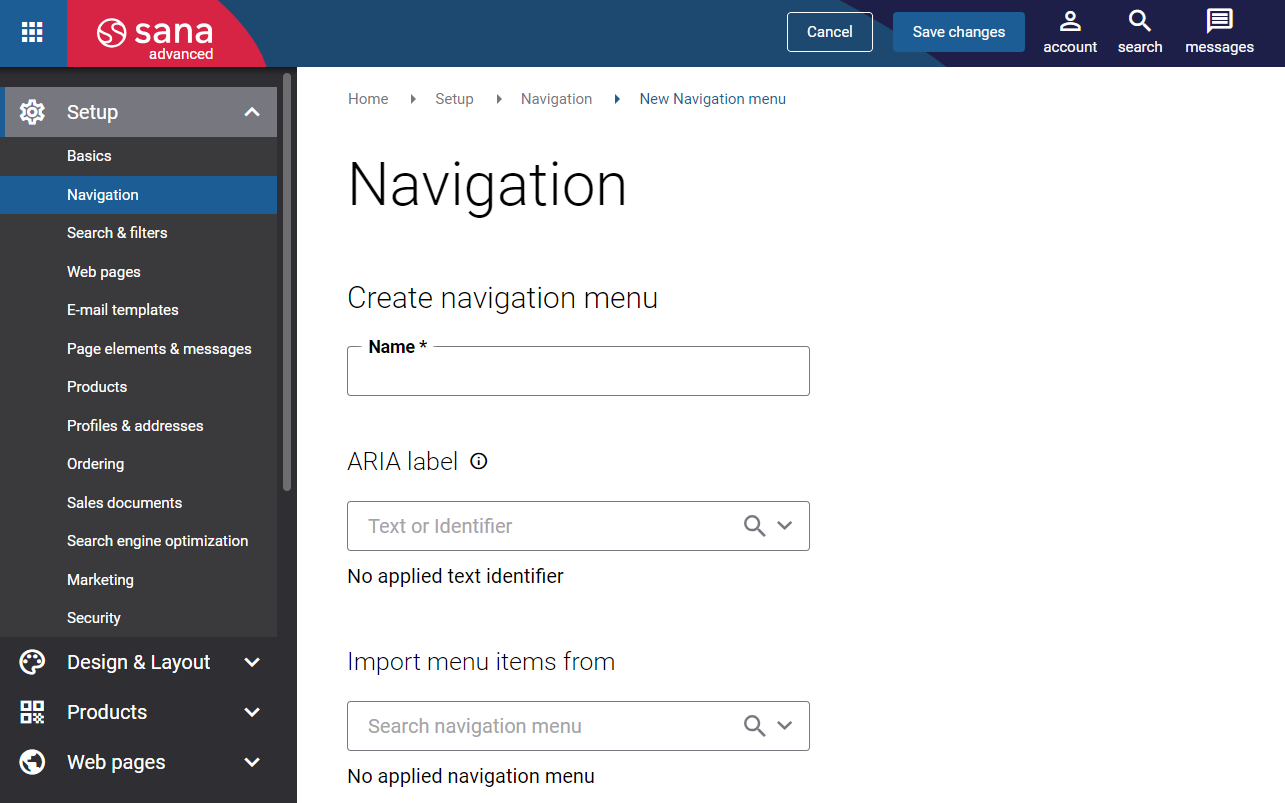
The table below provides the description of the fields necessary to create a custom menu.
| Field | Description |
|---|---|
| Name | Enter the name of a custom menu. |
| ARIA label | Select the ARIA label. The ARIA label is the Sana text which you can create on the Page elements & messages page in Sana Admin. You can also create translations for the ARIA label. The ARIA label is used by the screen readers. |
| Import menu items from | Enter the name of a menu from which you want to import menu items. Using this field, you can import the menu items from the already existing menu to the created custom menu. If you leave this field empty, the menu will be created without any menu items and you will need to add them manually. |
Unlike default menus, custom menus can be removed and the fields on the General tab can be edited.
As for creation of menu items for custom menus, the process is totally the same as in case with default menus.
Translate a Menu Item
Sana Commerce Cloud is a multi-lingual e-commerce solution. By default, a Sana webstore is available in English, but we also deliver the language packs which can be installed with a single button click from the Sana App Center.
The Sana language packs contain the default webstore interface texts, error and validation messages and system e-mails in the language of your choice. The language packs also allow you to translate your webstore content to different languages.
To translate the menu item, find the menu item that you want to translate and click Edit ![]() . Then select the necessary language from the list in the header of Sana Admin.
. Then select the necessary language from the list in the header of Sana Admin.
When you edit any menu item in a language other than the default language, it is presented in two columns. The first column holds the name of the menu item in the default language, and it is not editable, while in the second column you can provide translation for the menu item.
You can also inherit the linked page (internal page or external URL) from the menu item in the default language or add a new one, as well as set visibility and change the background image for the translated menu item. If the image is not specified, the default one from the menu item in the default language will be used.