Create a Content Page
Log in to Sana Admin and click: Web pages > Content pages.
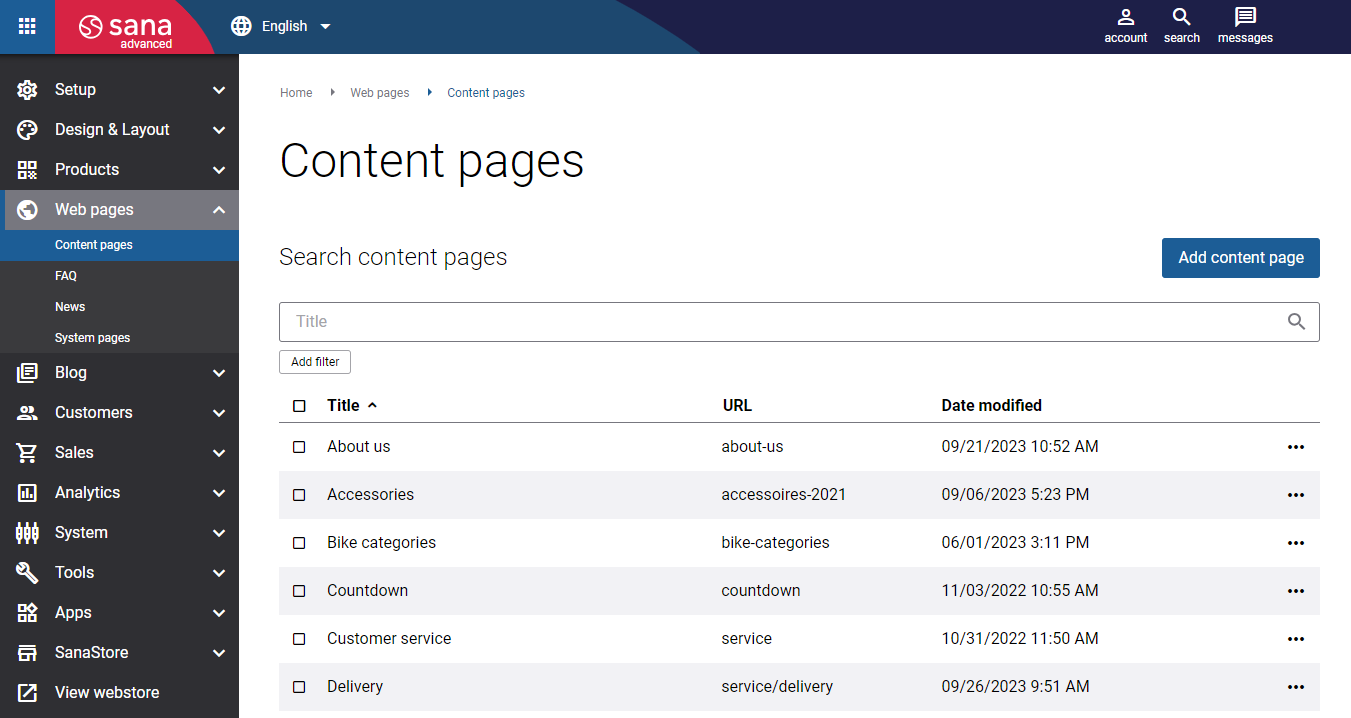
Here you will see the list of all existing content pages and you can:
- Create a new content page
- Edit an existing content page
- Duplicate a content page
- Remove a content page
- Search for an existing content page by title, URL and visibility
- Filter content pages by title, URL and visibility
- Sort the content page by title or URL
- Preview the page
- Copy the page
- See the date when the content page has been last modified and sort the content pages by the date modified
Basics
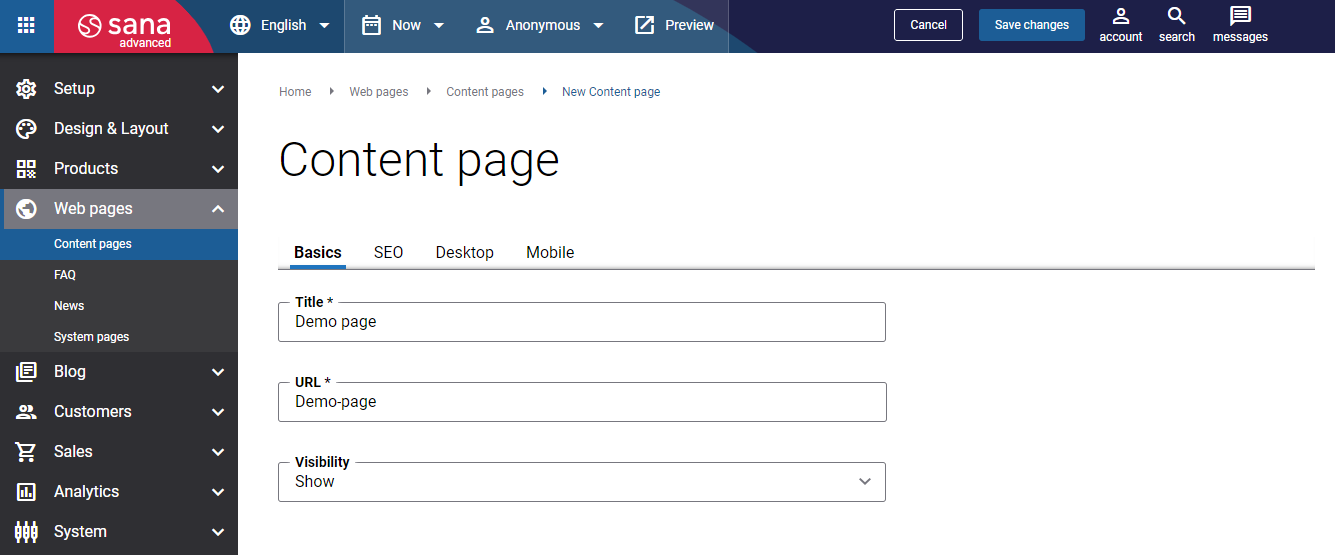
The table below provides the description of the settings on the Basics tab.
| Field | Description |
|---|---|
| Title | Enter a title of the content page. |
| URL | Enter the content page URL. You must specify the part of the content page URL which will be used after your webstore address.
Examples:
URL is a required field only for the content page in the default language (English). For the content pages in other existing languages the URL field is optional. If you do not specify it, the URL of the default language (English) will be used. |
| Visibility | Select a necessary option whether you want to show a content page or hide it in the webstore. The available options are:
If you change page visibility, you must run the Sitemap export scheduled task to update the sitemap. After you change page visibility and save it, you will see the messages prompting you to run the task. |
SEO
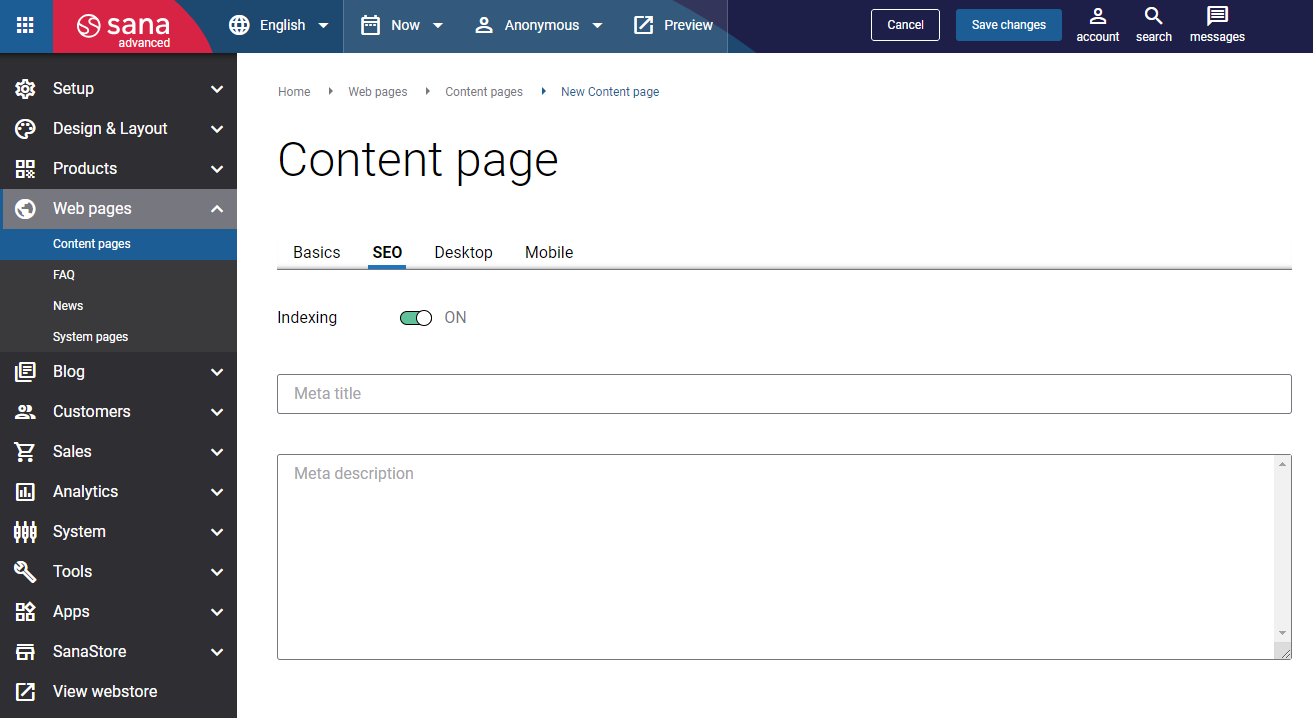
The table below provides the description of the settings on the SEO tab.
| Field | Description |
|---|---|
| Indexing | Use this option to allow or deny a content page to be indexed and crawled by search engine robots. |
| Meta title | Add meta title and meta description to the content page.
Meta title is shown in the Web browser on a tab of the opened page. If the Meta title field is empty, the title of the opened page and the name of the webstore set in the Sana Admin settings will be shown on the tab of the Web browser. If you enter a meta title, you can also use the [SHOPNAME] replacement tag. This tag will be automatically replaced with the webstore name set in the Sana Admin settings. Meta description describes your page to search engines. It should provide concise explanation of the web page contents. Meta description is used on search engine result pages to display short description for a given page. Meta title and meta description are important factors for a successful search engine optimization (SEO) of your webstore. |
| Meta description |
Add Content to a Content Page
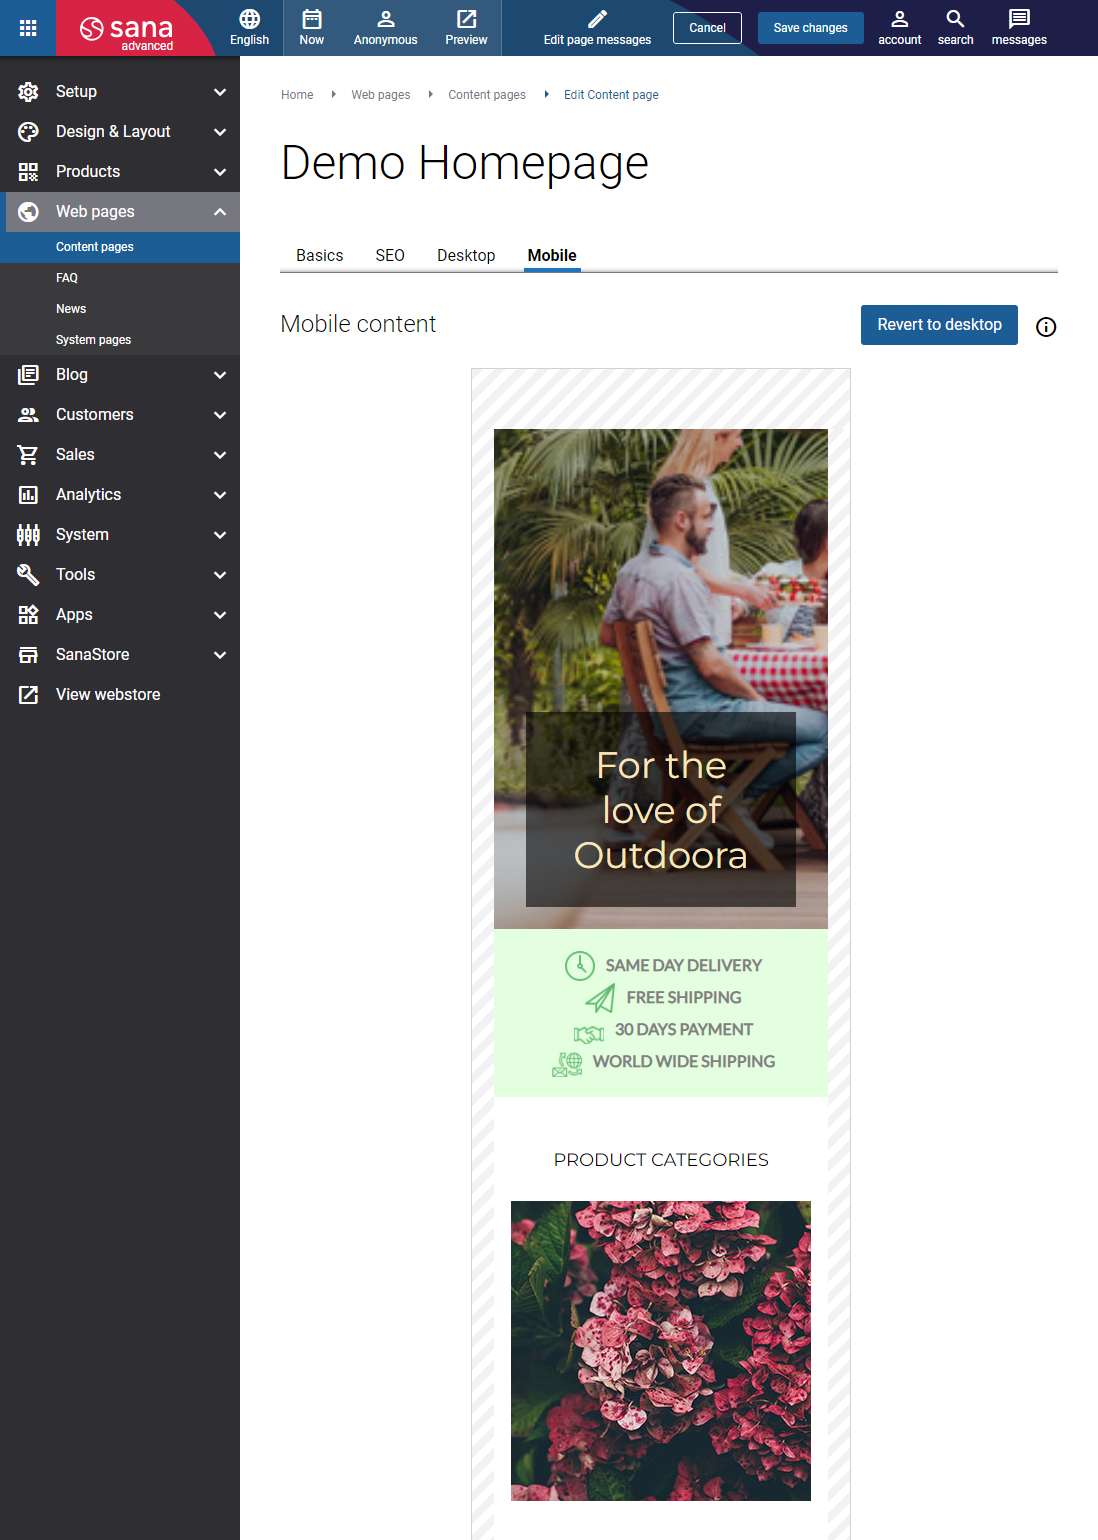
The Desktop and Mobile buttons at the top of the page allow you to switch between the desktop and mobile layouts of the content page. Each layout has its own set of content elements and can be configured independently, so the page can be styled differently for desktop and mobile devices.
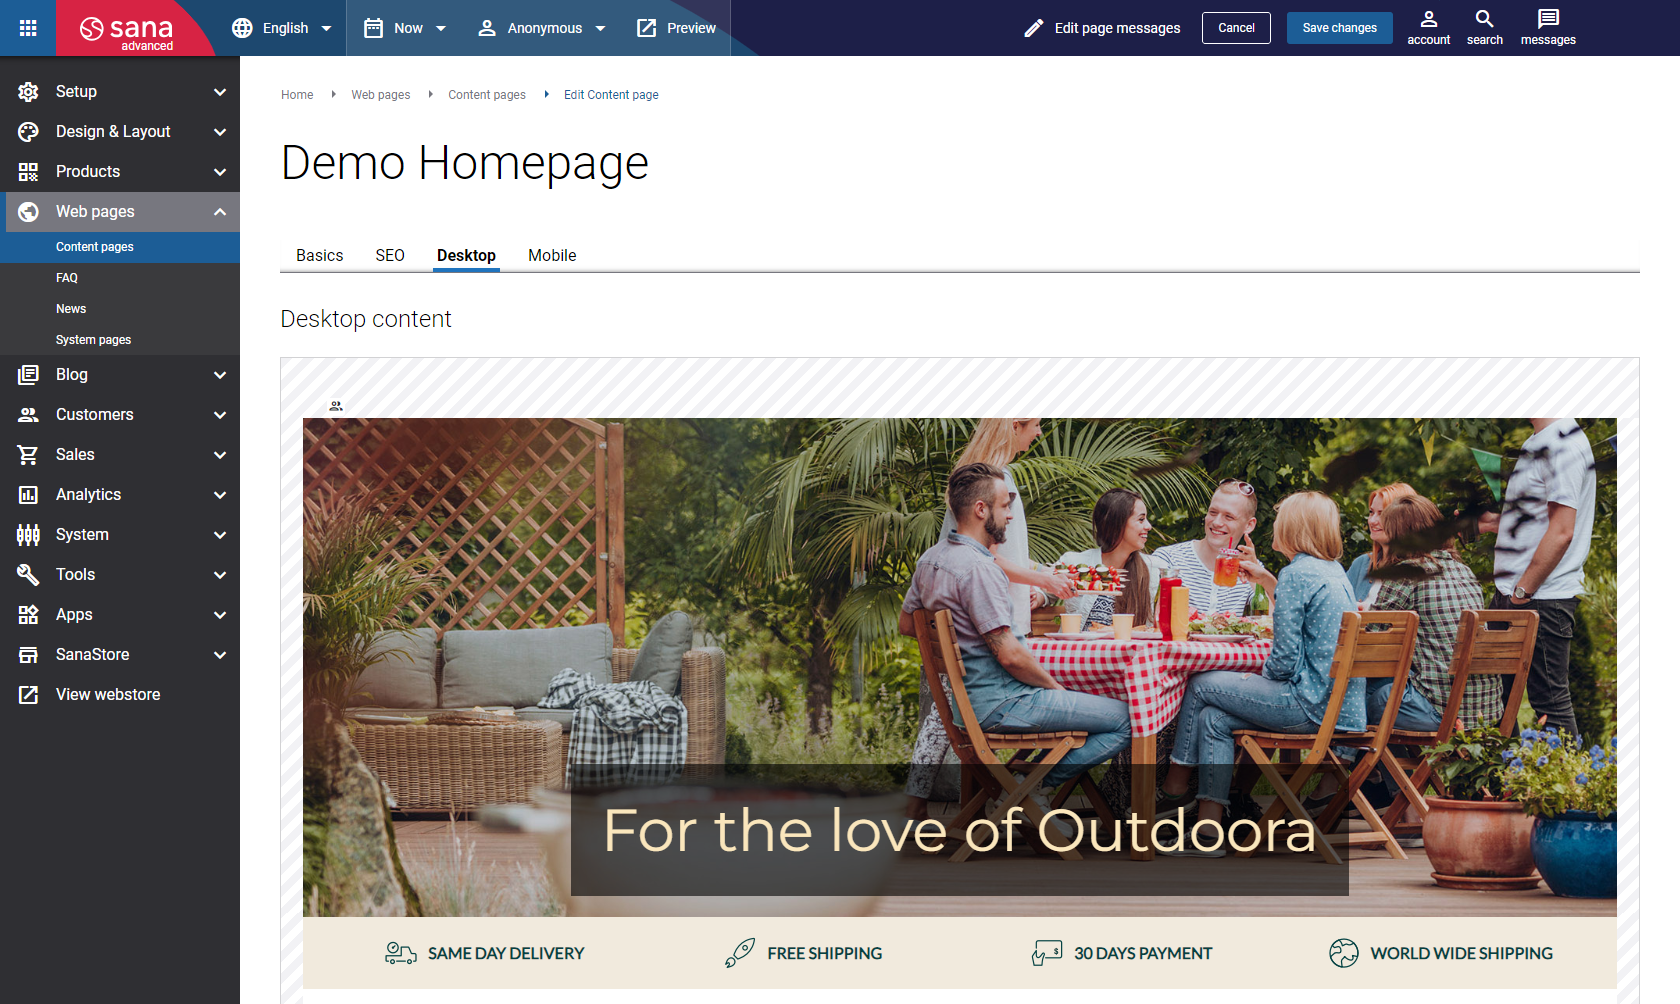
By default, content created for the desktop layout is automatically used for the mobile layout. However, you can customize the mobile layout independently by changing the position of content elements, adding new elements, or removing existing ones.
Once any changes are made to the mobile layout, it becomes independent from the desktop layout. From that point onward, updates made to the desktop layout will no longer be reflected in the mobile layout, and each layout can be edited separately.
If needed, you can restore the mobile layout to match the desktop layout at any time by clicking the Revert to desktop button in the mobile layout.
Choose a Column Layout
Choose a column layout from a predefined list.
- A page layout consists of rows and columns.
- Rows and columns have different background, border, spacing, alignment and animation settings.
- When you change the layout, the columns scale automatically to fit the width of the page.
- Additionally, you can assign customer segments to rows and schedule row visibility.
- Each column contains a content element with its own settings.
When you choose one of the predefined column layouts, you can change it by selecting another column layout or create your own column layout using a 12-column grid.
Set Up Row and Column Settings
When you have chosen a layout for your content page, you can set up row and column settings, and add a content element to each column.
- Pay attention that using row and column settings you can also add some content, such as background image and video, and you can also style the rows and columns using different options.
- You can add any content element you like to the columns, such as text, image, video, image slider, parallax scroller, store locator, newsletter, product set, etc.
- Add content correctly and thoughtfully. If you add a content element to a column and set up some column or row settings also, make sure they don't interfere with each other and the content looks good on the page. To check this, preview the page.
When you create a content page, you can add as many rows and column with different content elements to the page as you need.
Add Content Elements to a Content Page
Content elements are content blocks such as text, images, embedded videos, product set, store locator, etc. that can be added to your content page layout to form the actual content.
Content elements can be added to the columns and re-arranged across your page layout. You can add one or several content elements to one column. You can move content elements and columns with content horizontally in one row as well as vertically between different rows by dragging and dropping them. When you move columns vertically between different rows, they scale automatically to fit the width of the page.
There are several content elements which are available in Sana by default, but Sana Commerce Cloud also provides other content elements as apps that can be installed with a single button click free of charge.
All content elements have been carefully created by web design professionals and offer different options to build any content you can think of with any page layout. Within minutes you can build complex pages using layouts and content elements and without touching a single line of code.
Step 1: Select a column layout for the page. A column layout must be added before you can add content elements.
Step 2: The panel on the left displays all available content elements, including those provided by default in Sana and those available through the Sana App Center. When you find the element you need in the panel, drag and drop it into the appropriate column.
For quicker and more comfortable usage, you can search, filter and sort content elements.

Step 3: Then, a window will pop up where you can add the content you need and configure the content element settings.
The content and settings that can be configured depend on the type of content element. If there are no required fields, you can add the content element without configuring it and return to it later. To view or modify its settings, select the content element in the visual designer. The corresponding settings will be displayed in the panel on the right.
You can move a content element from one column to another. Also, if you want to have the same content element in several columns, there is no need to add a content element to each column separately, you can just duplicate a content element. To do this, hold down the Ctrl key and use the move element button to copy a content element to the necessary column.
In case you are using Mac, hold down the Option key and use the move element button to copy a content element to the necessary column.