Configure Eway
When the Eway payment provider is installed and configured, it should be also configured in Sana Admin.
Step 1: The Eway payment provider is available as an app. It can be installed from the Sana App Center.
In Sana Admin click: App Center > Apps > Apps Explorer. When the Eway app is installed, you can configure it on the app details page by clicking on the Configure button ![]() .
.
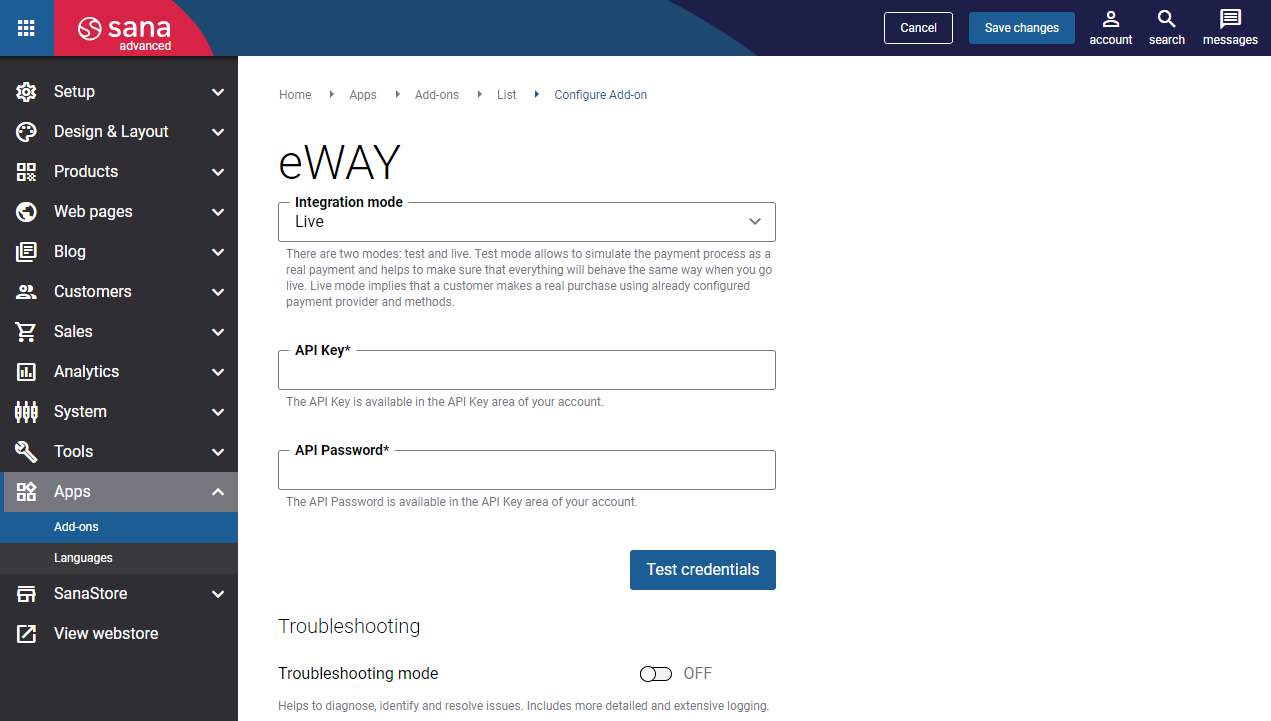
Step 2: Choose the appropriate payment integration mode.
There are two modes: test and live. Test mode allows to simulate the payment process as if it is a real payment and helps to make sure that everything will behave the same way when you go live. Live mode implies that a customer makes a real purchase using already configured payment provider and methods.
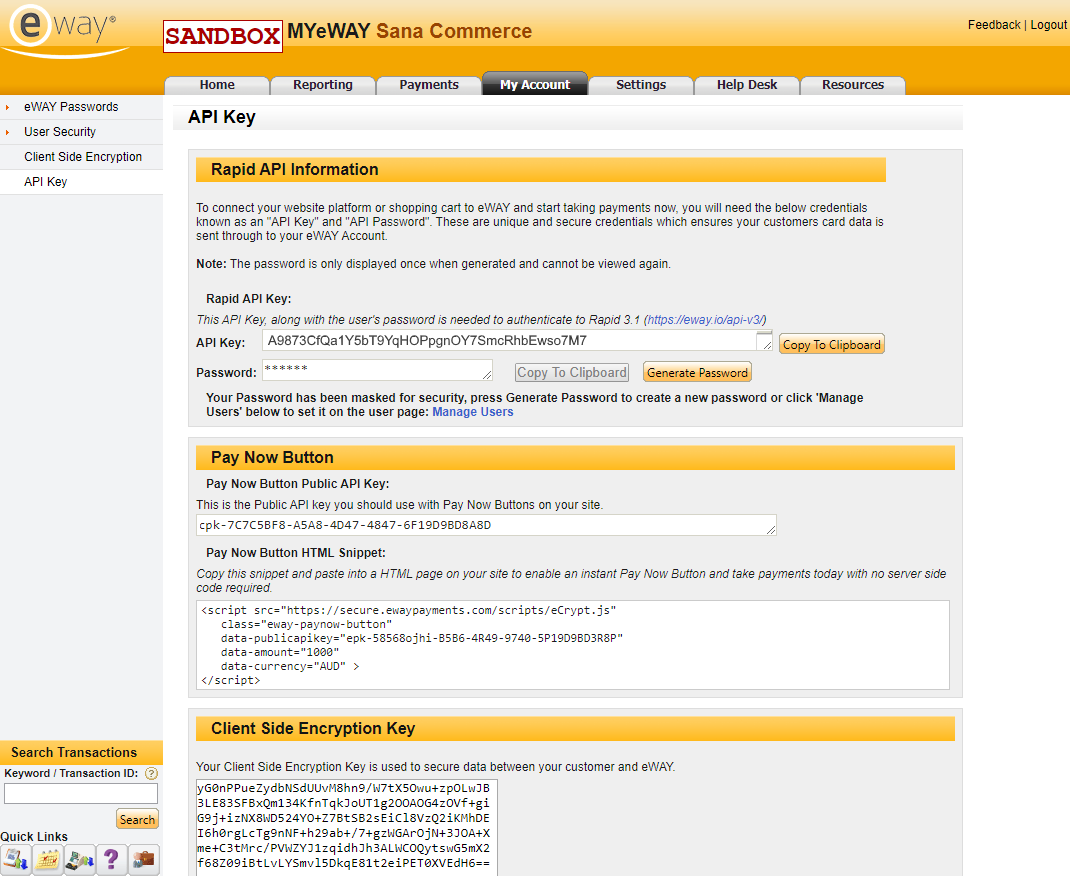
Step 3: Enter the API Key and API Password. The API Key and API Password are available in the Eway Business Centre, click: My Account > API Key. Copy the necessary information and insert it in Sana Admin.
Step 4: Click Test credentials to check if the API key and password are valid and Sana Commerce Cloud can connect to Eway.
You can use the Troubleshooting mode to diagnose, identify, and resolve issues if any occur. It includes more detailed and extensive logging.
Configure Eway Payment Methods
In Sana Admin click: Setup > Ordering > Payment. On the Payment tab, create and configure the payment methods.
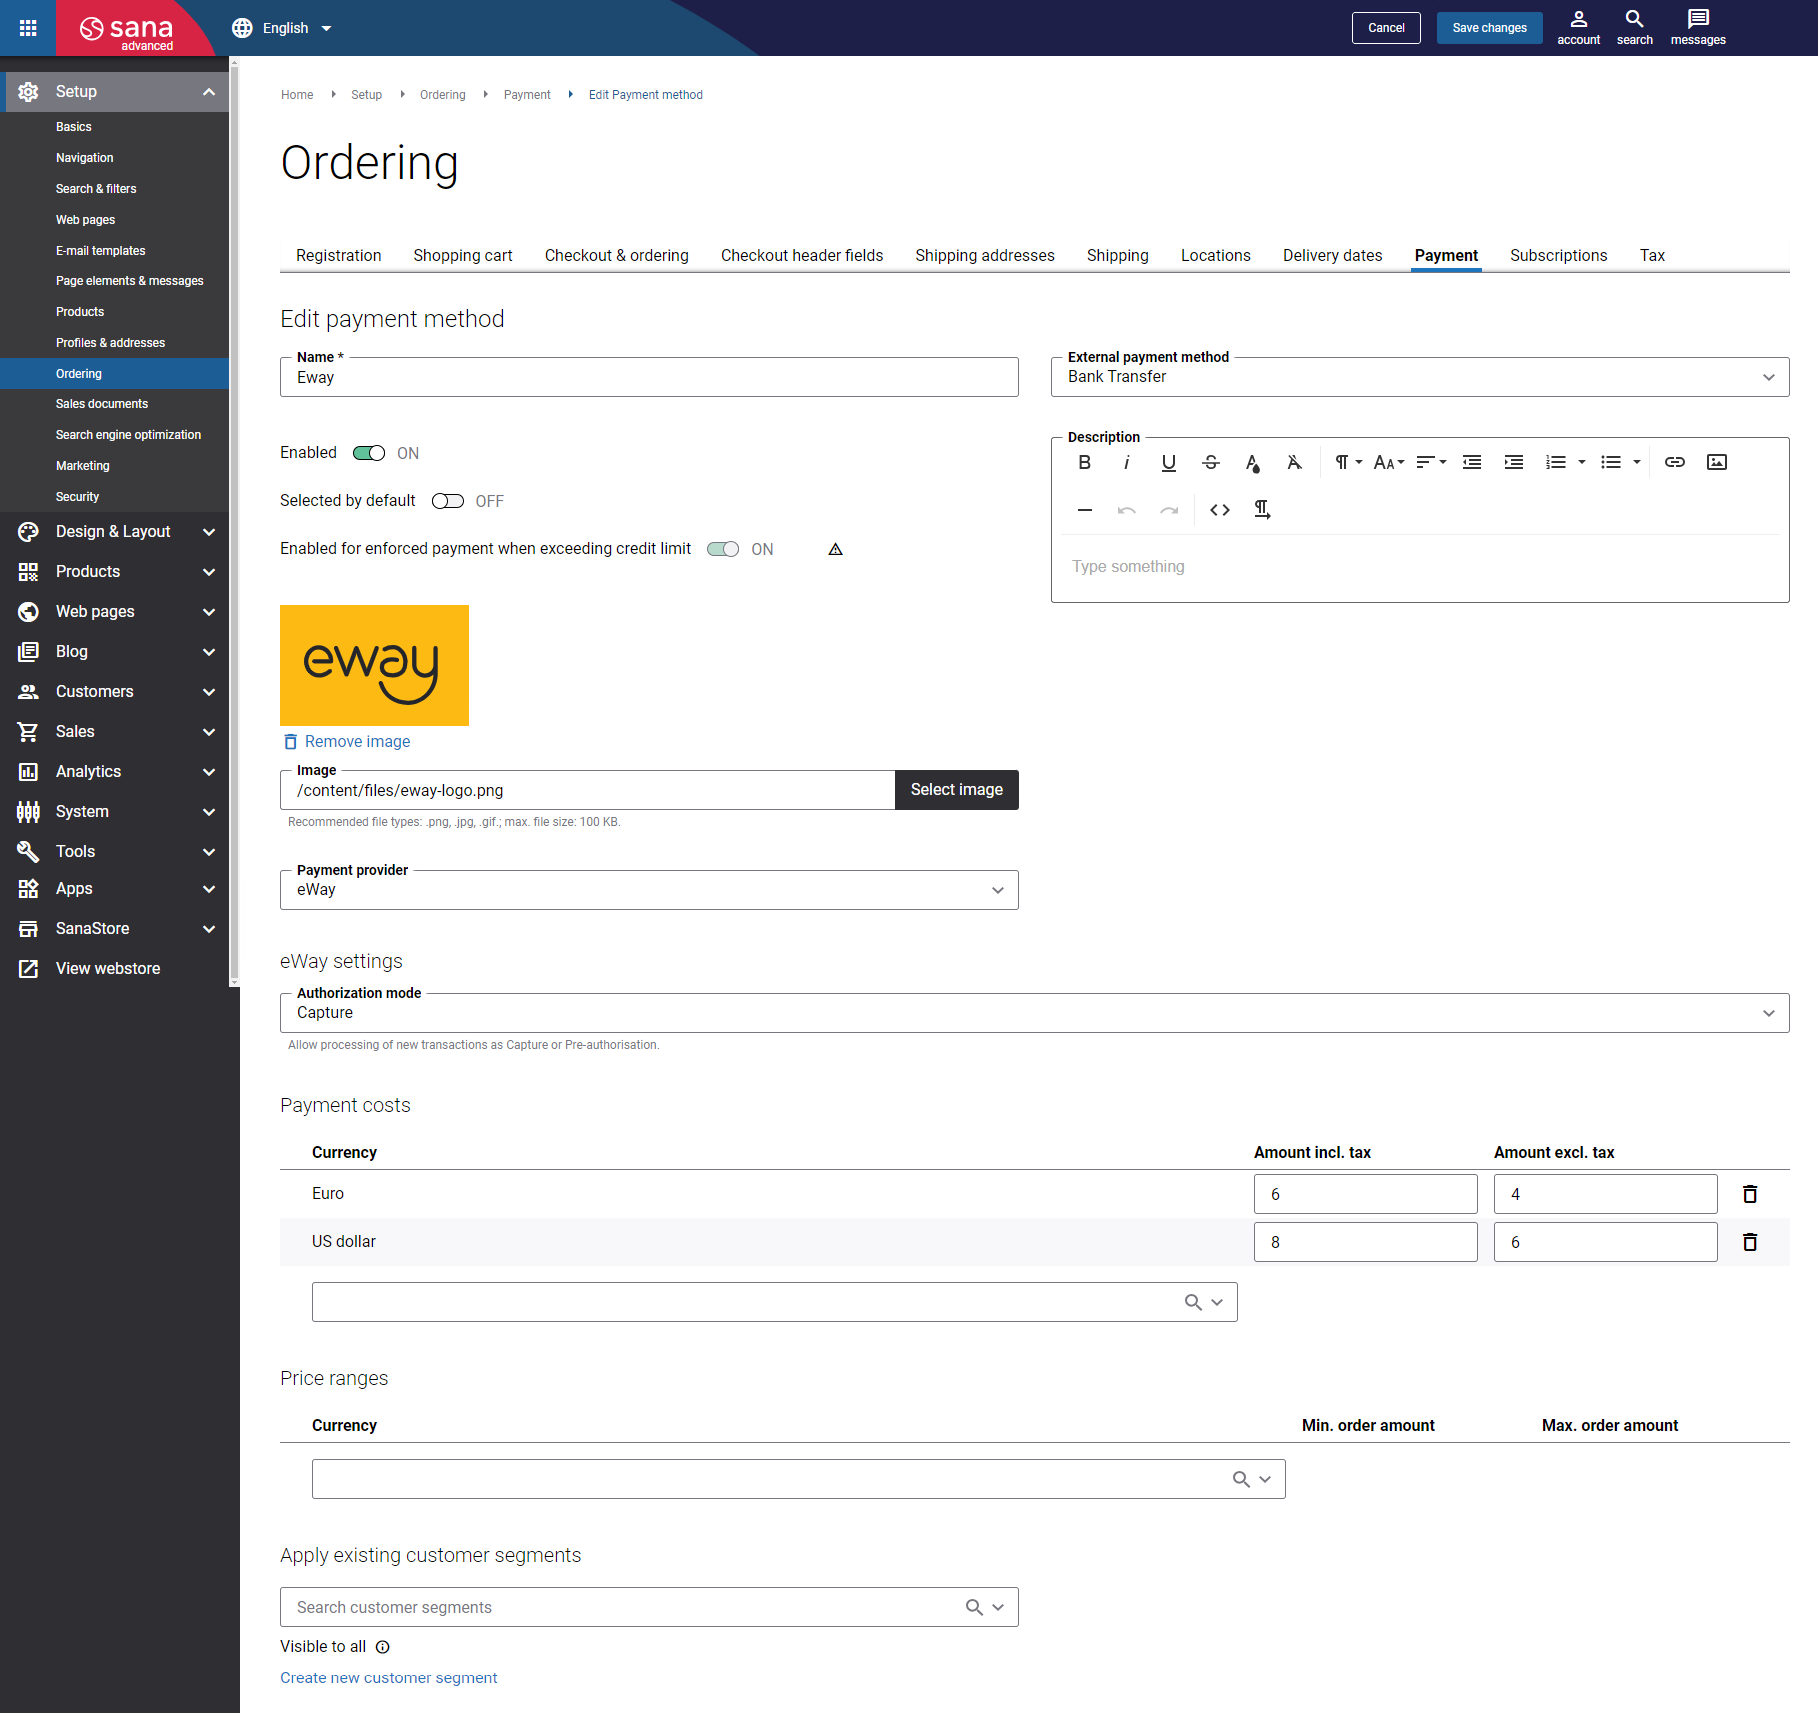
In the Authorization mode field, define how the payment transactions should be processed. The available options are:
-
Capture: Eway charges the customer's card immediately after a successful authorization.
-
Pre-authorisation: Eway reserves funds on a customer's card without charging it immediately. It means the money remains in the customer’s account until the capture has been performed. For more information, see the official Eway documentation Pre-Auths.
For more information about how to create and configure payment methods in Sana Admin, see Online Payment Methods.