Add Store Locator Content Element
The Store locator content element is available as an app. It can be installed from the Sana App Center. In Sana Admin click: App Center > Apps > Apps Explorer.
Store locator is a content element which can be added to web pages (content pages, product and product list pages) and system pages of the Sana webstore. For example, you can create a separate content page with the Store locator content element and add it to your webstore navigation.
You can add only one Store locator content element to the page.
For more information about adding, searching, and filtering content elements on pages, see Content Elements.
Content Tab
The tables below provide the descriptions of the Store locator content element settings.
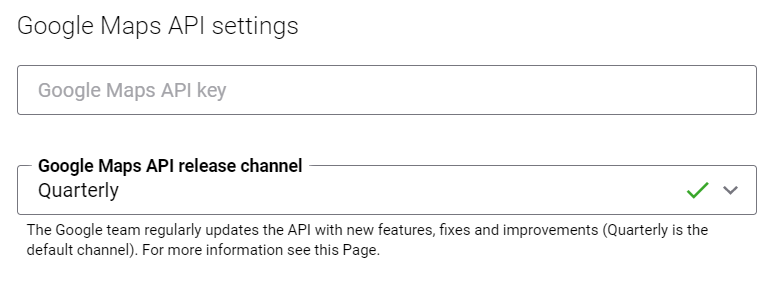
Google Maps API settings
| Field | Description |
|---|---|
| Google Maps API key | Enter the Google Maps JavaScript API key. You must enter the valid key before importing the CSV file with store locations. |
| Google Maps API release channel | The Google Maps JavaScript API team regularly updates the API with new features, bug fixes, and performance improvements.
Select Google Maps API release channel. For more information, see Versioning.
|
Map Settings
| Field | Description |
|---|---|
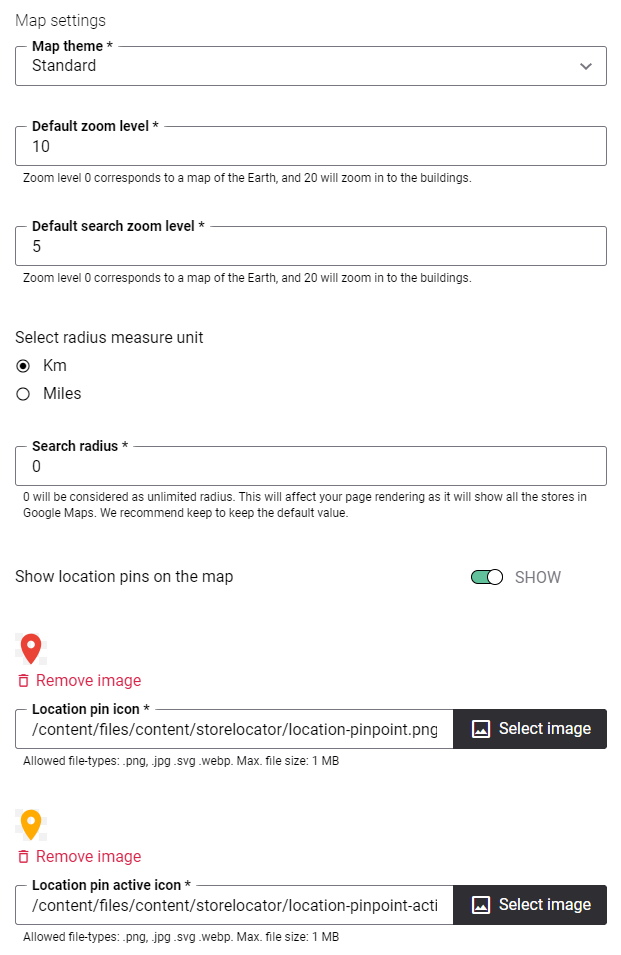
| Map theme | Select a map theme. There are six different map designs:
|
| Default zoom level | Enter the default zoom level of the map. It is used when the map is loaded for the first time. The value should be between 0 and 20. |
| Default search zoom level | Enter the default search zoom level of the map. It is used when search results are shown on the map. The value should be between 0 and 20. If the value of the default search zoom level is not 20, a user might not see the exact store location selected from the list, but the pin point group location instead. |
| Select radius measure unit | Select the unit of measurement in which the search radius should be shown. The following values are available: Km and Miles. |
| Search radius | Enter the radius to search for store locations on the map. The value should be between 1 and 2147483647. If you enter 0, it will be considered as an unlimited search radius.
It is recommended to keep the default value, which is 20. If a user sets value 0, all available stores will be shown, and it may affect page rendering. |
| Show location pins on the map | Use this option to show or hide the location pin icons on the map. |
| Location pin icon | The icon for a single store location on the map. There is the default icon, which can be changed.
The recommended maximum size of the image: 64x64 pixels. |
| Location pin active icon | The icon for a single store location on the map. This icon will be used to show the location of the store on the map which a user selects from the list on the left of the Store locator. There is the default icon, which can be changed.
The recommended maximum size of the image: 64x64 pixels. |
Store Settings

| Field | Description |
|---|---|
| Show opening hours | Use this option to show and hide the opening hours of a store. The opening hours are shown in the details of the store, which a user can open by clicking Detail near the name of the store on the left of the Store locator.
To show the opening hours of a store, you must enter the schedule for at least one day in the CSV file. Current day is shown at the top of the list. You can filter stores using the open now filter. The open now filter will be available only if the Show opening hours option is enabled. |
Location Settings
| Field | Description |
|---|---|
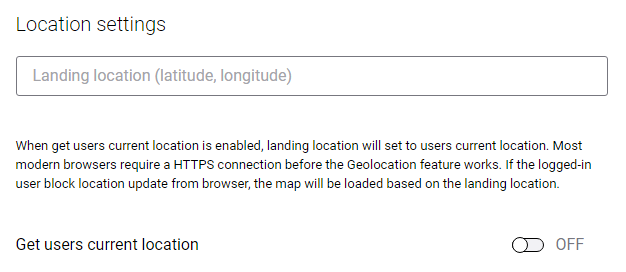
| Landing location (latitude, longitude) | Enter the latitude and longitude of the default location which must be shown on the map, when it is loaded for the first time.
Enter the latitude and longitude in the following format: [latitude,longitude]. This is a required field. |
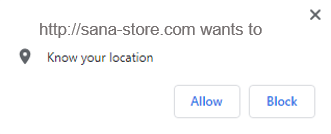
| Get users current location | If this option is enabled, the Geolocation API is used to get the geographical location of a user. Default map will be loaded based on the current location of a user.
For privacy reasons, the user will be asked for permission to report location information. For more information, see Geolocation API.
|
Location Management
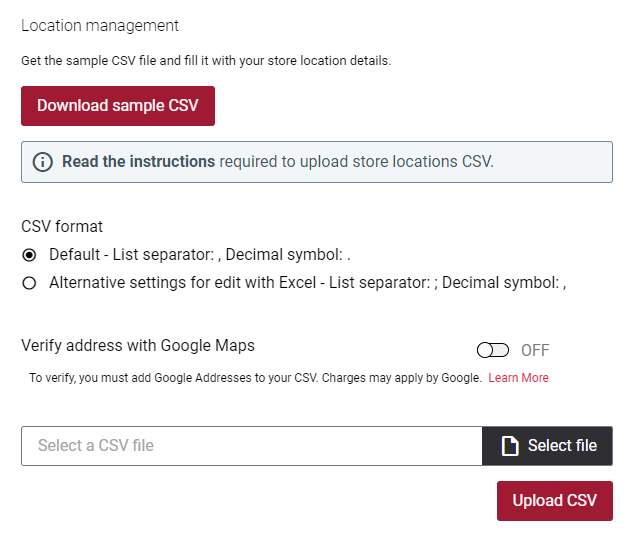
| Field | Description |
|---|---|
| CSV format | Select delimiters which are used in your CSV file to separate list values and as a decimal symbol. They might differ depending on the regional settings of the Web server.
Default format: List separator is “,” and decimal symbol is “.” Alternative format: List separator is “;” and decimal symbol is “,” |
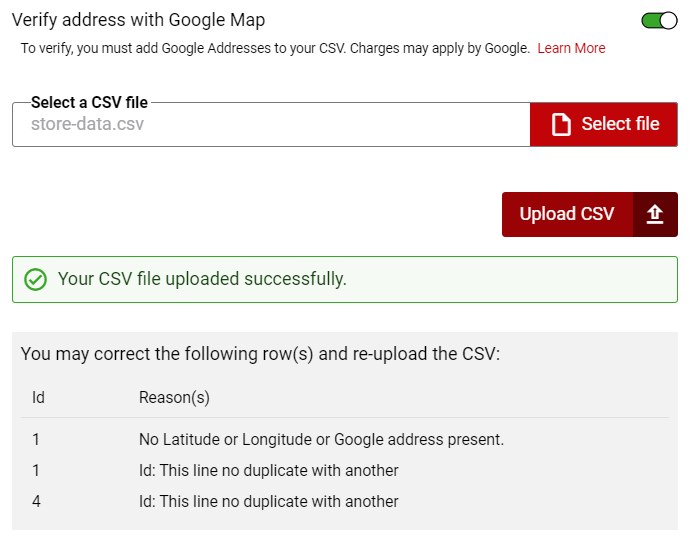
| Verify address with Google Maps | This option is used when a user uploads a CSV file to the Store locator which contains only Google addresses of stores, while longitude and latitude are not specified. If this option is enabled, the longitude and latitude will be automatically filled based on the Google address in the CSV file.
Google may charge extra fee for the usage of this feature. For more information, refer to the official Google Cloud documentation. |
Import Store Locations
You can upload a CSV file which contains store locations to Sana. To upload store locations, download the CSV template and fill it in with the necessary information. You can download the CSV template only when the page with the Store locator content element has been already created.
Check the example of the CSV file for store locations.
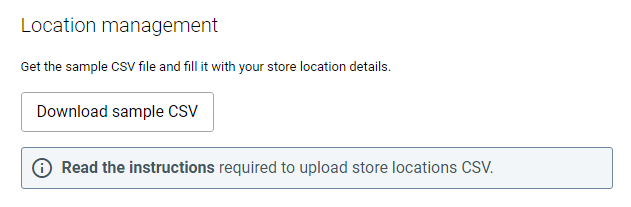
In the Location management section of the Store locator content element, you can click Read the instructions to get information about how to correctly fill in a CSV file.
Do not remove any headers (field names) from the CSV template. Otherwise, you will not be able to import the CSV file to Sana. If you do not want to fill in some fields, you can leave them empty.
We do not recommend to add several Store locator content elements to the same page.
The following fields are required:
- Id
- Store Name
- Latitude and Longitude or Google Address
If you open the details of the store in the Store locator you can only see the store name, its Google address, website URL, phone number and opening hours. All other information from the CSV file is not shown. To show this information in the Store locator requires add-on customization.
Store locations are determined on the map first by latitude and longitude, and if the coordinates are not found, then by Google address.
See examples of the Google address:
-
1600 Amphitheatre Parkway, Mountain View, CA, 94043
-
Van Nelleweg 1, 3044BC, Rotterdam, Netherlands
You can use the following address information to add the Google address:
<Street name> <house number>,<zip code>, <city>,<country>
If you enter only Google addresses of your stores in the CSV file, it can take more time for your customers to find a store rather than using Latitude and Longitude. Therefore, we recommend to use Latitude and Longitude.
You can also add an extra information about your stores to the CSV file, for example the brands which you are selling. These fields can be used only to filter the stores and they are not shown on the map. You can add the necessary fields and data to the CSV file and import it to Sana. Additional fields must be added to the end of the CSV file on the right. Otherwise, you will not be able to import the CSV file to Sana. To see the filters, on the left pane of the Store locator, click Filters. The open now filter is shown only when the option Show opening hours is enabled.
Additional CSV File Recommendations:
-
To add a filter to the CSV file, you must use specific format, for example, filter_wifi. If the name of the filter contains more than one word, then you should separate each word with an underscore (_). For example, If you need to add the parking availability filter to the Store locator, then add it to the CSV file in the following format: filter_parking_availability.
-
If you use Microsoft Excel to fill in the CSV file with your store locations, please remember that Excel does not handle correctly special characters (after it is saved) that are specific for some languages, for example é, ç, ü, ¼Ã¼. In some cases, it leads to the encoding issues. This is because Microsoft Excel uses your locale's operating system codepage. Therefore, if you have special characters in the store locations, it is recommended to save the CSV file in the UTF-8 format. In this way special characters will be handled correctly, or you can also import your CSV file to Microsoft Excel using the correct encoding. For more information, see Import or export text (.txt or .csv) files.
Once the CSV file with all the necessary information is ready, you can upload it to Sana. While importing store locations, the data in the CSV file is validated. If there is some wrong data in the CSV file, you will see the import summary - the number of successfully imported stores and failed. If some stores are not uploaded, you will see the reason of failure per line.
If you click the Download sample CSV button after the CSV file with store locations is uploaded to Sana, the CSV file with all imported store locations will be downloaded instead of the CSV template.
Accessibility Settings

| Field | Description |
|---|---|
| Content element alt text | Enter the Store locator content element alt text.
Alt (alternative) text is used to describe the function and content of the Store locator content element on a page. Visually impaired users using screen readers can read an alt text to better understand the content in the Store locator content element. |
Advanced Tab
On the Advanced tab of the Store locator content element, you can configure height, width, and spacing settings.
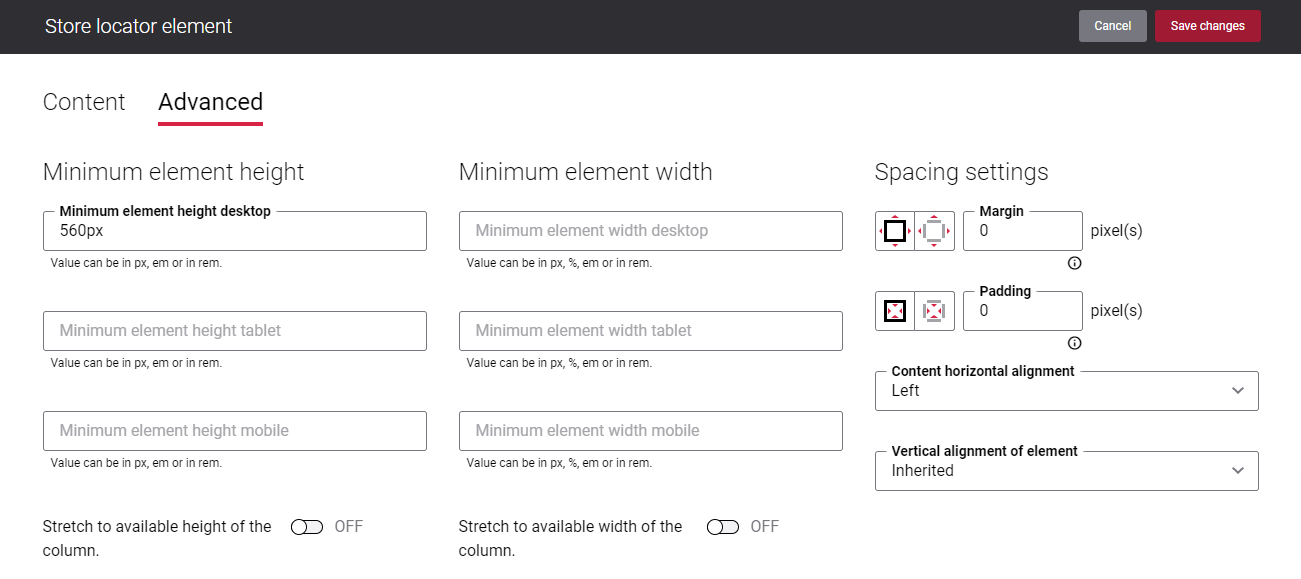
For more information about advanced settings, see Content Elements.
Google Maps Translations
If customers select a different language in the Sana webstore, to see its content in the language of their choice, the content of the Google Maps in the Store locator will be also translated to the selected language. It affects only Google Maps, the fields from the CSV file and the default texts of the Store locator content element will not be translated. If a customer selects a language in the webstore which is not supported by Google Maps, the content of the Google Maps will be shown in the default language (English).
To see the list of supported languages, refer to the official Google Cloud documentation.