Add Countdown Content Element
The Countdown content element is available as an app. It can be installed from the Sana App Center. In Sana Admin click: App Center > Apps > Apps Explorer.
The Countdown content element can be added to the web pages (content, product and product list pages) and system pages of the Sana webstore.
For more information about adding, searching, and filtering content elements on pages, see Content Elements.
Using the Countdown content element, you can help your customers and webstore visitors keep track of all exciting upcoming events in your Sana webstore.
When you add the Countdown content element to a page, it is already predefined with the default values, so you can preview the page to see how the content element looks like. Then you can configure it the way you need.
The animated countdown allows you to specify a date and time in the future and display a block of numbers that is counting down each day, hour, minute and second.
Content Tab
Below you can see the detailed description of the Countdown content element settings.
Countdown Settings
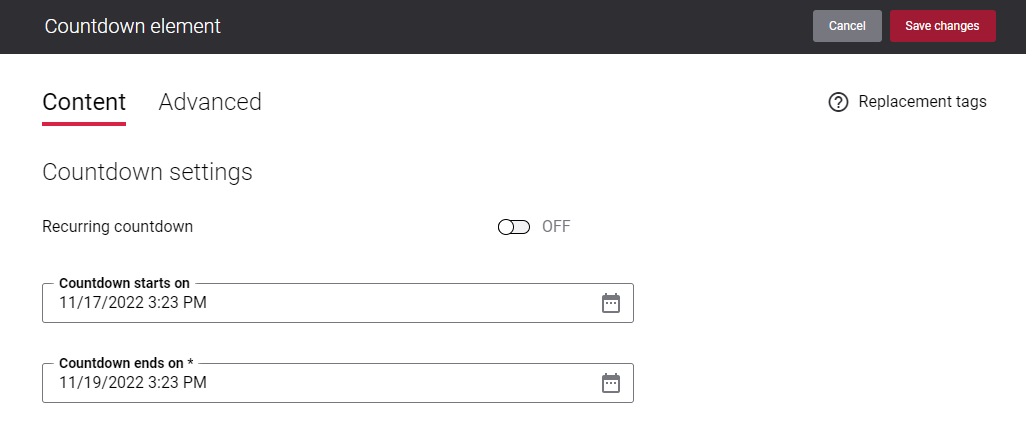
The settings described in the table below are the general countdown settings. Using the Countdown starts on and Countdown ends on fields, you can set up a one-time countdown. If you need to set up the recurring countdown, enable the Recurring countdown option.
| Field | Description |
|---|---|
| Recurring countdown | Activate this option to enable recurring countdown and configure the recurring countdown settings.
See the description of the recurring countdown settings below. |
| Countdown starts on | Specify the countdown start date and time.
You can select the value from the date / time picker or enter it manually. If you enter the invalid value, then the last valid value will be shown instead. |
| Countdown ends on | Specify the countdown end date and time.
You can select the value from the date / time picker or enter it manually. If you enter the invalid value, then the last valid value will be shown instead. |
Recurring Countdown
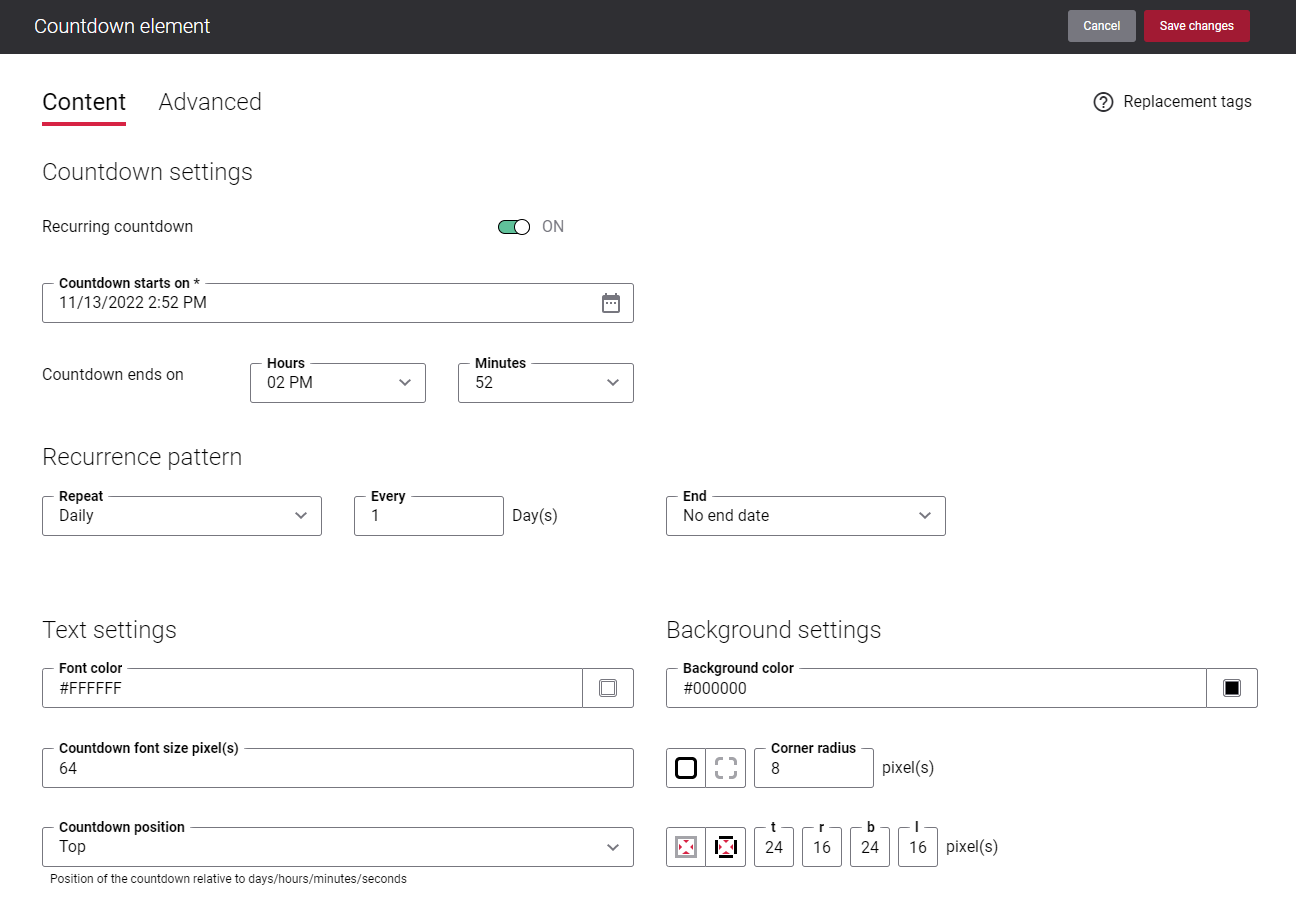
Activate the Recurring countdown option to enable recurring countdown and configure the recurring countdown settings.
The table below provides the description of the recurring countdown settings.
| Field | Description |
|---|---|
| Countdown starts on | Specify the countdown start date and time.
You can select the value from the date / time picker or enter it manually. If you enter the invalid value, then the last valid value will be shown instead. |
| Countdown ends on | Specify the countdown end time.
The end day is defined based on the recurrence pattern settings. If the end time is reached and according to the configured recurrence pattern the countdown is not supposed to reoccur again, then it remains with the zero values. |
| Recurrence pattern | |
| Repeat | Select the necessary repeat option. The available options are:
|
| Every | Specify how often the countdown should reoccur. For example:
Depending on the value selected in the Repeat field, different settings will be shown. |
| End | Specify when the countdown occurrence should end. The available options are:
|
Text Settings
| Field | Description |
|---|---|
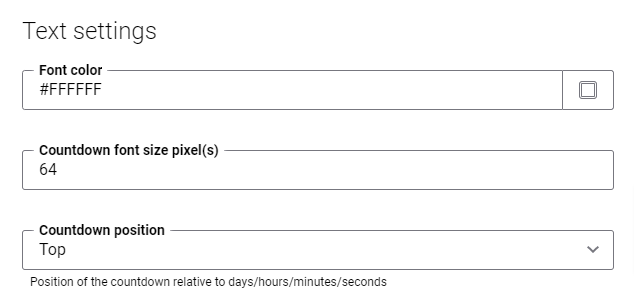
| Font color | Select the font color for the countdown.
You can change it using the color picker, or by entering the color hex code, RGB or HSL values. If you leave this field empty, the default color from the webstore theme will be applied. |
| Countdown font size pixel(s) | Enter the necessary font size for the countdown in pixels. Texts in the countdown are 60% smaller than numbers.
For example, if the countdown font size is 64px, the numbers in the countdown will be 64px, and texts – Days, Hrs, Min and Sec will be 38px (60% out of 64px). |
| Countdown position | Select the position of the countdown relative to days / hours / minutes / seconds. The available options are:
|
Background Settings
| Field | Description |
|---|---|
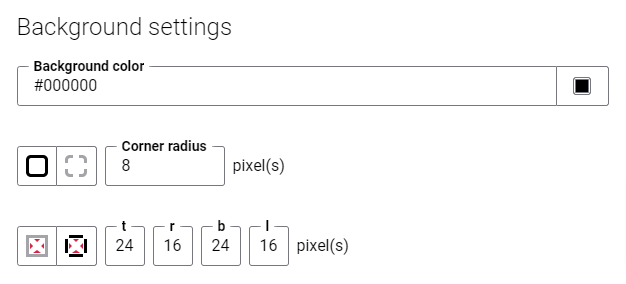
| Background color | Select the background color for the countdown.
You can change it using the color picker, or by entering the color hex code, RGB or HSL values. If you leave this field empty, the default color from the webstore theme will be applied. |
| Corner radius | Each border has a corner radius in pixels that you can change individually or specify the same radius for all corners.
There are settings for specifying each corner radius individually:
|
| Padding | Padding is an area around the countdown. Each side of the countdown has a padding size in pixels that you can change individually or specify the same size for all paddings. Using padding, you can define space between elements.
There are settings for specifying padding for each side of the countdown:
|
Advanced Tab
On the Advanced tab of the Countdown content element, you can configure height, width, and spacing settings.
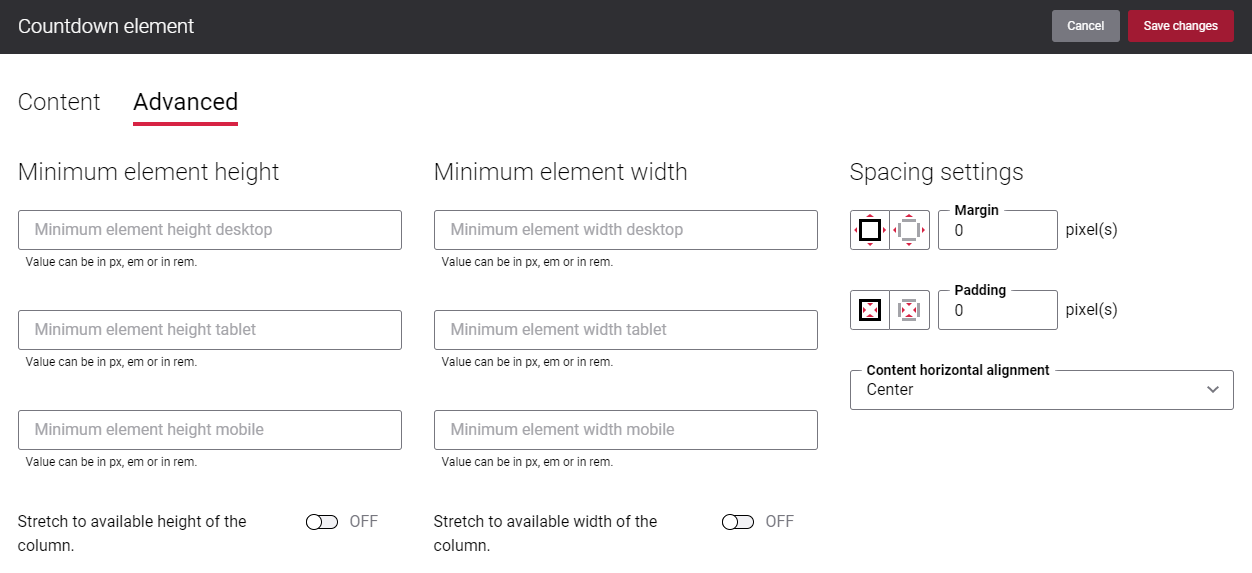
For more information about advanced settings, see Content Elements.