Set Up Microsoft Entra ID Authorization
Sana Commerce Cloud supports Microsoft Entra ID (formerly known as Azure Active Directory) authentication to connect to Microsoft Dynamics 365 for Finance and Operations.
If your Microsoft Dynamics 365 for Finance and Operations is deployed on-premises and you want to use Active Directory Federation Services (AD FS) but not Microsoft Entra ID, check the article Supported Connection Types.
If you use AD FS, skip this article.
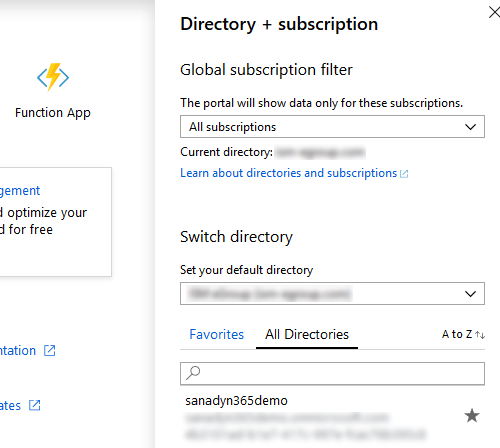
Step 1: Sign in to Microsoft Azure portal.
Step 2: Select your subscription associated with the LCS project.
Step 3: Search for and select Microsoft Entra ID.
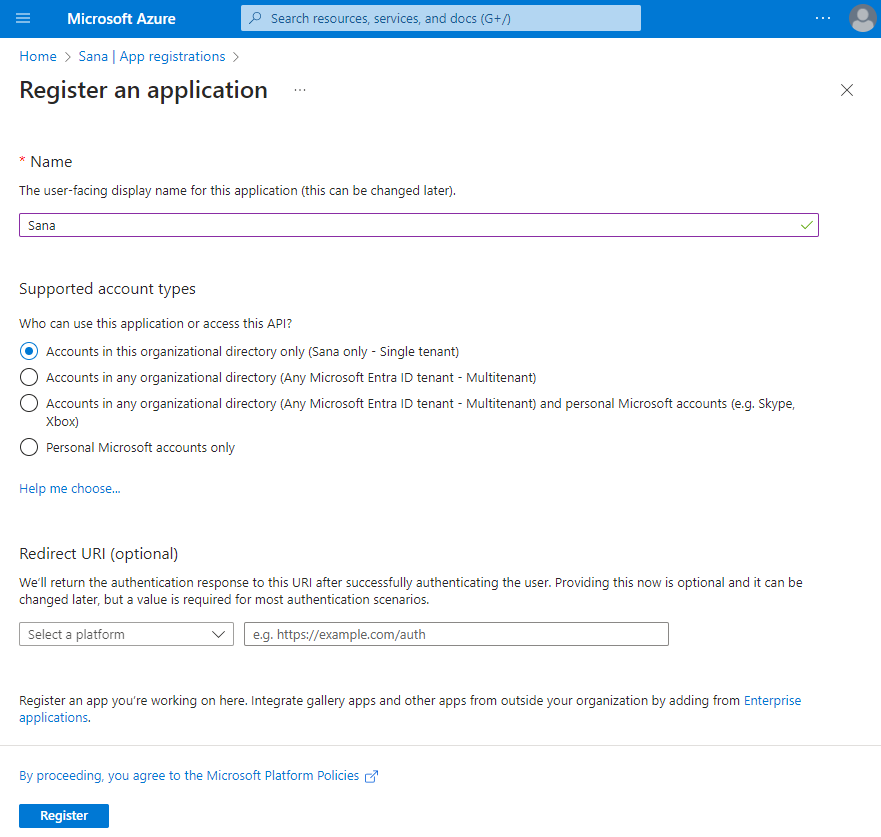
Step 4: In the menu on the left, click: App registrations > New registration.
Step 5: In the Name field, enter any application name. Click Register to complete app registration.
Step 6: Go to Authentication and configure the application settings as shown on the screenshot below.

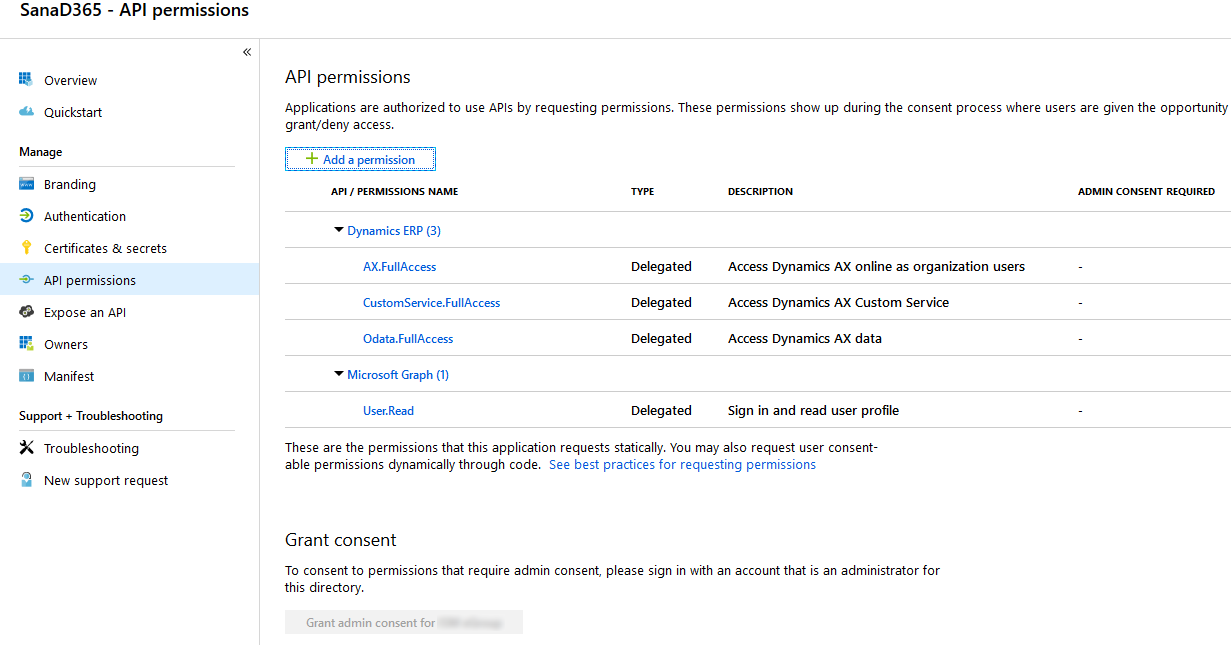
Step 7: Open API permissions. Set up Dynamics ERP permissions as shown on the screenshot below.
Step 8: Open the Overview page and copy Application (client) ID of the Sana application.
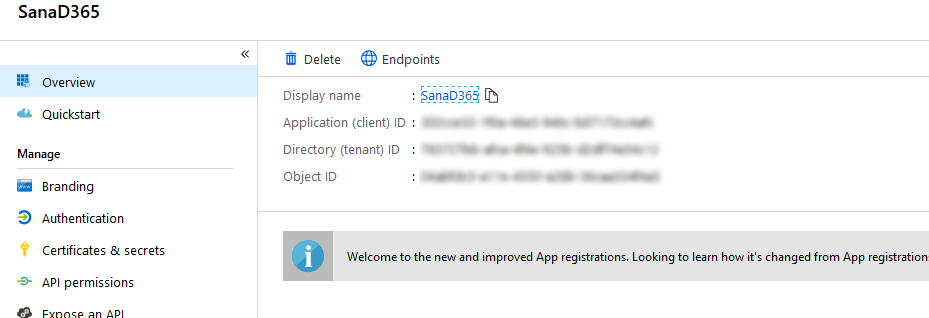
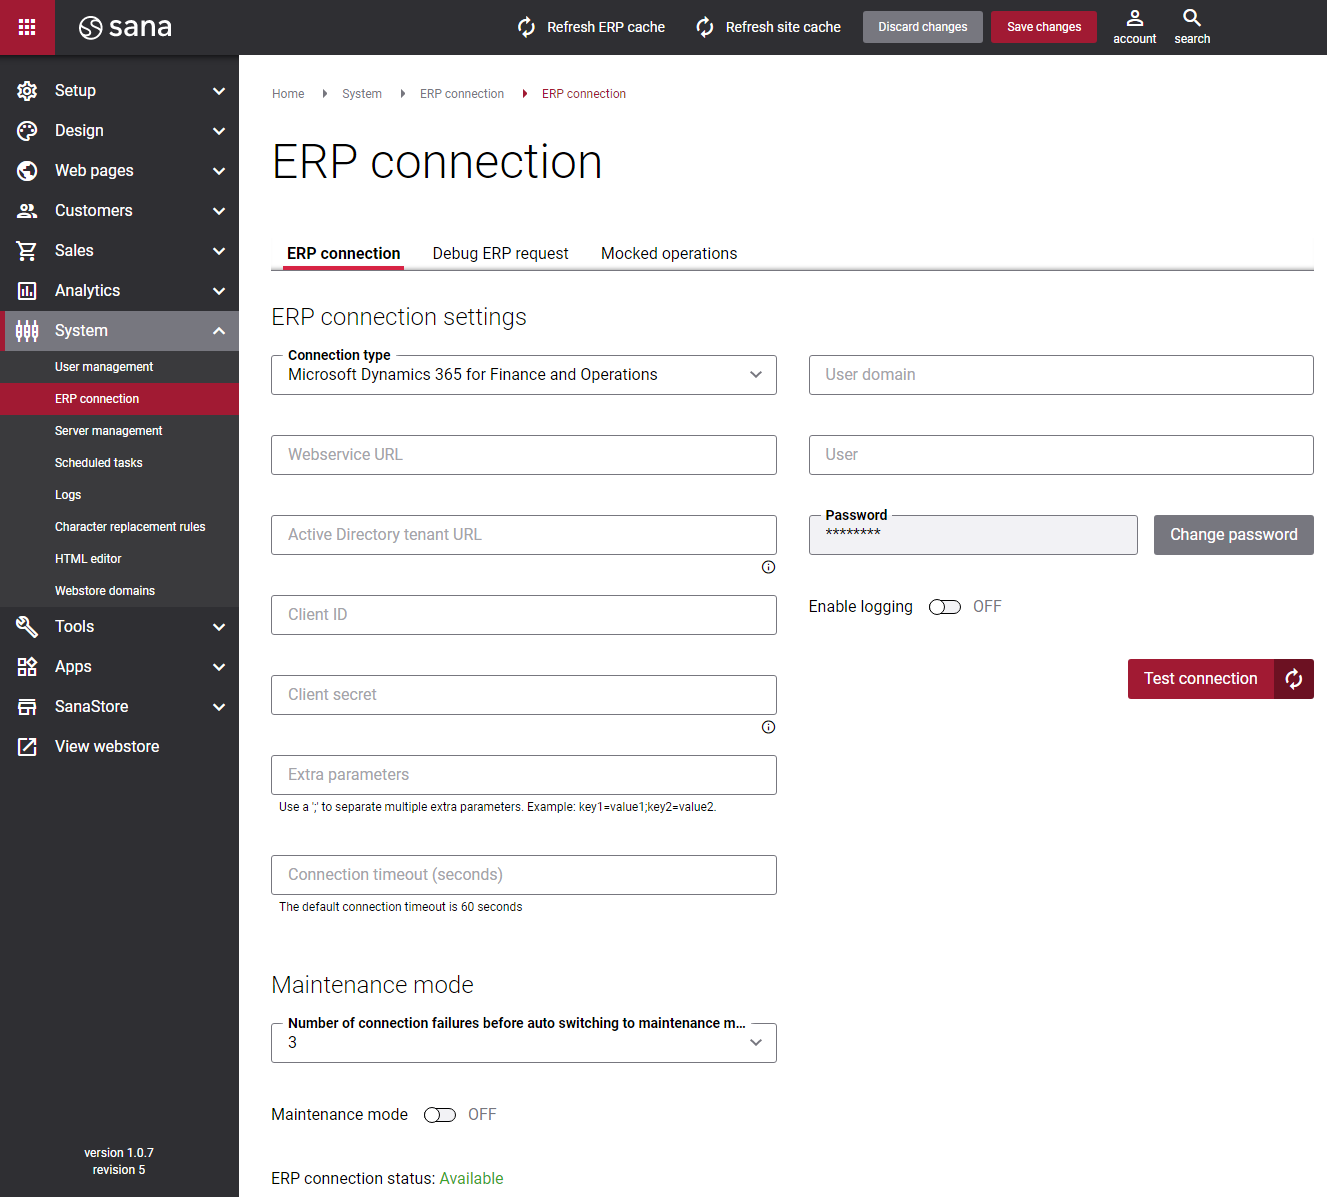
This application (client) ID must be entered in the ERP connection settings in Sana Admin. It must be entered in the Client ID field. Therefore, send the application ID of the Sana application to the person who is responsible for the Sana web store.
Create a Client Secret
Sana Commerce Cloud can access Microsoft Dynamics 365 for Finance and Operations using two types of credentials:
- Client ID + User Credentials
- Client ID + Client Secret
Client secret is a secret string that the application uses to prove its identity. You can use client secret if you don’t want the ERP user to be visible in Sana Admin for security reasons. If you don’t need the client secret and you want to use the user credentials instead, you can skip this step.
Step 1: Select your application in App registrations in the Microsoft Entra ID.
Step 2: Go to Certificates & secrets and click New client secret.
Step 3: Add a description for your client secret and select an expiration date.
Step 4: Click Add.
Step 5: Copy the secret's value as when you leave this page it will be hidden and you will not be able to see it again. If you don't save it somewhere, you will need to create another client secret.
