Import Sana License
Prerequisites
- You must follow the steps in this article to import the Sana license if you use the Sana model. You can import the Sana license if you have administrator rights to your Microsoft Dynamics 365 for Finance and Operations environment.
- If your Microsoft Dynamics 365 for Finance and Operations is hosted in the cloud by Microsoft and you don't have administrator rights to the environment and you use the Sana model, then in addition to the Sana model, you must also import the deployable Sana package together with the Sana license.
- If you use the deployable Sana package, then you don't need to import the Sana license separately. It must be added to the deployable package and imported together with Sana.
How to import the Sana license with the deployable Sana package is described in the installation manual for the deployable package.
Import the Sana License to the Target Microsoft Dynamics 365 for Finance and Operations Environment
Step 1: Execute the following command. First, specify the necessary parameters.
Microsoft.Dynamics.AX.Deployment.Setup.exe --setupmode importlicensefile --metadatadir j:\aosservice\packageslocaldirectory --bindir j:\aosservice\packageslocaldirectory --licensefilename c:\temp\license.txt --sqlserver . --sqldatabase axdb --sqluser axdbadmin --sqlpwd
| Parameter | Description |
|---|---|
| -metadatadir | Use this parameter to specify the metadata directory. You should use the default packages directory. |
| -bindir | Use this parameter to specify the binaries directory. You should use the default packages directory. |
| -sqluser | Use this parameter to specify the SQL Server user. You should pass in AOSUser. |
| -sqlpwd | Use this parameter to specify the SQL Server password. |
| -licensefilename | Use this parameter to specify the license file that will be loaded. |
The file Microsoft.Dynamics.AX.Deployment.Setup.exe is located in the Bin folder of the metadata directory, usually here: j:\AosService\PackagesLocalDirectory\Bin. You can check the SQL server user and password in your LCS project, in the deployed environment section.

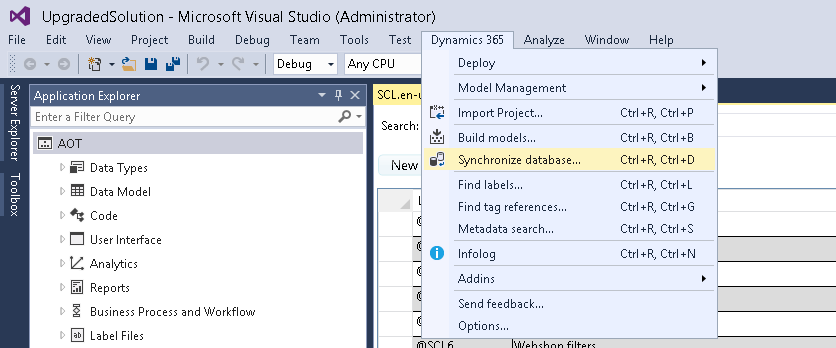
Step 2: Start database synchronization from Microsoft Visual Studio.

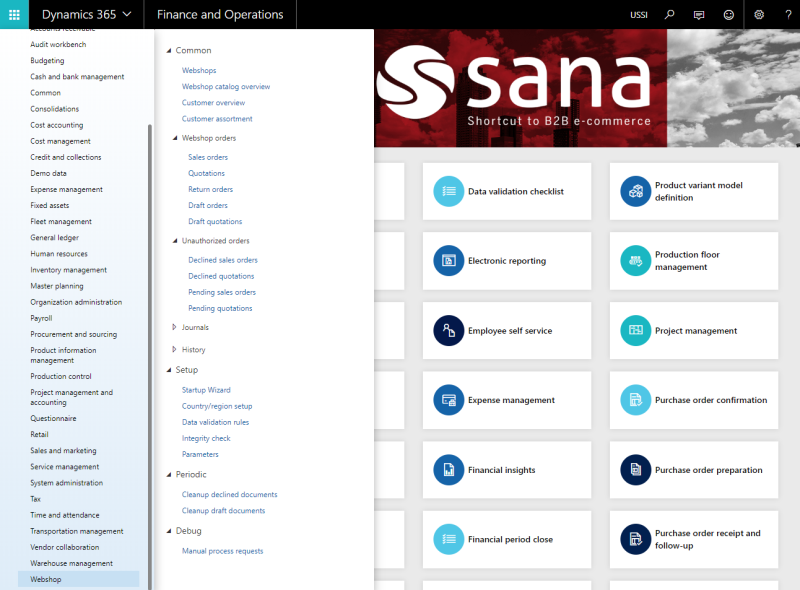
Step 3: After successful database synchronization, refresh the home page of your Dynamics 365 for Finance and Operations environment. You should now see the Webshop module of the Sana Commerce solution.
