Configure Filtering
Tweakwise offers extensive filtering options ensuring customers can narrow down product selections to their exact specifications. This way, you can provide a more convenient shopping experience that drives higher engagement and conversions.
Filter Templates
Step 1: In the Tweakwise dashboard click: Filtering > Filter templates.
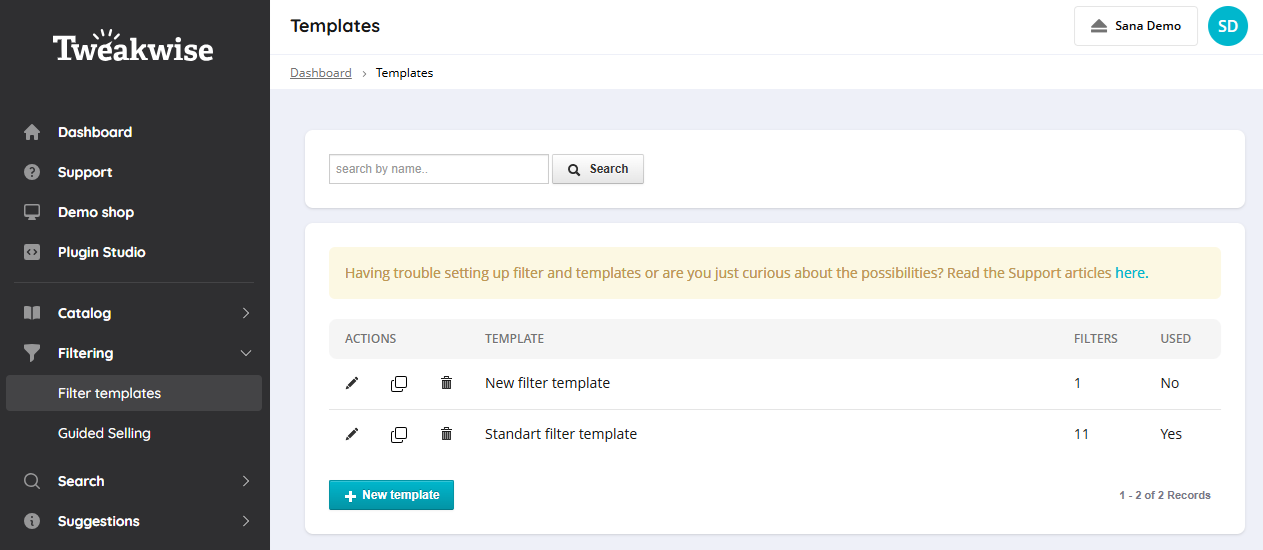
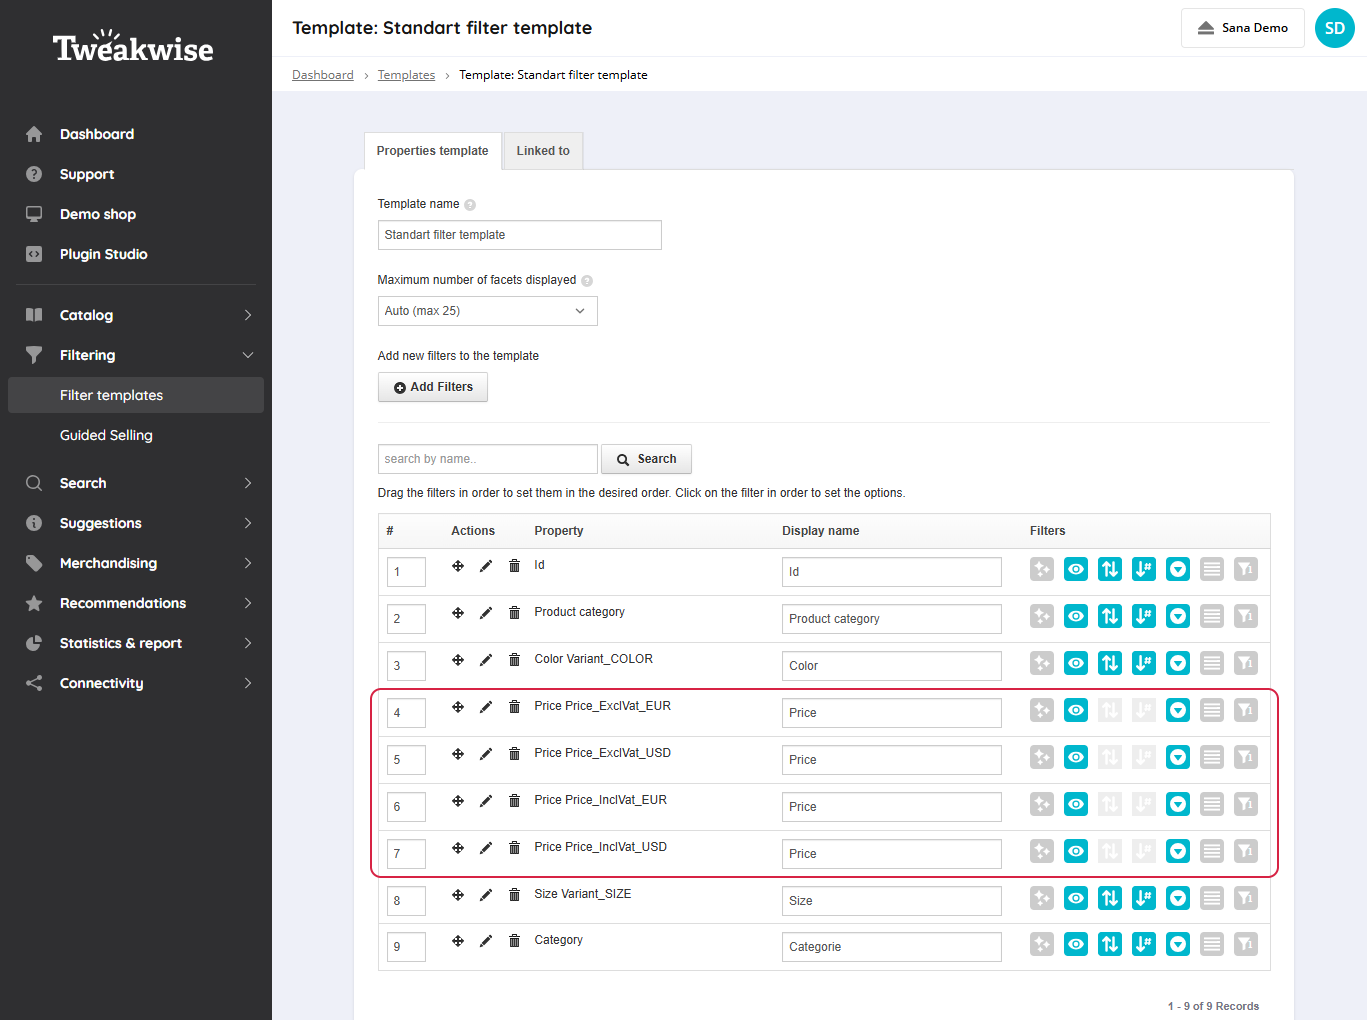
Step 2: Open the necessary filter template. On the Properties template tab, you can configure the facetted filters.
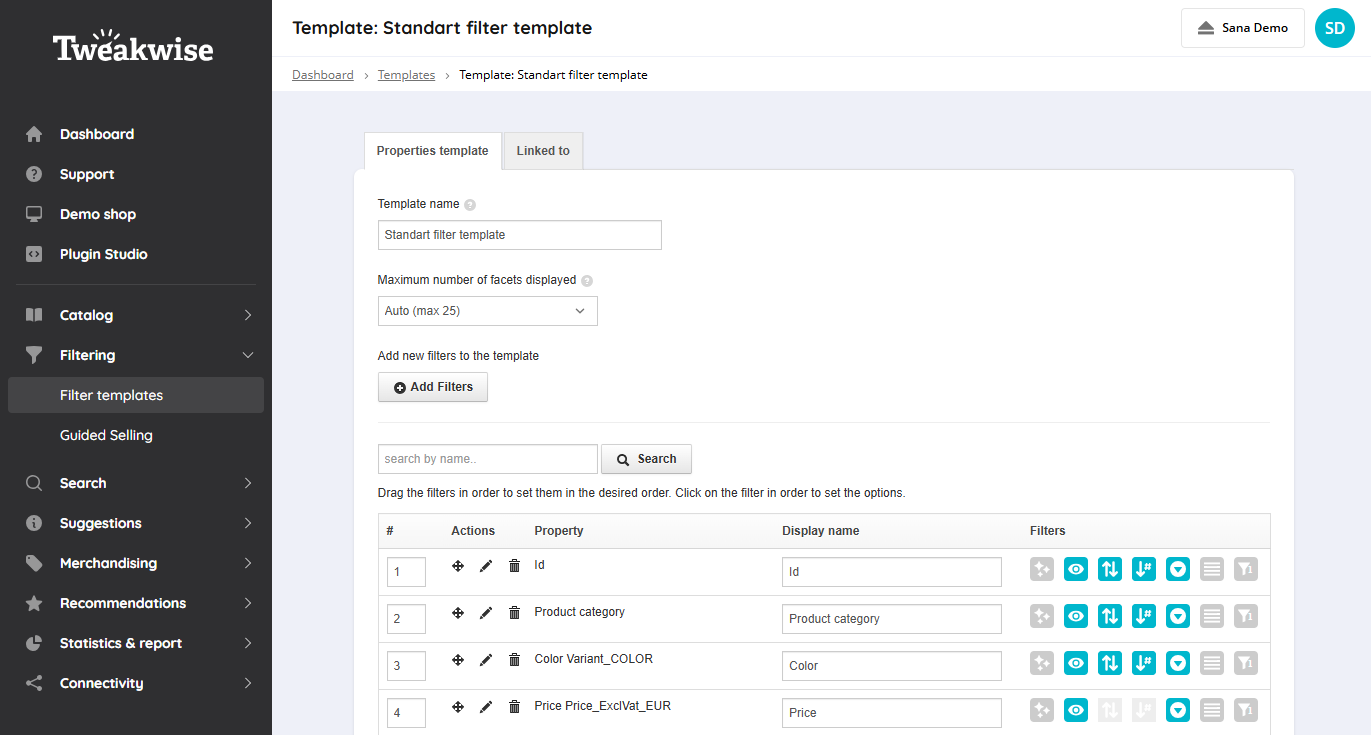
The filters in the template are the imported facetted filters from Sana Commerce Cloud.
If you have previously imported filters, importing new filters will not delete the existing ones. As a result, the displayed list may not fully reflect the filters configured in Sana Commerce Cloud. Only filters tagged with the Sana configuration and present in the catalog.xml file will appear in the webstore.
When you add the facetted filters to the filter template in Tweakwise, you can see the filters both with and without the Keyword tag.
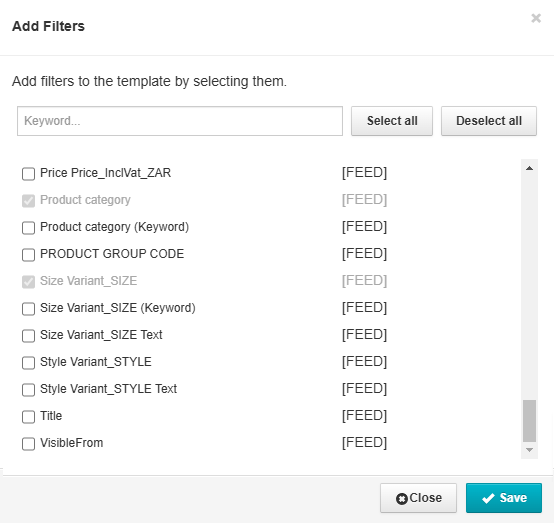
- Filters with the Keyword tag are used for search.
- Filters without the Keyword tag are used for facetted filtering.
On the Properties template tab, you can see the Product category and Category filters.

-
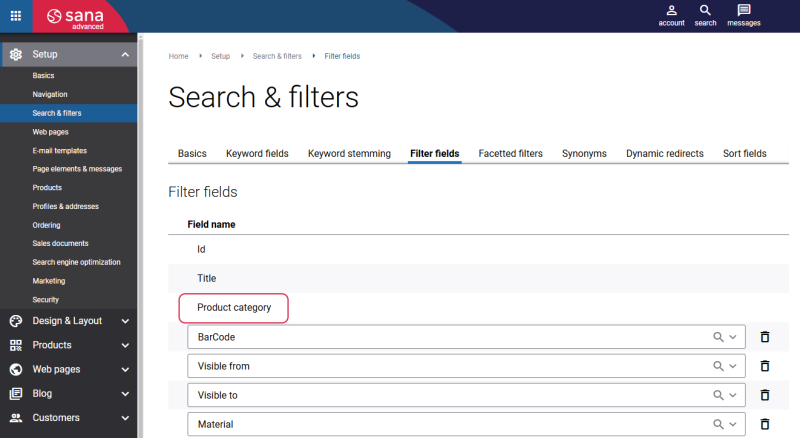
The Product category filter is a standard filter field from Sana.
-
The Category filter is a standard filter field from Tweakwise. The Tree view display filter value supports loading up to two levels of category levels simultaneously.


For more information about filter templates in Tweakwise, refer to the documentation for the Filter templates module in the official Tweakwise documentation.
Create Filters
Step 1: To add a new filter to the filter template, click on the Add Filters button.
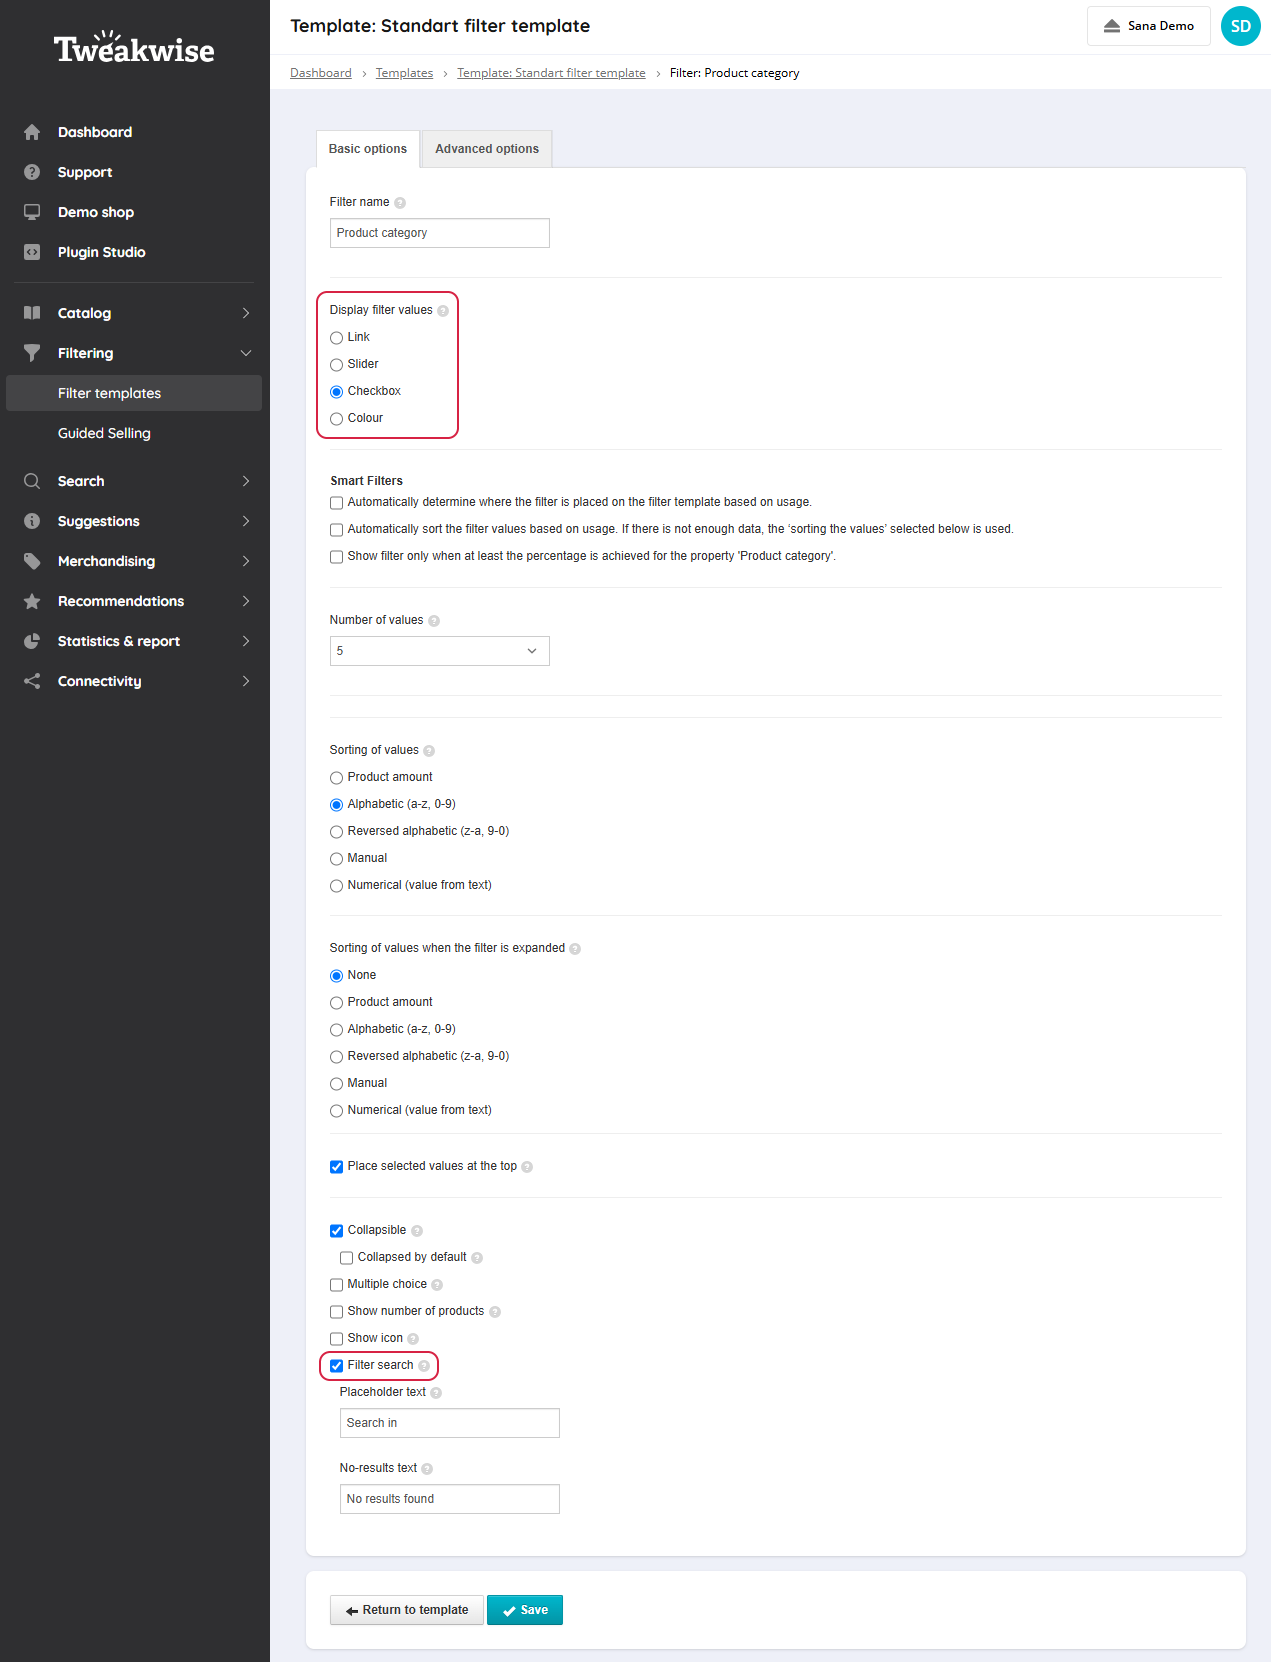
Step 2: On the Basic options tab, in the Filter name field, enter a filter name.

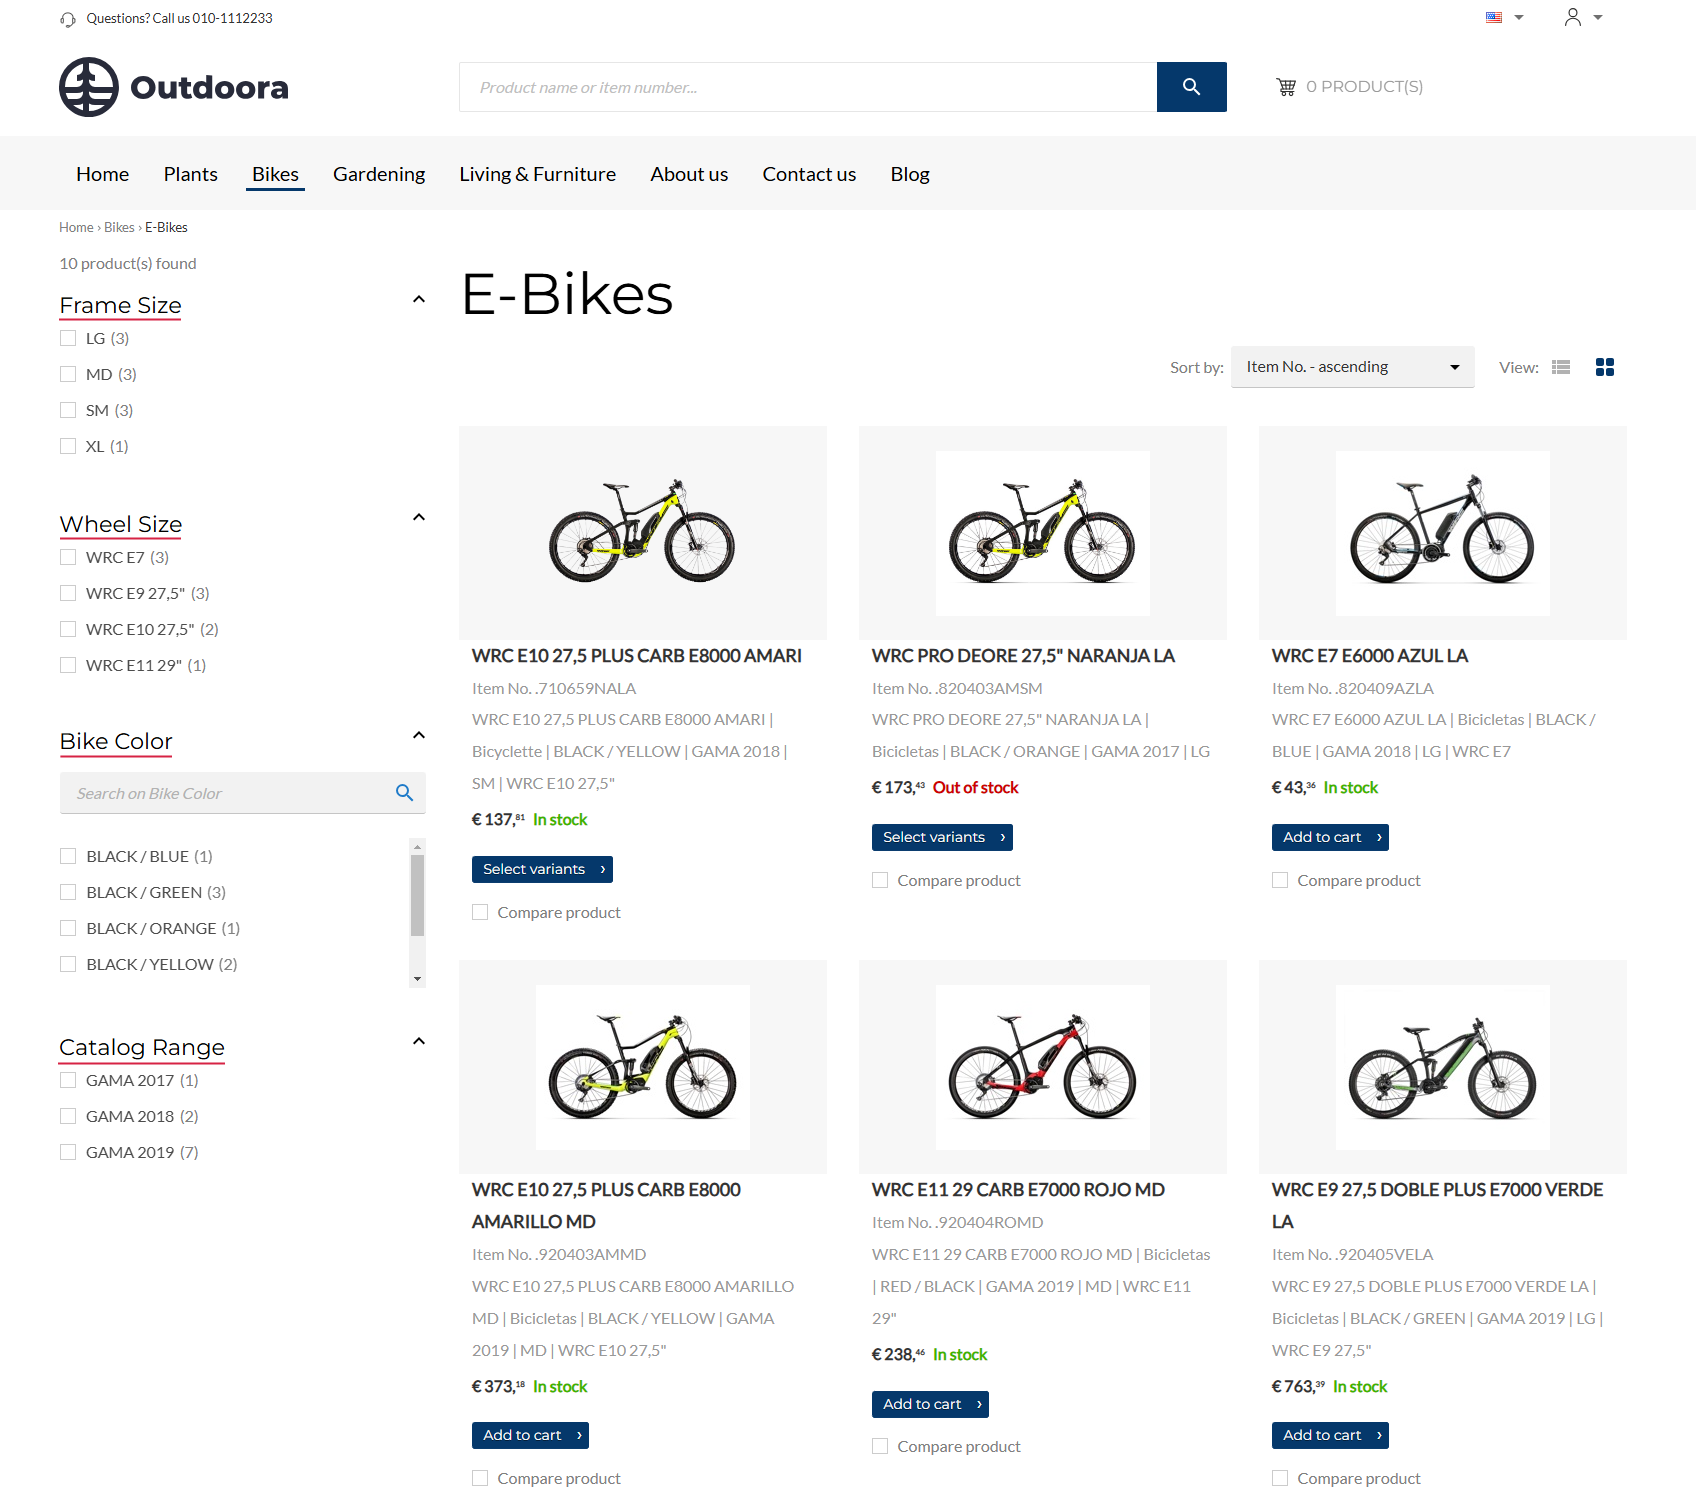
Filter name will be shown as a facet name in the Sana webstore, making it easier for customers to navigate and identify relevant product categories during their shopping experience.
In Tweakwise, the availability of settings may vary depending on the specific facet filter.
Step 3: Using the Display filter values setting, you can specify how the filter values will be shown in the Sana webstore. For example, the Slider option visually represents a selectable range between a specified minimum and maximum price, and is available only for decimal, integer, or big integer fields. Other options, such as Link, Checkbox, and Colour, will display the filter values as checkboxes.
The configuration settings differ depending on the selected display type.
For the Link, Checkbox, and Colour display types, you can enable the Filter search setting. This way, customers can search for products using facetted filter values in the Sana webstore.
For proper filtering in the Sana webstore, you should configure the Price filter for each currency separately in Tweakwise.
Step 4: Use the setting Smart filters to enhance the customer experience by dynamically displaying and organizing filters based on relevance and usage.
For more information on how to use smart filters in Tweakwise, refer to the official Tweakwise documentation.
Step 5: Use the setting Number of values to specify the number of filter values displayed to customers for a specific facet. This way, you can control how many options are shown in the filter list, improving usability and preventing information overload for customers navigating large product catalogs.
It is recommended to make sure that facet filters with numerous filter values are set to be collapsible. This helps maintain a clean and organized interface, prevents a cluttered or unpresentable display, and improves overall webstore performance.
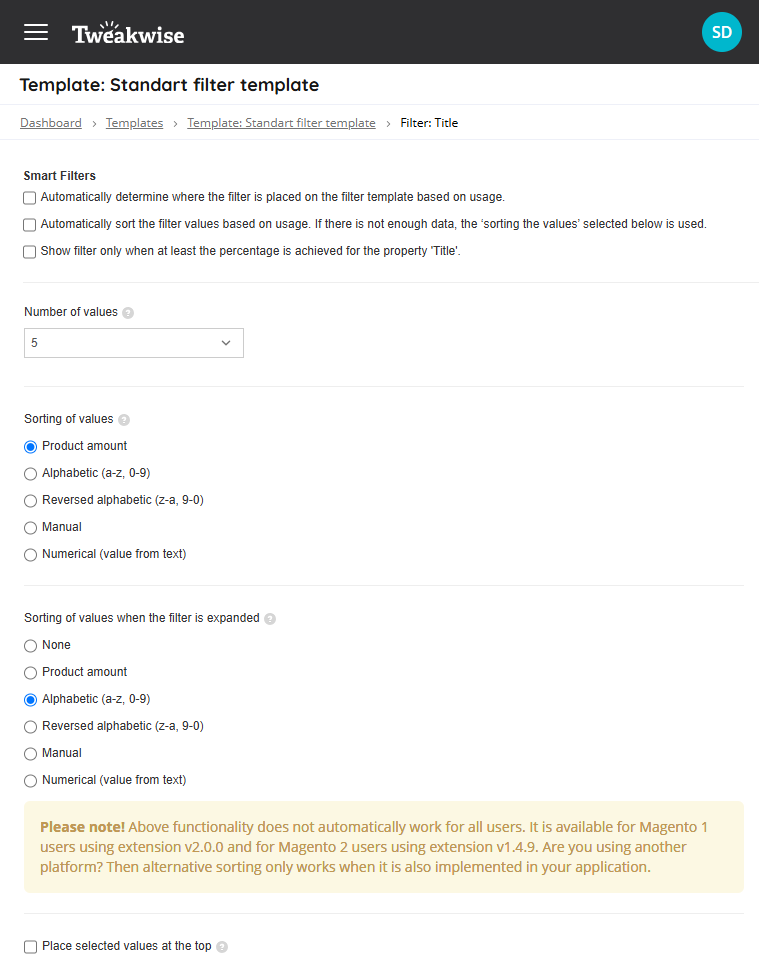
Step 6: Use the Sorting of values setting to determine the order in which facet filter values will be displayed in the collapsed view on search result and product list pages in the Sana webstore. This way, you can prioritize the visibility of specific filter options, ensuring a more intuitive and efficient navigation experience for customers. Facet filter values are displayed in the order provided by Tweakwise.
For more information on how to sort filter values manually in Tweakwise, refer to the official Tweakwise documentation.
Step 7: Use the setting Sorting of values when the filter is expanded to determine the order in which facet filter values will be displayed in the expanded view on search result and product list pages in the Sana webstore. For example, you can sort the filter values by Product amount while maintaining the Alphabetical (a-z, 0-9) sorting after the filter is unfolded.
For more information on how filter values can be sorted differently when a filter is expanded, refer to the official Tweakwise documentation.
Step 8: Enable the checkbox Place selected values at the top to ensure that any filter values selected by a customer are automatically displayed at the top of the filter list. This ensures better visibility of selected options, regardless of the default sorting applied to the filter values.

Step 9: Enable the Collapsible checkbox to provide a more organized view by allowing filter sections to expand or collapse, giving customers the flexibility to view only the information they need. This way, you can improve usability, especially in content-heavy pages or filters with multiple options.
Use the Collapsed by default checkbox to display a filter collapsed by default on the search results and product list pages. Customers can expand the collapsed filter sections when needed to view filter values.
Step 10: Enable the Multiple choice checkbox to allow customers to select multiple options within a specific filter. It is particularly useful for webstores with extensive product catalogs, ensuring a smoother and more efficient product discovery experience. The available options are:
- OR: Displays products that meet any of the selected filter values, broadening the search results.
- AND: Displays only products that meet all the selected filter values, narrowing down the search results.
It is required to enable the setting Show number of products for all facetted filters that must be configured to ensure proper functioning of the filters.
Step 11: If the Filter search setting is enabled, you can define a placeholder text to guide customers during search and specify a text to display when no results are found.
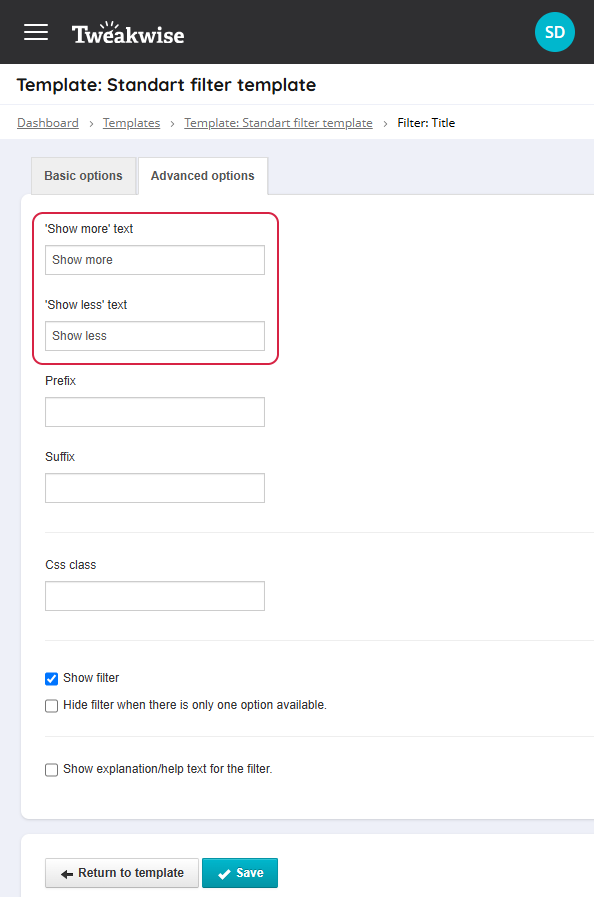
On the Advanced options tab, you can enter the texts that will be shown for the Show more and Show less options.
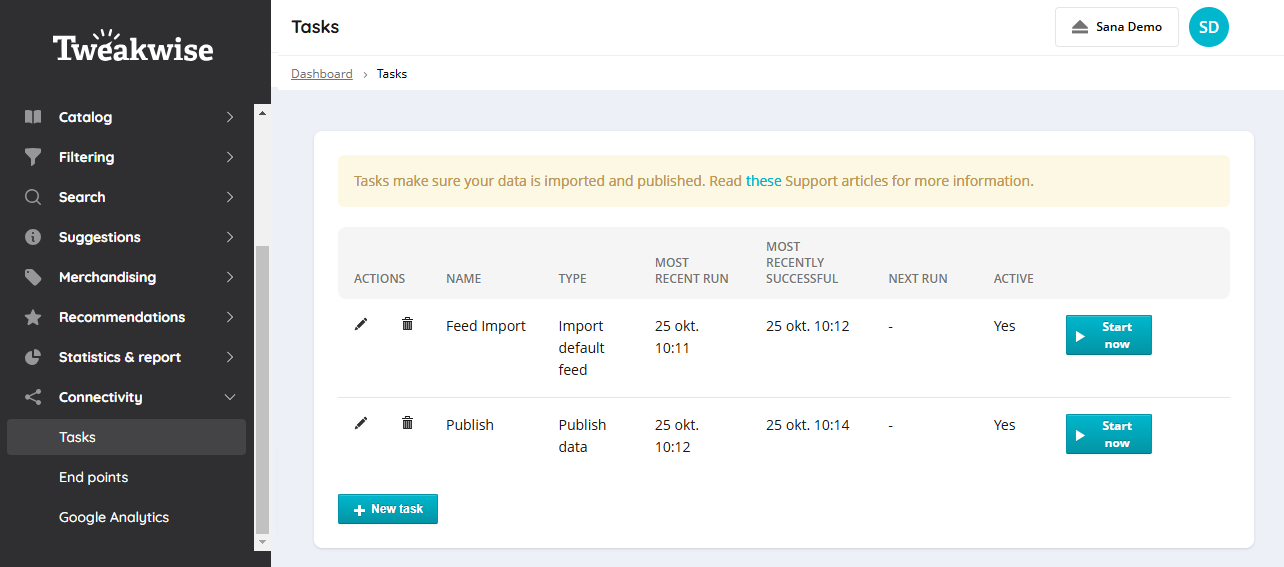
Step 12: To apply any changes that are made in Tweakwise, in the Tweakwise dashboard click: Connectivity > Tasks. Run the Publish task, which is categorized as a Publish data task type. This task indexes the updated data in Tweakwise. Once completed, the updated data will be available for receiving on the Sana side.
Unsupported Filter Settings
- The Basic options tab: The Show icon setting.
- The Advanced options tab: The Prefix, Suffix, Css class, and Show explanation/help text for the filter settings.