Add Images to the Filter Values
You can add images to the facetted filter values and show them in the Guided product finder content element. Images can be added to the filter values in the following ways:
- You can add an image to the filter value directly in the Guided product finder app using its settings.
- You can add an image to the filter value using the file manager.
- You can add an image to the filter value text.
The system will determine which images to show in the Guided product finder content element in the webstore according to the priority. The priority is considered from top to bottom – the higher in the list, the higher priority:
- Images added directly to the Guided product finder app.
- Images added to the file manager.
- Images added to the filter value text.
Images added directly to the Guided product finder app have the highest priority and will be picked by the system in the first turn.
Add Filter Value Images Directly to the Guided Product Finder App
Adding images to the filter values directly through the Guided product finder app settings offers a more efficient and user-friendly approach for managing visuals. It ensures consistency in appearance and behavior, as changes made in the Guided product finder are automatically reflected across the webstore. This approach not only saves time, but also contributes to a more visually appealing and intuitive shopping experience for users, ultimately improving engagement and conversions.
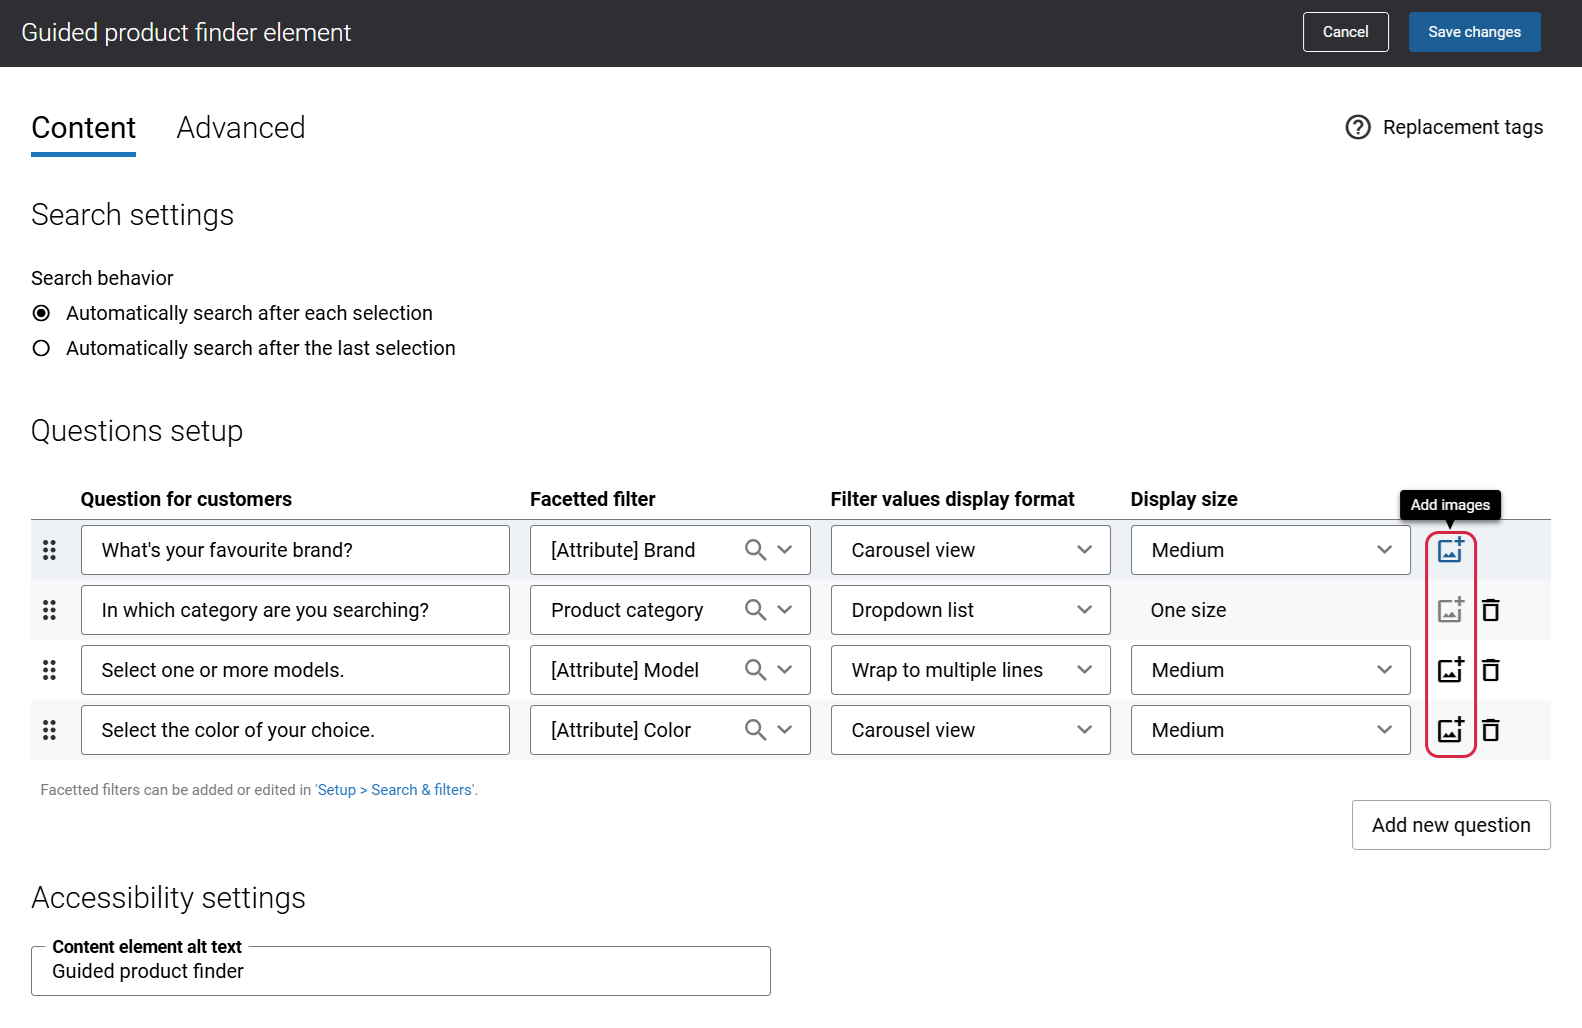
In the settings of the Guided product finder content element use the Add images button to add images to the necessary filter values.
Images can be added to the filter values for which either the Wrap to multiple lines or Carousel view display formats are selected. If the Dropdown list display format is selected for a filter value, then the Add images button will be disabled.
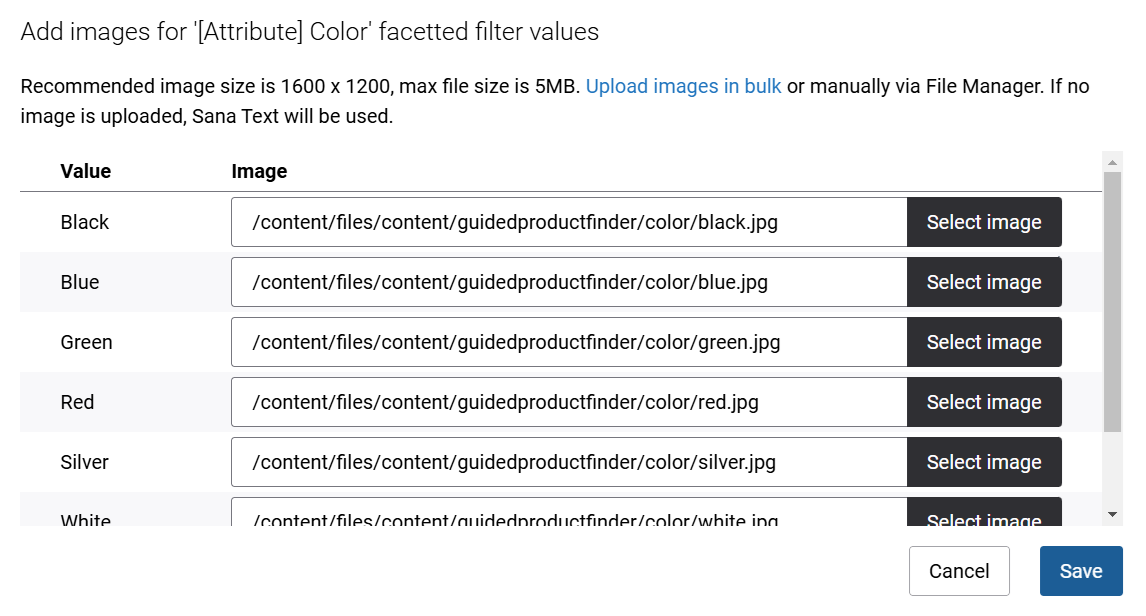
In the Add images window, all available values related to the facetted filter will be shown. You can add an image to each filer value separately.
If you add the Guided product finder content element to the search or product list pages, then all configured filter values will be loaded if they are assigned to the products. In case you add the Guided product finder content element to the content page, the filter values assigned to the products on the related product list page will be shown.
You can add, remove, and update images in the Add images window.
If you previously added images to the filter values using file manager, these images will be shown in the Add images window.
Add an Image to the Filter Value Using the File Manager
Adding images to the filter values using the file manager provides consistent image presentation across the add-on and ensures that the visual presentation is high quality.
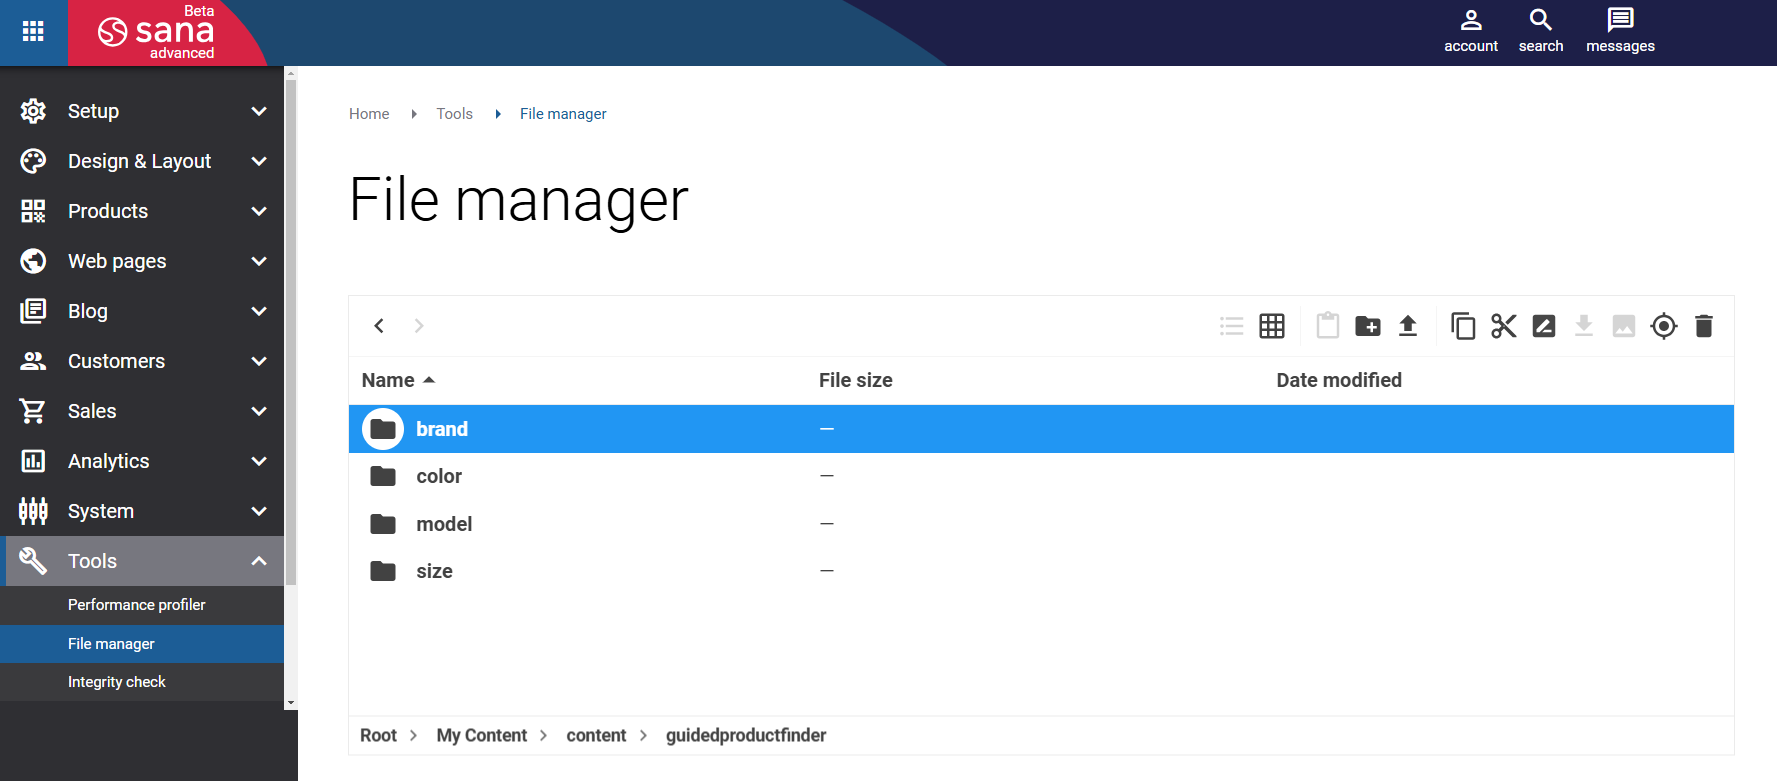
In Sana Admin click: Tools > File manager > My Content > content. In the content folder, you will see the folder guidedproductfinder. This folder is related to the Guided product finder app. In the guidedproductfinder folder, you need to create the folders with the names of the facetted filters, meaning the names of the attributes, that you use in the Guided product finder app.
For example, if you configured the brand, color, size and model facetted filters for the Guided product finder content element, then you need to create folders in the file manager with the following names: brand, color, size, model.
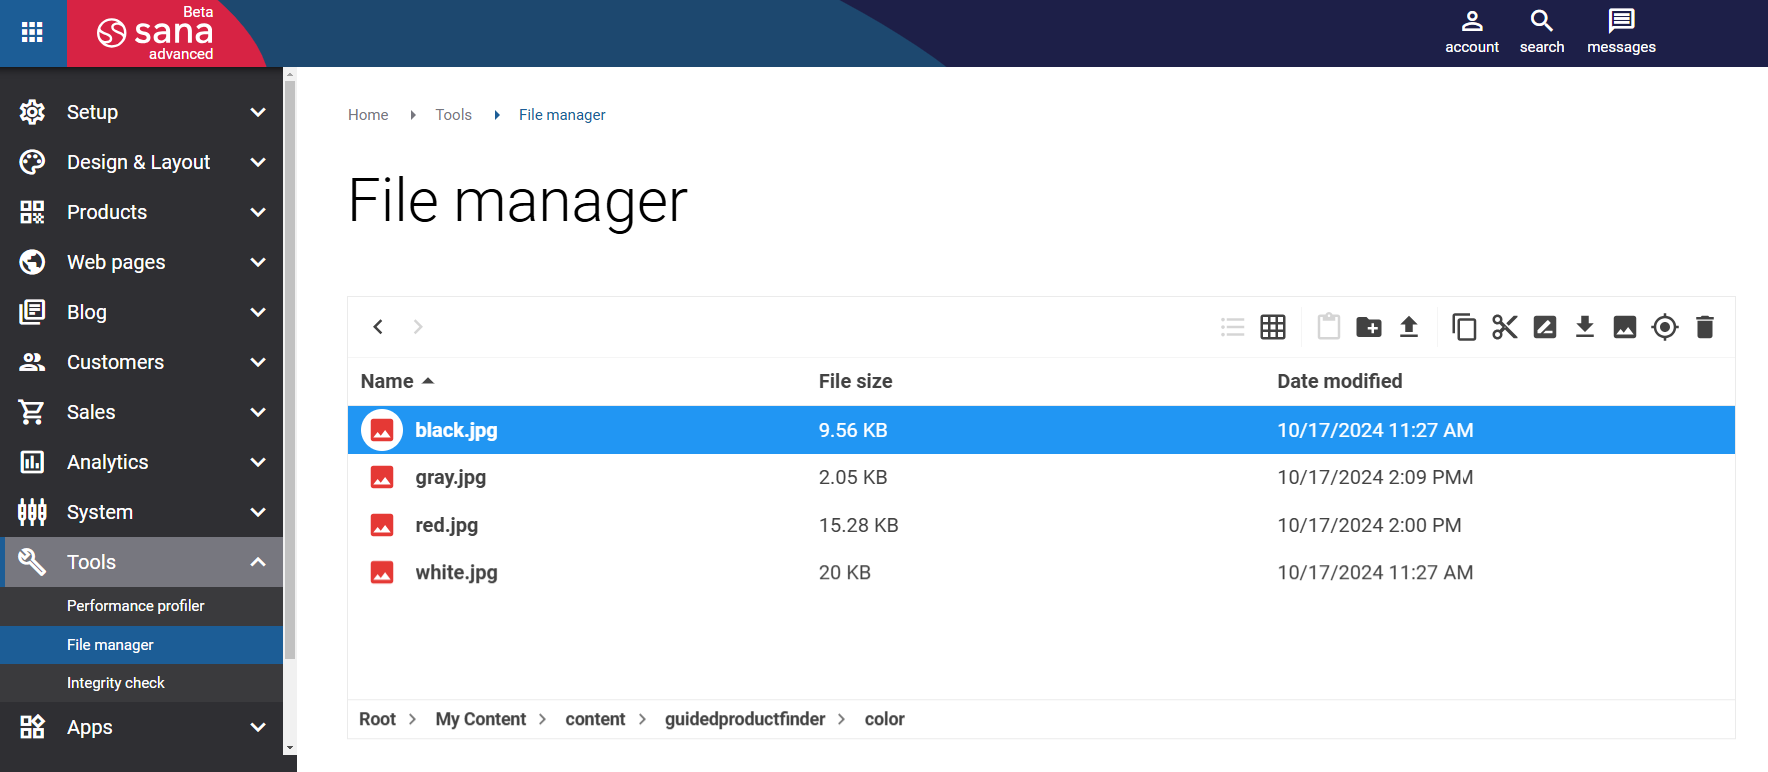
Then you need to add the necessary filter value images to the respective folders. The image name and the name of the actual filter value, that is the name of the attribute value, must be the same. The product attribute values are created in the ERP system and used by Sana.
Filter value images with special characters in their file names (such as “:”, “/”, “…”) that are added to the file manager cannot be used in the Guided product finder content element.
For example, you have the black, white, red, and gray filter values for the facetted filter color, then the following image files should be added to the color folder: black.jpg, white.jpg, red.jpg, gray.jpg.
Make sure that your images are of good quality and properly sized. Well-optimized images can help to enhance the user experience and create a visually appealing and enjoyable interface.
Add an Image to the Filter Value Text
To add an image to the filter value text you can use either In-site editor or you can find the necessary filter value text on the Page elements & messages page and edit it. Then, in the text editor use the Insert Image action.
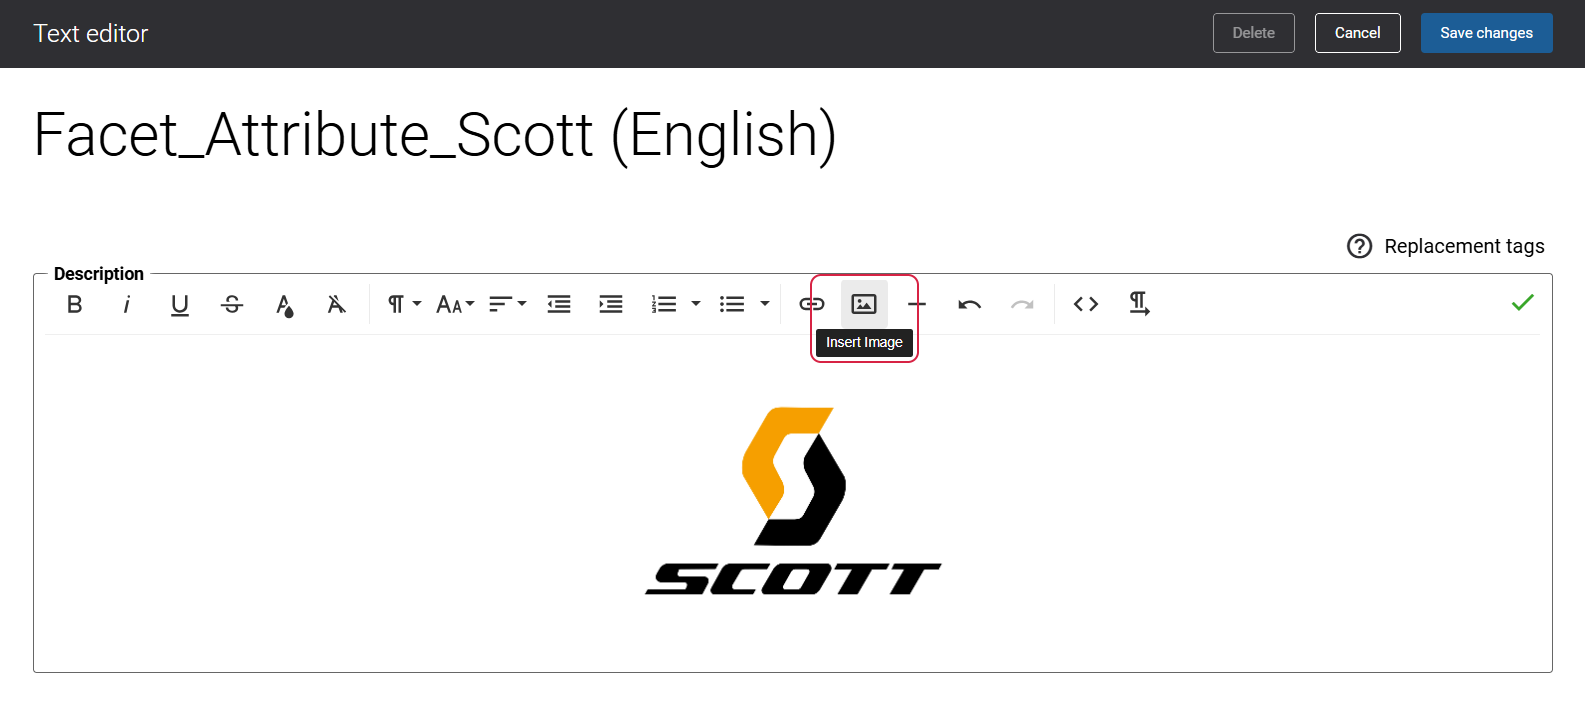
In this way, an image will be applied to the filter value and shown in the Guided product finder content element.
Guided Product Finder Image Requirements
It is essential to use the optimized images in the Guided product finder content element, as it will ensure optimal performance and user experience. Proper aspect ratios and file sizes maintain a consistent and professional appearance, prevent layout distortions, and ensure fast loading times, especially on mobile devices. Adhering to these recommendations enhances the visual appeal of the filters and ensures seamless functionality in your webstore.
We recommend using images with 4:3 aspect ratio. Here are some of the most common 4:3 aspect ratio resolutions:
- 1600 x 1200 pixels
- 1280 x 960 pixels
- 1024 x 768 pixels
- 800 x 600 pixels
We strongly advise against using images with resolution lower than 800 x 600 pixels, as their quality may degrade significantly.
The recommended maximum image file size is 5 MB.
The following file extensions are supported: JPG, JPEG, PNG, GIF, WebP and AVIF.
Please note that the tile navigation in the carousel will adapt based on the device's screen resolution (for example desktop or mobile).
We recommend that users stick to the suggested image aspect ratios and avoid combining images with text for the same question. Configuring images in this way may result in inconsistent tile sizes.