Configure PostFinance Checkout
To set up PostFinance Checkout payment provider in Sana Admin, you should already have the PostFinance Checkout account. A space, an application user should be created and other necessary settings should be configured in PostFinance Checkout.
Step 1: The PostFinance Checkout payment provider is available as an app. It can be installed from the Sana App Center.
In Sana Admin click: App Center > Apps > Apps Explorer. When the PostFinance Checkout app is installed, you can configure it.
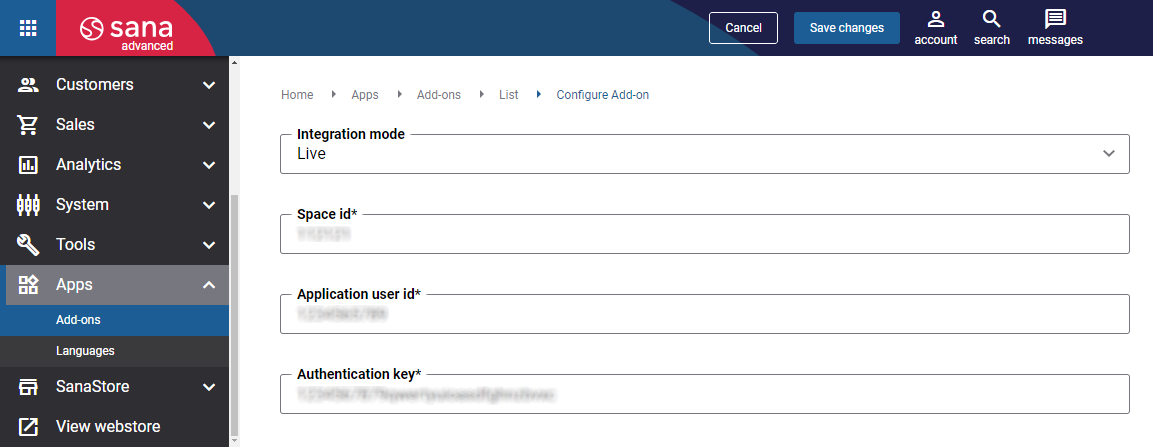
Step 2: Choose the appropriate payment integration mode.
There are two modes: test and live. Test mode allows to simulate the payment process as if it is a real payment and helps to make sure that everything will behave the same way when you go live. Live mode implies that a customer makes a real purchase using already configured payment provider and methods.
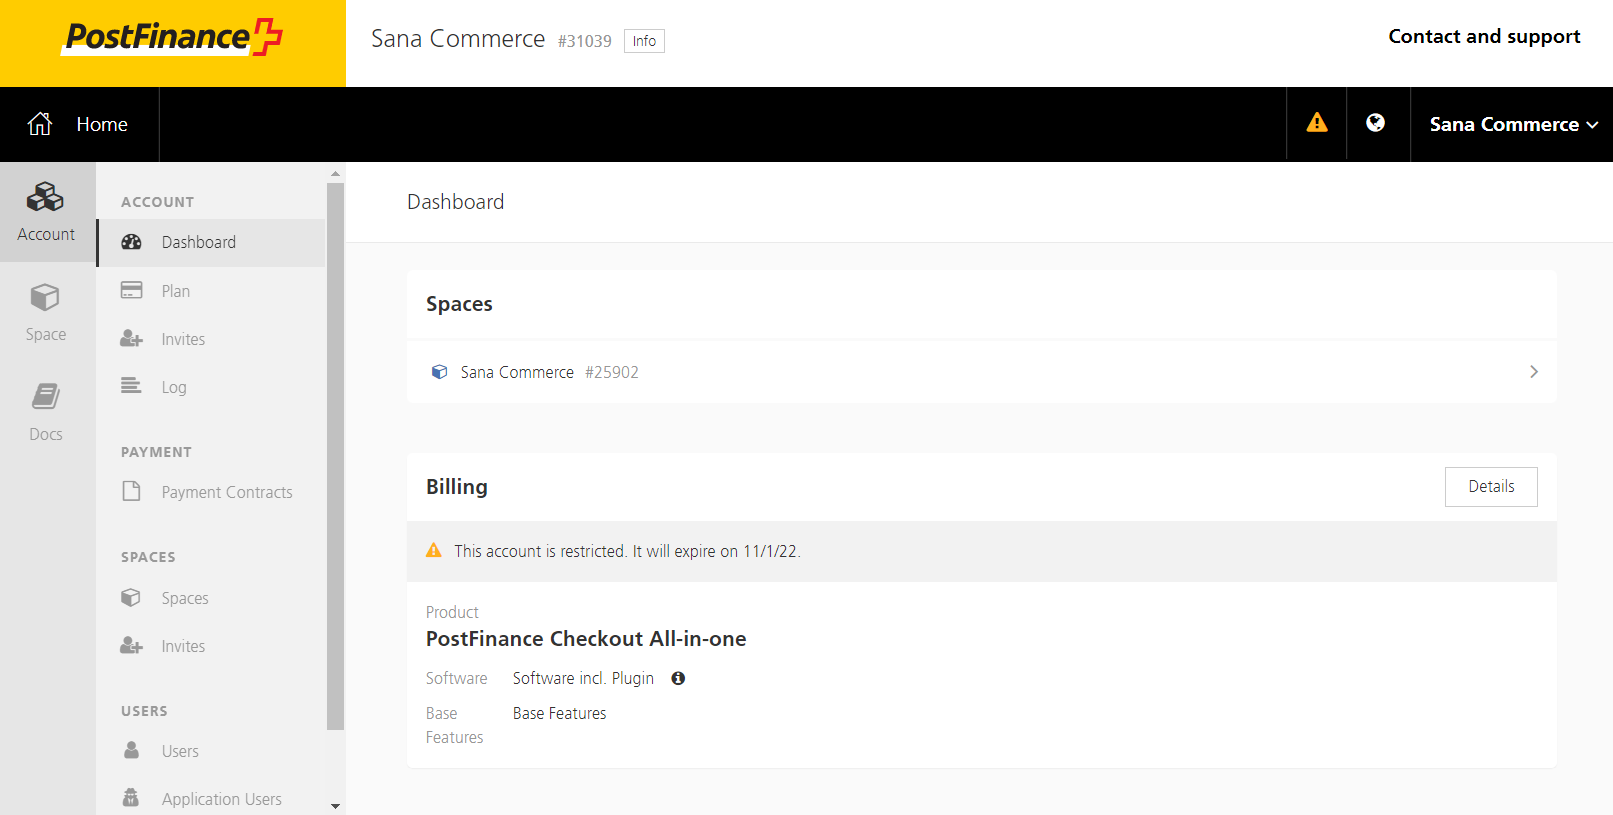
Step 3: Enter the Space id.
Every PostFinance Checkout account is linked to a space. Spaces store configurations and data. We recommend to use a separate space per webstore. It is not possible to share configurations between spaces. If you want to have different configuration inside the space, then use space views.
For more information, see the official PostFinance Checkout documentation Space Concept.
The Space id of the application is available in the PostFinance Checkout portal, click: Account > Dashboard > Spaces. Copy the necessary information and insert it in Sana Admin.
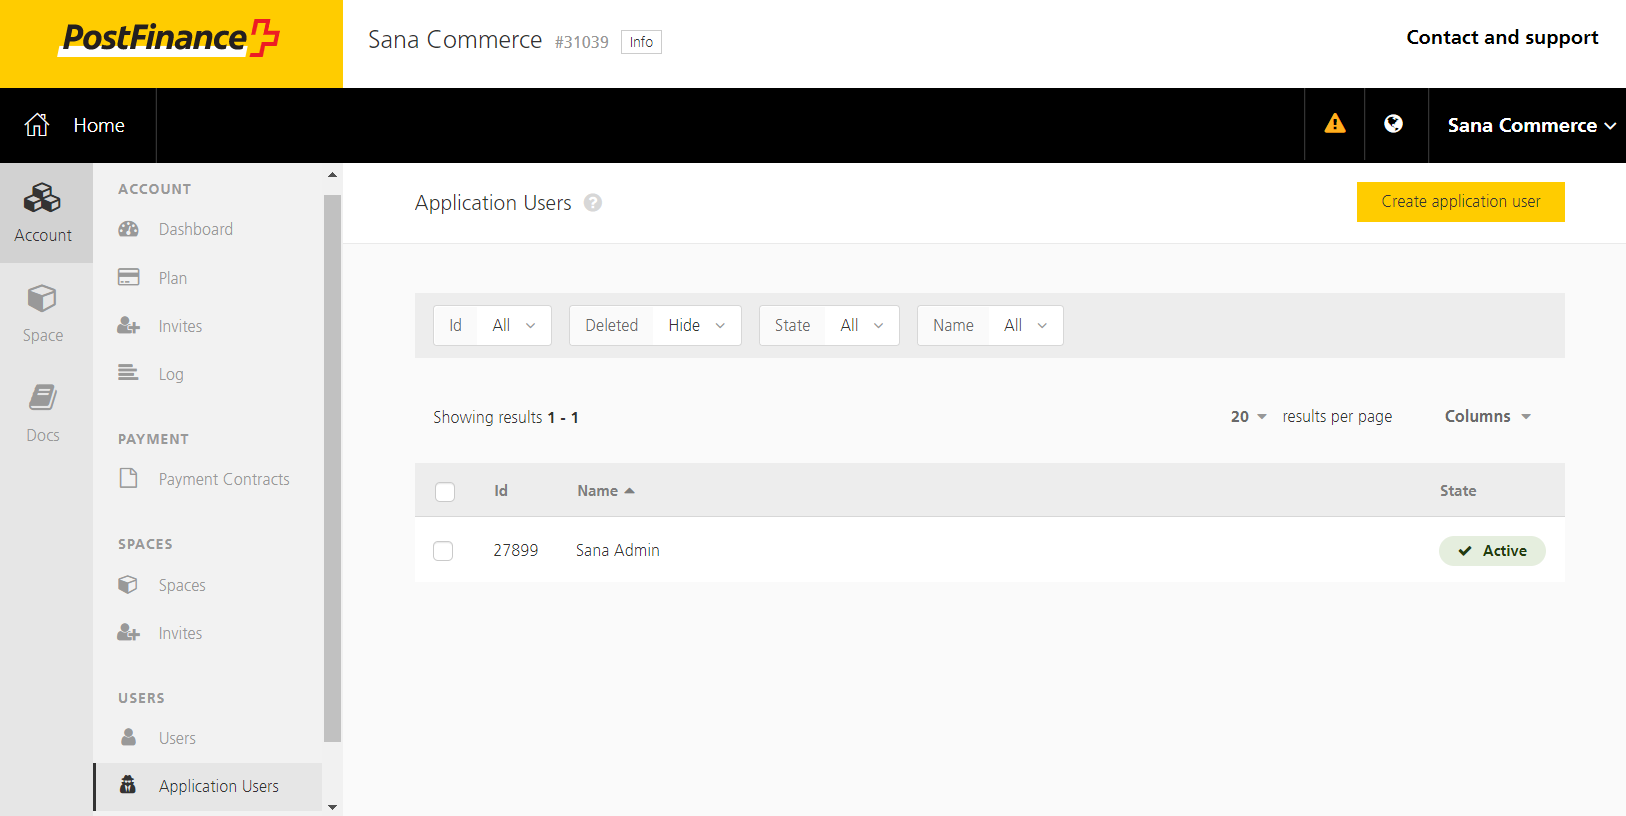
Step 4: Enter the Application user id.
Two different types of users take part in PostFinance Checkout user management, they are human users and application users. The application user is a user which is used by applications to interact with the web services, while the human user represents real users, they are intended to access the application via the browser.
For more information, see the official PostFinance Checkout documentation Application User and Permission Concept.
The Application user id is available in the PostFinance Checkout portal, click: Account > Application Users. Copy the necessary information and insert it in Sana Admin.
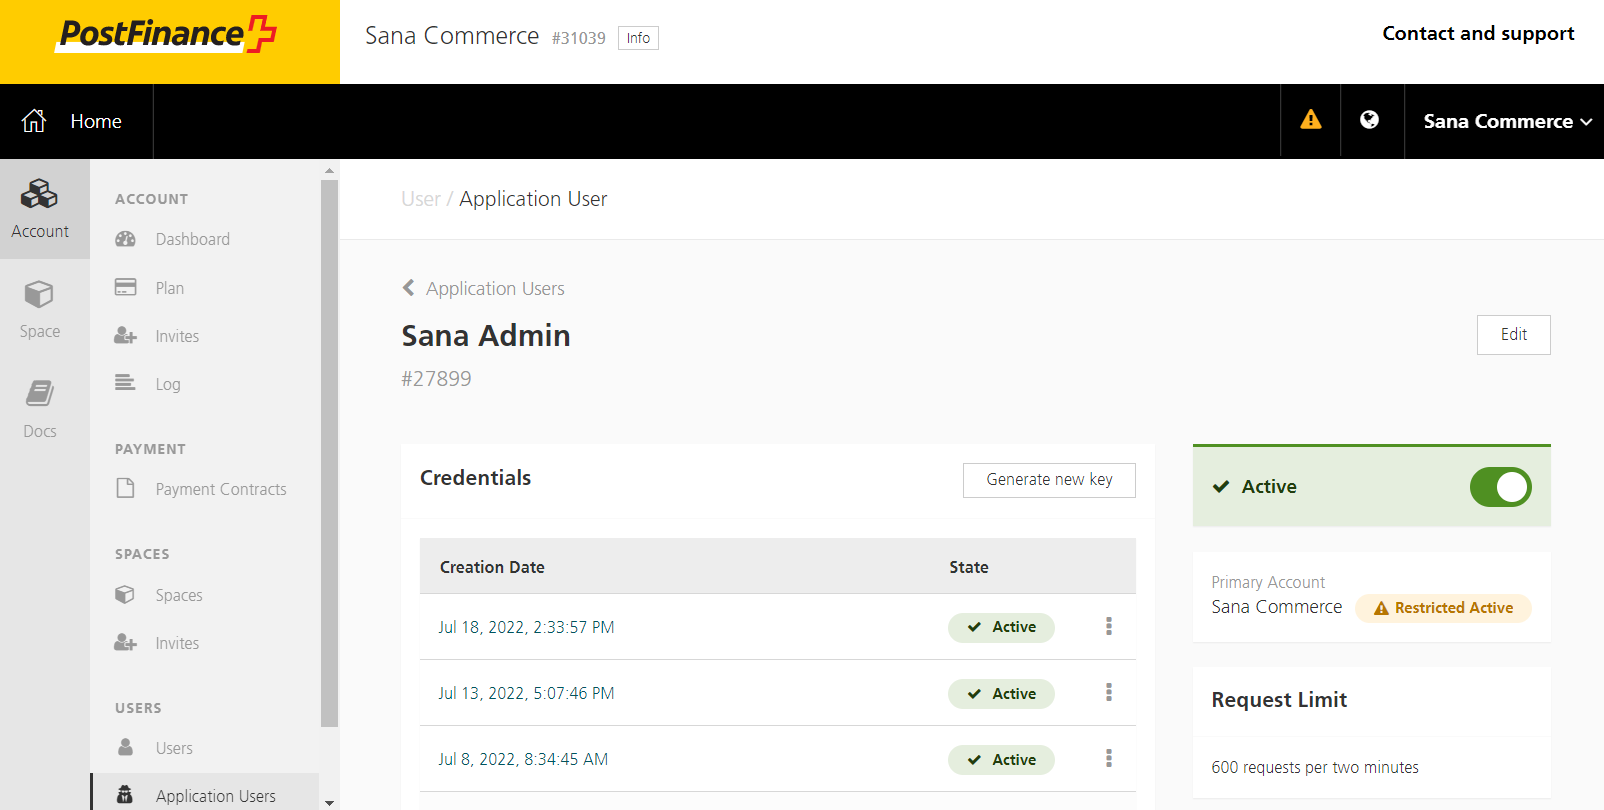
Step 5: Enter the Authentication key.
In order to use the REST Web services, you will have to properly authenticate in the Web service API. The MAC authentication algorithm is used to authenticate a request.
The Authentication key is available in the PostFinance Checkout portal, click: Account > Application Users. Then, open the details of your application user and click Generate new key. Copy the necessary information and insert it in Sana Admin.