Configure Authorize.Net Payment Methods
When the Authorize.Net payment provider is configured in Sana Admin, you need to set up the necessary payment methods supported by Authorize.Net.
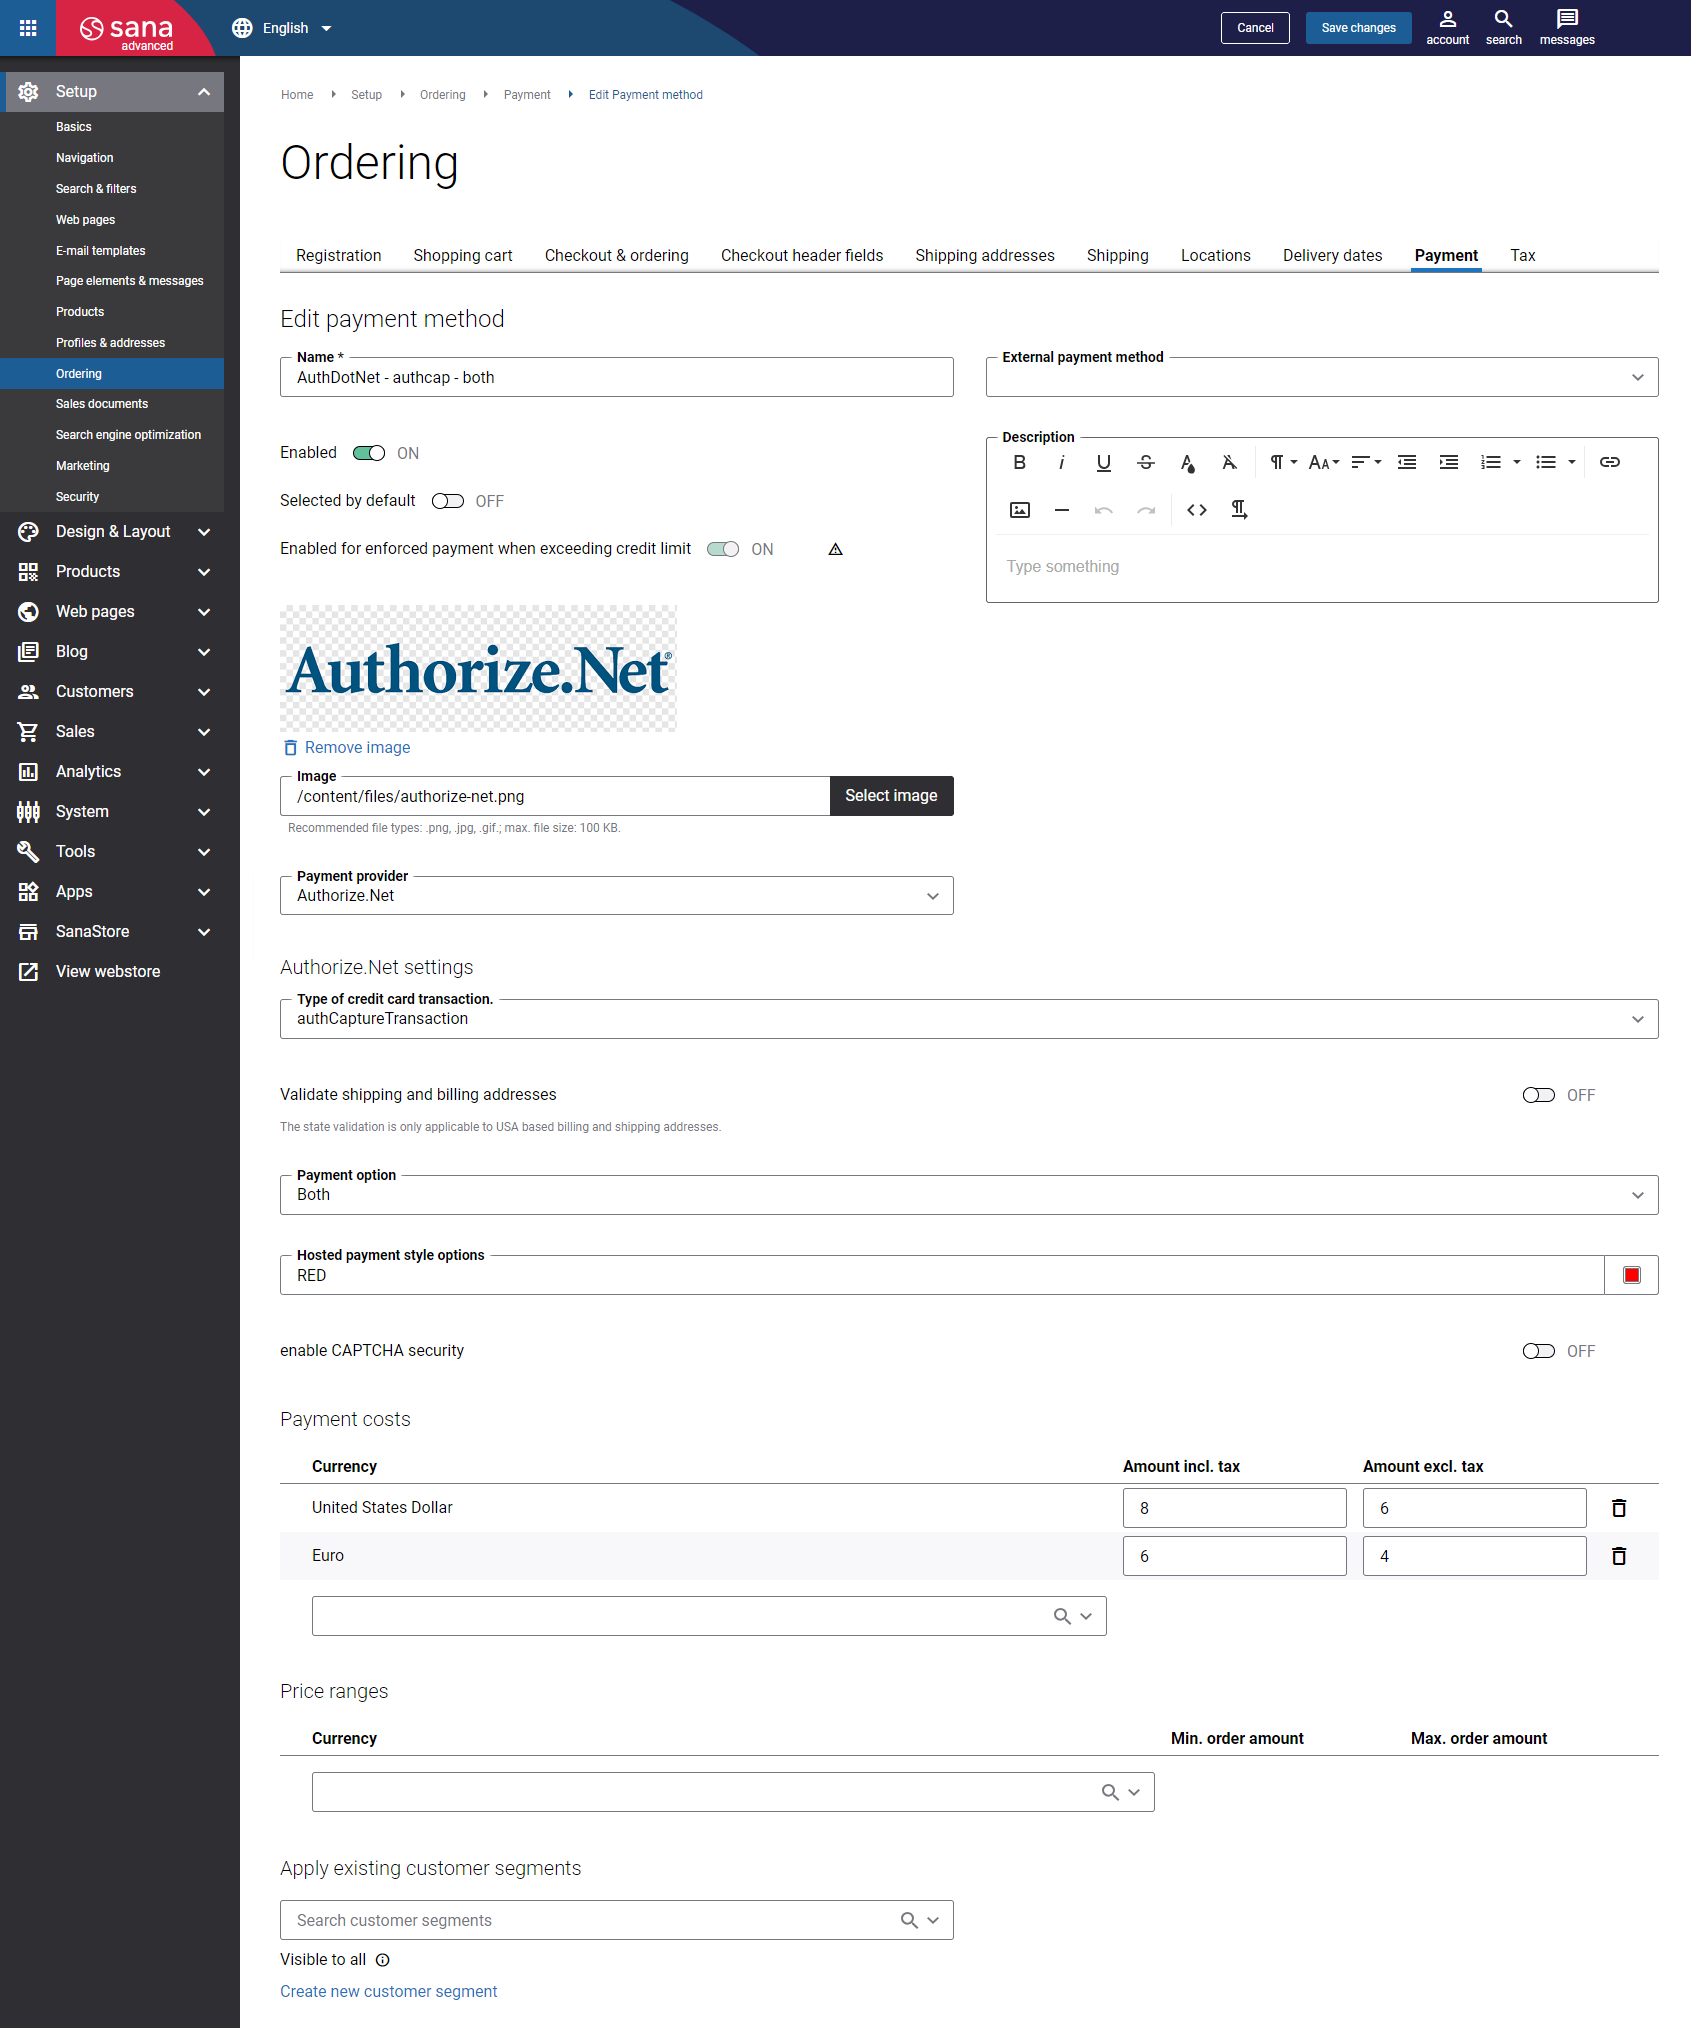
Step 1: In Sana Admin click: Setup > Ordering > Payment.
Step 2: On the Payment tab, create and configure the necessary payment methods.
The table below provides the description of the Authorize.Net payment provider specific fields.
| Field | Description |
|---|---|
| Type of credit card transaction. | Select the appropriate transaction type:
For more information about transaction types, see Payment Transactions. |
| Validate shipping and billing addresses | If this option is enabled, the length and values of the following fields in billing and shipping addresses will be validated:
|
| Payment option | Select which payment information should be shown to a customer on the Authorize.Net payment form. The available options are:
|
| Hosted payment style options | Select the color of the button, field names and field borders. Acceptable values are CSS color keywords or RGB hexadecimal values. |
| enable CAPTCHA security | Enable this option to add Google reCAPTCHA to the Authorize.Net payment page. Google reCAPTCHA will increase the security level on the Authorize.Net hosted payment page. |