Upload Products to Google Merchant Center
Below you can read about the basic steps of how to upload products to Google Merchant Center. More detailed information about how to set up Google Merchant Account and how to add products to it you can read in the official Google Merchant Center Help documentation.
Step 1: Visit Google Merchant Center and sign in to access your merchant account.
If you have not created your merchant account yet, click Get Started and follow the steps.
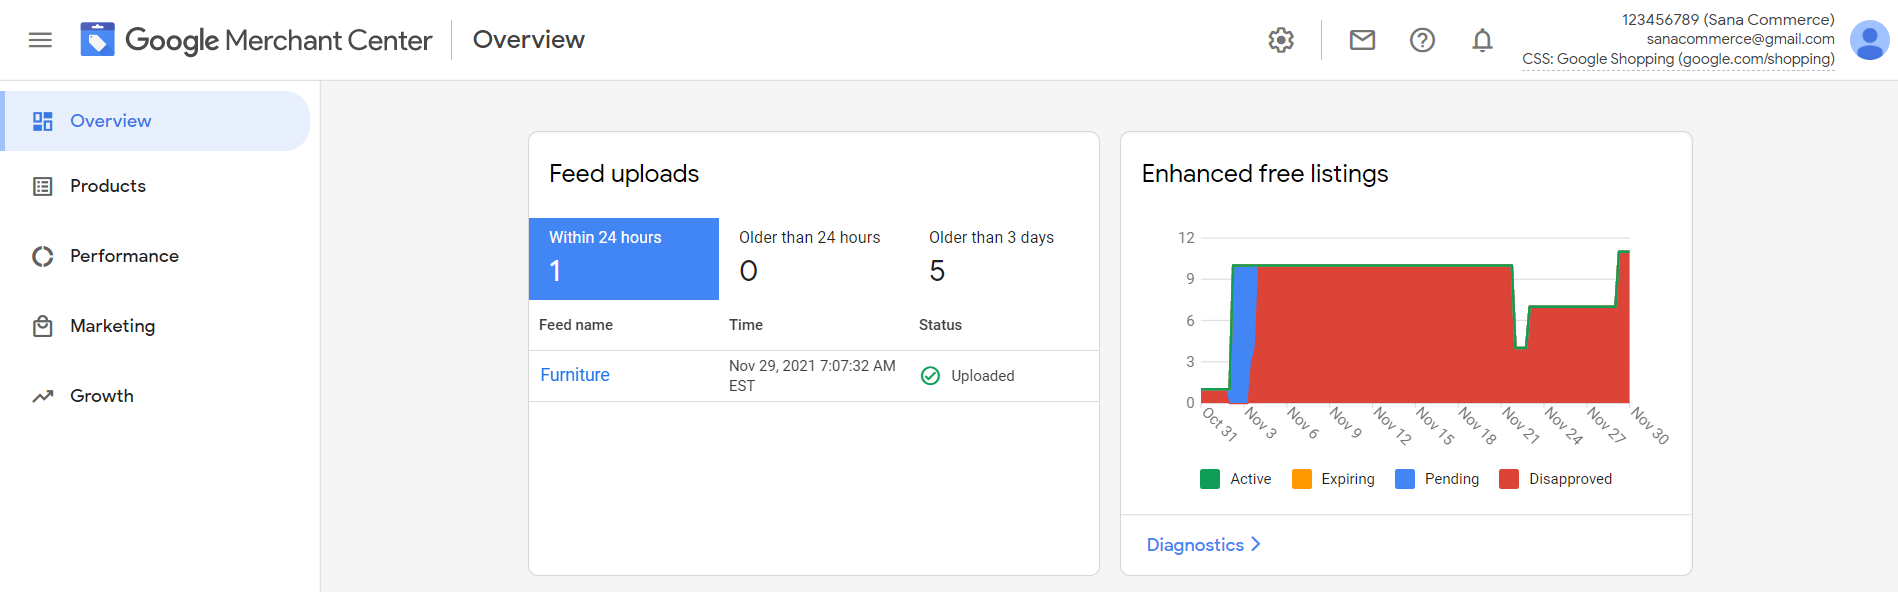
Once you sign in to your Google Merchant Account, you will see the merchant overview page.
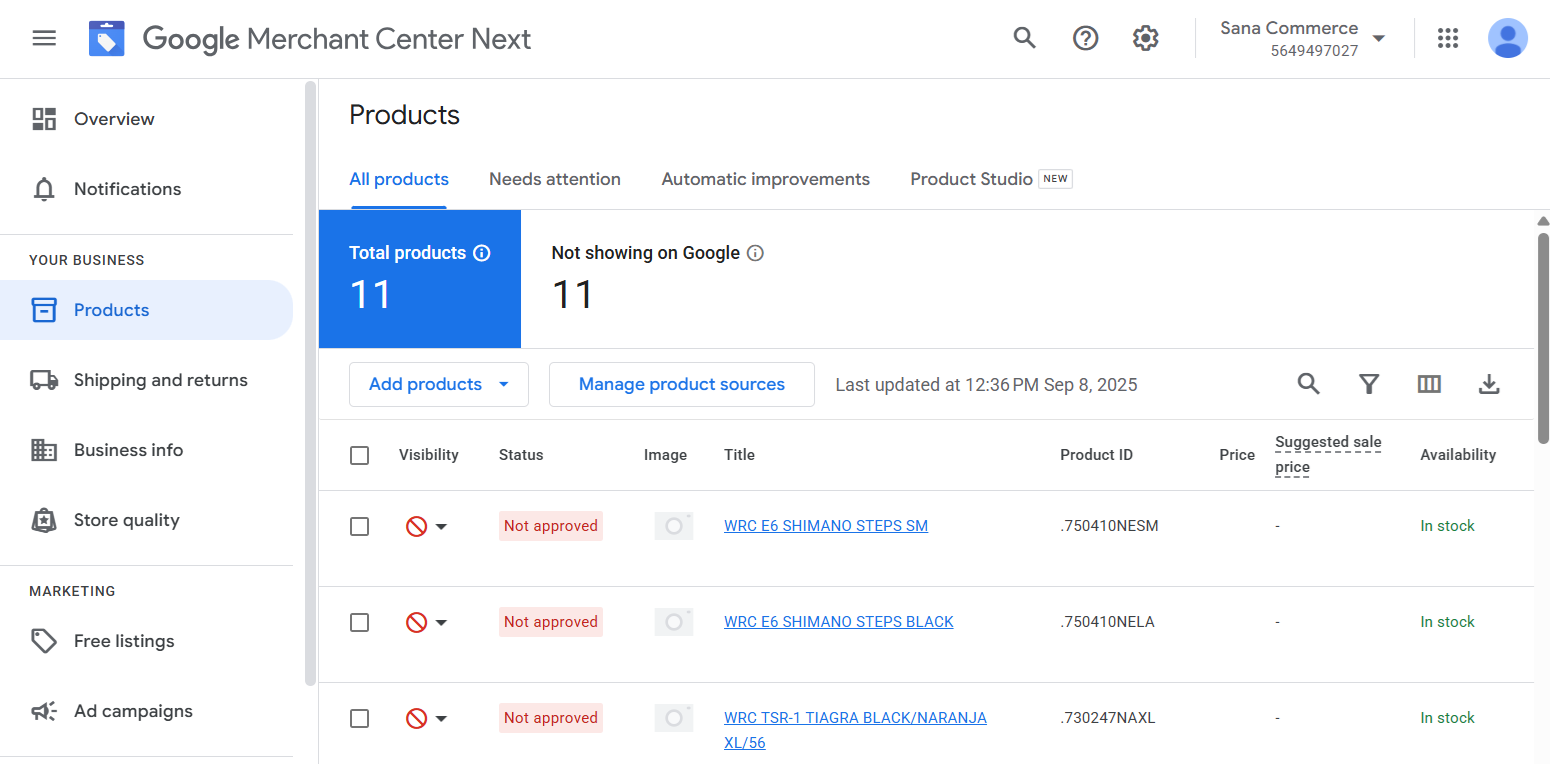
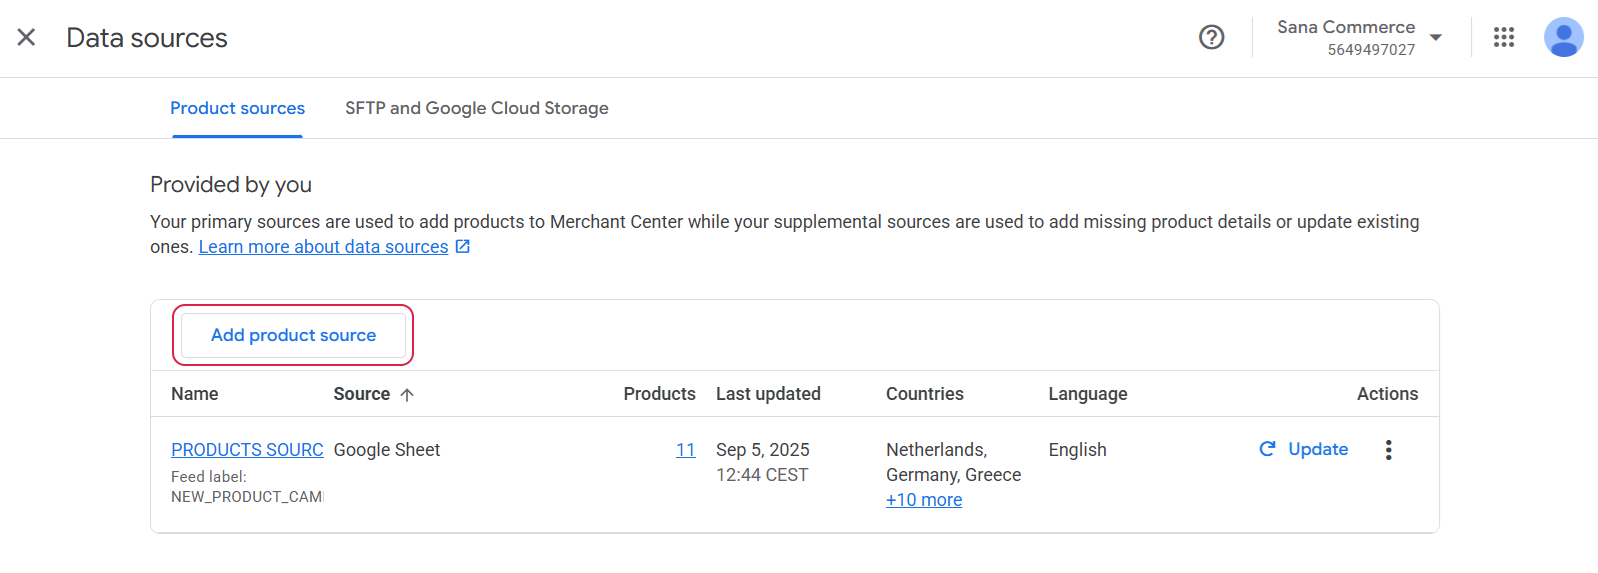
Step 2: On the left, click: Products > All products > Manage product sources. On this page, you can either add a new product source or modify an existing one.
Add a Product Source on Google Merchant Center
Google Merchant Center uses product source to display your products on Google. For more information, see Create a Product Data Source on the Google Merchant Center Help.
Step 1: For the initial upload, navigate to Products > All products, then click the Add products button. To add an additional product source, you have two options:
-
On the All products tab, select Add another product source from the dropdown menu.

-
Click Manage product sources on the All products tab, and add a new product source from there.
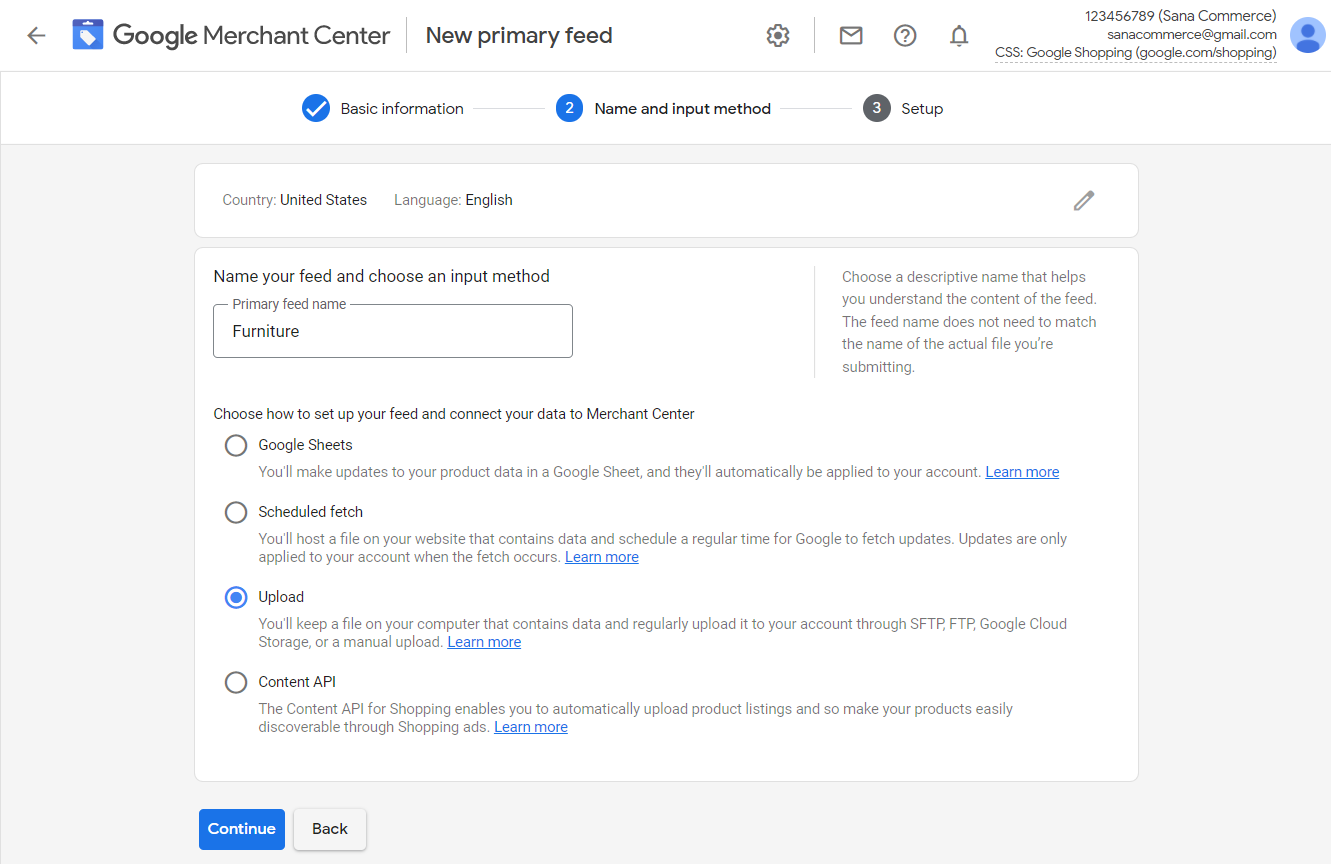
Step 2: Choose a method for adding your products. You can select from the following options:
- Add products from a file
- Use Google Sheets
- Add products using API
This guide will focus on how to add products from a file. Your product file should be prepared in advance in the necessary format (a tab-delimited spreadsheet or XML).
Step 3: Choose your preferred way to upload the file. You can select from the following options:
- Enter a link to your file
- Add a file using SFTP or Google Cloud Storage
- Upload a file from your computer
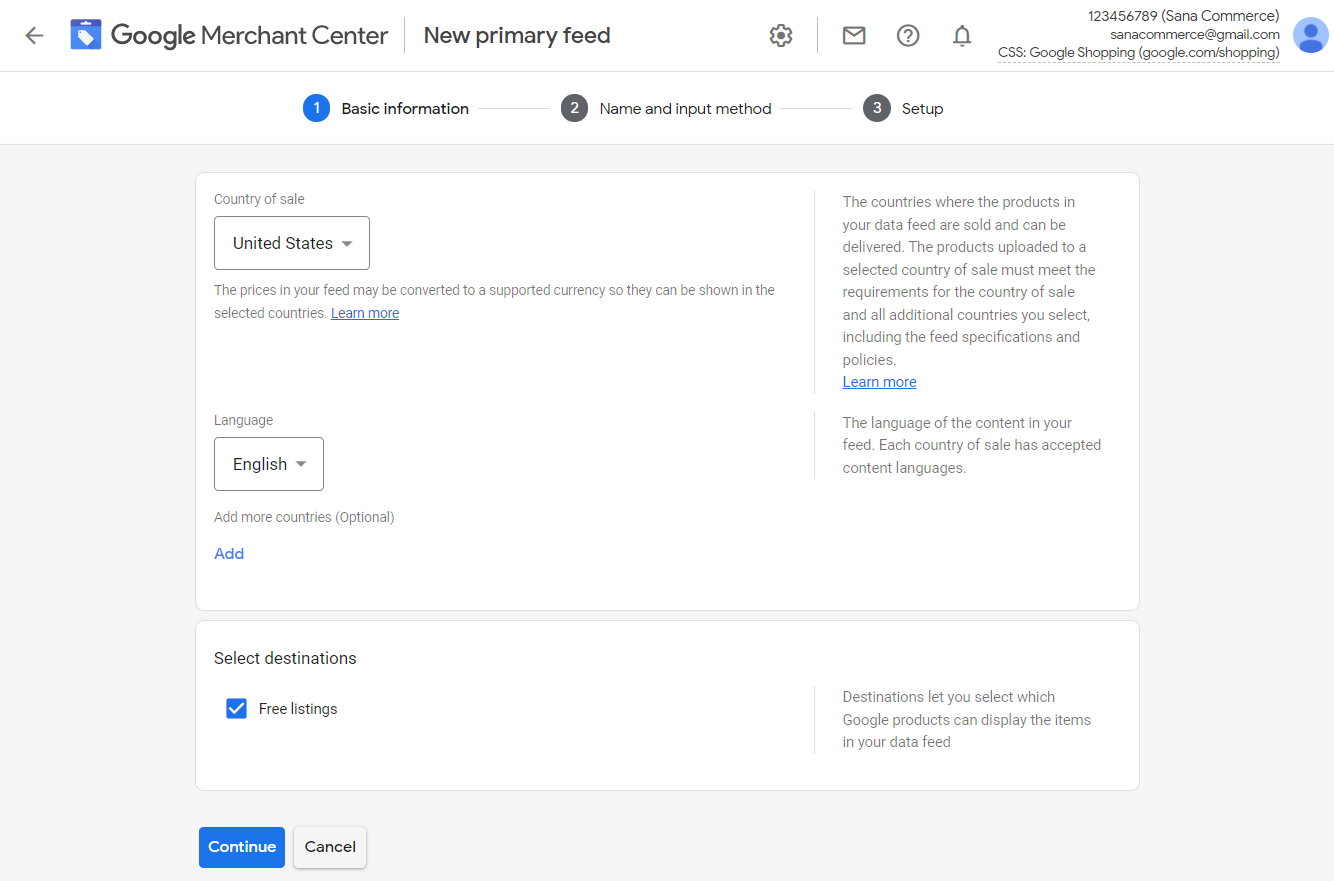
Step 4: On the bottom of the page, you’ll need to provide your business information. This includes the countries where products from this data source are sold, the language of your product data, and the feed label.
For more information, see Set Up Your Target Country of Sale on the Google Merchant Center Help.
Step 5: When products are added, click Continue. It may take some time for Google Merchant Center to process the file.

Step 6: On the Data source setup tab, you can change the source name and other information.
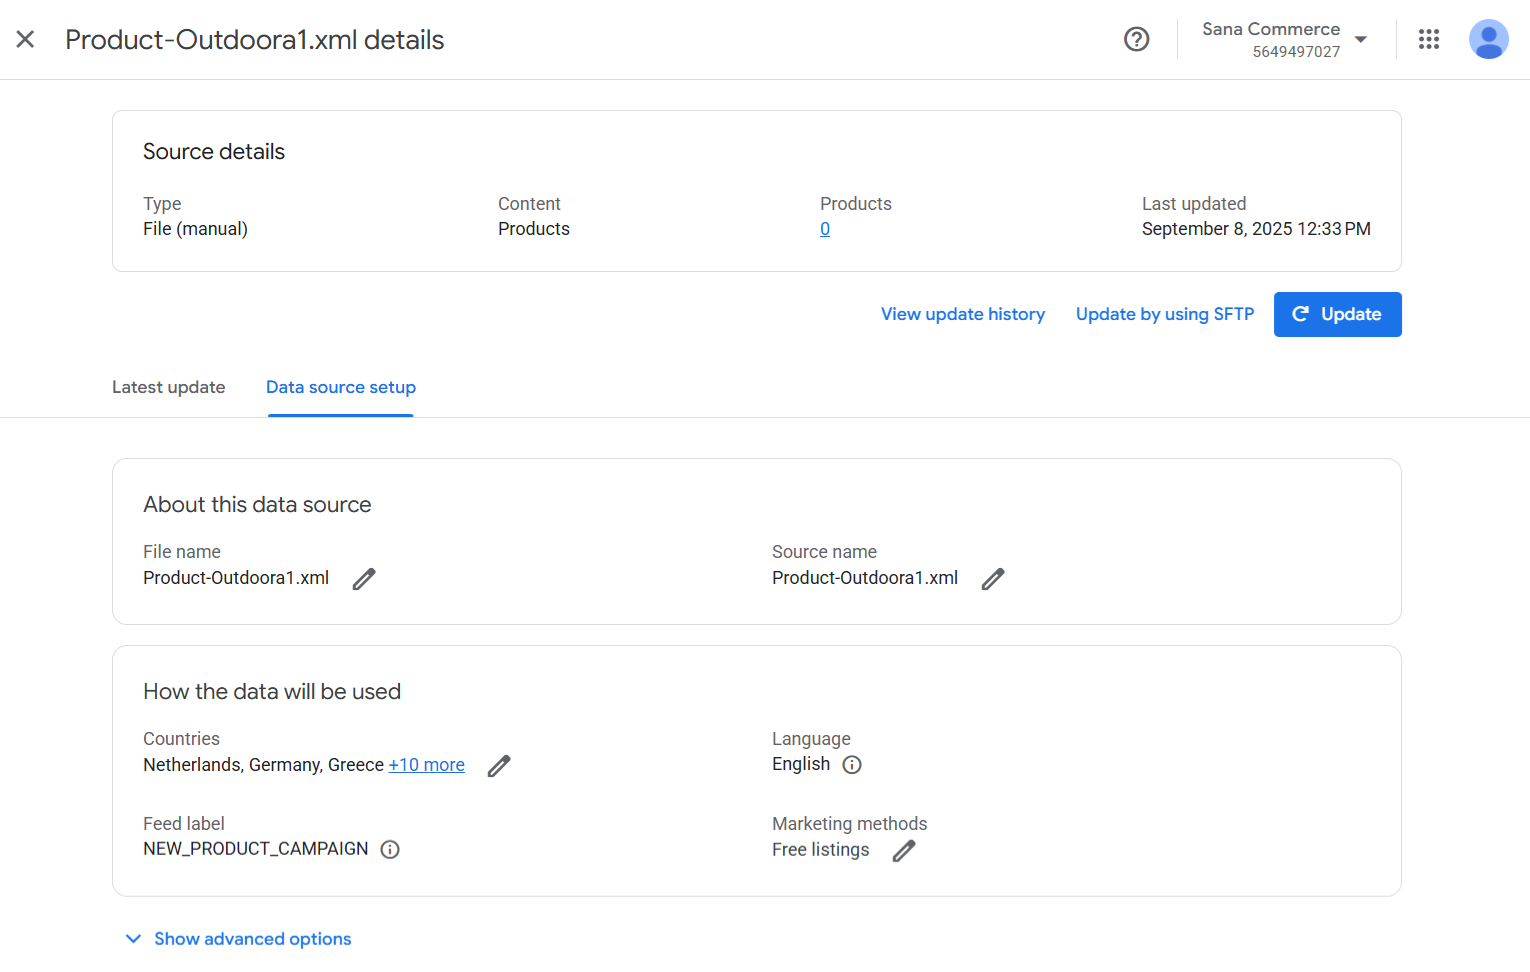
Once the processing has been completed, you can see the added products at the following location: Products > All products.