Publish a Web Service
After the objects were imported or updated you should create and publish a Web service so that it is available to service requests over the network. The following steps explain how to create and publish a Web service.
Create and Publish a Web Service
Step 1: Open the Microsoft Dynamics NAV RoleTailored client.
Step 2: Click: Administration > IT Administration > General > Lists > Web Services.
Step 3: In the Web Services page create a new record and fill in the fields. See what values should be set in the fields. You should enter exactly the same values that are given in the table:
| Field | Value |
|---|---|
| Object Type | Codeunit |
| Object ID | 11123303 |
| Service Name | SC_NAV_WebService |
| Published | The checkbox should be selected. |
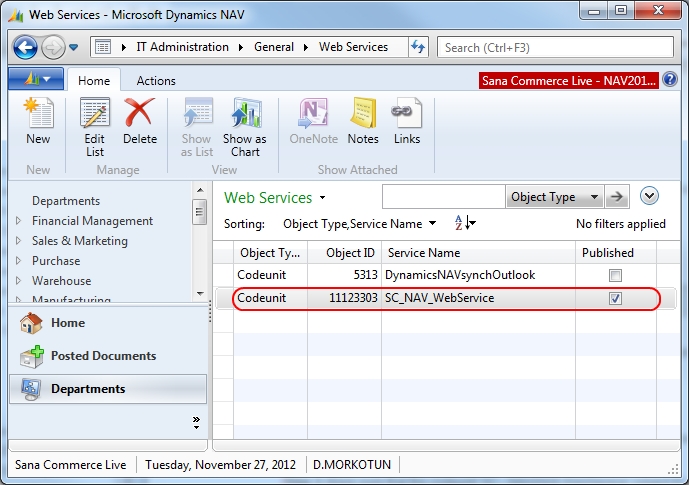
Step 4: Make sure that the codeunit SC_NAV_WebService (object ID: 11123303) is available and the Published checkbox is selected.
You can verify the availability of the Web service by using a browser.
Verify the Availability of a Web Service
Step 1: Start Windows Internet Explorer, and in the Address field, enter a Web service URL.
Example of the Web service URL: http://localhost:7047/DynamicsNAV70/WS/CRONUS International Ltd/Codeunit/SC_NAV_WebService
The company name is case-sensitive and is optional. The company name in the link (in our case it is CRONUS International Ltd) depends on the company name in a demo database you are going to use.

Step 2: Review the information that is displayed in the browser. Verify that you can see the name of the web service that you have created.